
Sunshine in a Pan: Simple Lemon Bars Recipe Everyone Loves
Tangy, sweet, and irresistibly creamy, these lemon bars burst with vibrant citrus flavor that dances on your palate.
A super easy lemon bars recipe promises delightful simplicity for bakers of all skill levels.
The buttery shortbread crust provides a perfect golden foundation for the bright, zesty filling.
Each bite delivers a harmonious balance of tartness and sweetness that melts in your mouth.
No complicated techniques or exotic ingredients stand between you and dessert perfection.
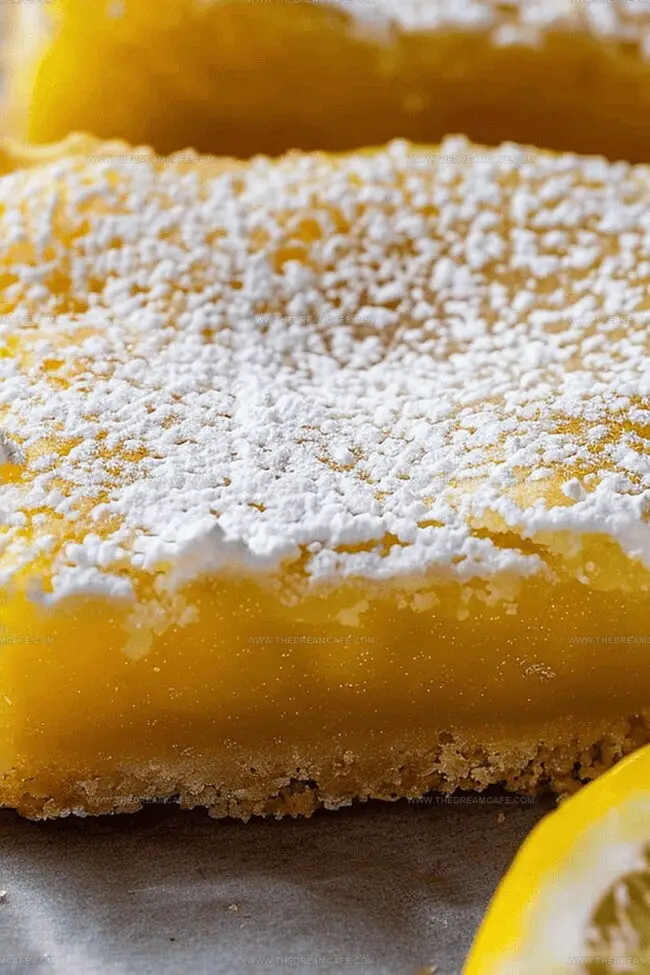
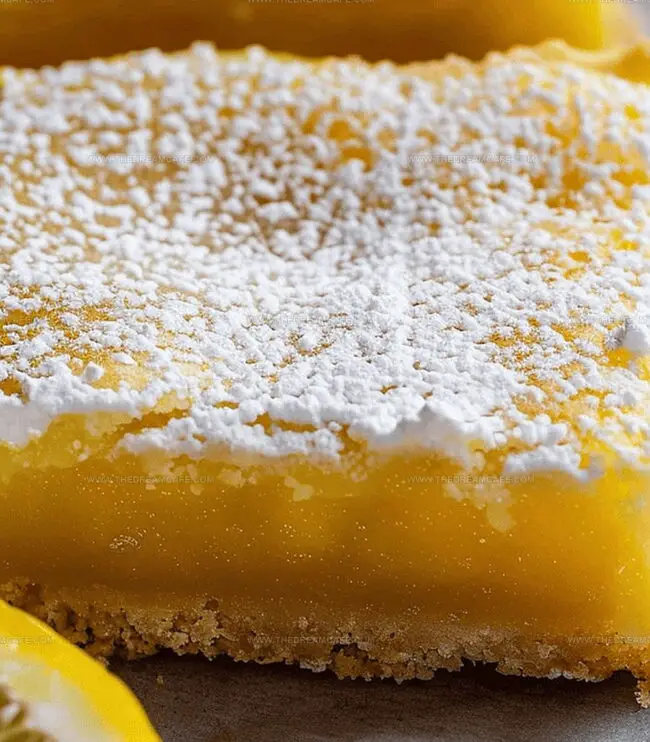
Sunshine-yellow and beautifully cut, these bars will steal the show at any gathering.
Let’s find out this foolproof recipe and experience the magic of homemade citrus delight.
Quick Recipe Overview
Ingredients Checklist for Super Easy Lemon Bars
For Shortbread Crust:For Lemon Filling:For Finishing:Tools to Create Zesty Lemon Squares with Ease
How to Prepare Tangy Lemon Bars from Scratch
Create a buttery base by combining soft butter, flour, and powdered sugar into delicate crumbs. Press this mixture firmly into a lined baking pan, creating a smooth, even surface that will become the delicious foundation of your lemon bars.
Warm up the oven to a perfect golden temperature. Chill the prepared crust briefly to help it set and maintain its shape during initial baking. This quick cooling step ensures a crisp, sturdy base for the zesty topping.
Whisk together fresh lemon juice, bright citrus zest, eggs, sugar, and a touch of flour to create a silky smooth filling. The combination transforms into a luxurious, tangy mixture that will crown your crisp crust with sunshine-like flavor.
Pour the vibrant lemon mixture over the golden crust, allowing it to settle into every corner. Bake until the filling sets with a gentle wobble in the center, signaling the perfect texture waiting to emerge.
Let the bars cool completely, allowing the flavors to meld and the texture to become perfectly smooth. Refrigerate to firm up the bars, then dust with a light snow of powdered sugar just before serving, creating a sweet and elegant finale.
Tips to Get That Signature Lemon Layer Right
Lemon Bar Plating Ideas That Pop
Save Your Lemon Bars for Later Enjoyment
Print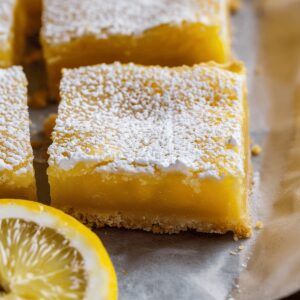
Zesty Lemon Bars Recipe
- Total Time: 1 hour 5 minutes
- Yield: 10 1x
Description
Classic lemon bars delight dessert enthusiasts with their perfect balance of tangy citrus and sweet shortbread crust. Simple ingredients and straightforward preparation make this recipe a crowd-pleasing treat you’ll want to share with friends and family.
Ingredients
- 1 ½ cups (300 g) granulated sugar
- 3 large eggs (room temperature)
- 1 ½ cups (180 g) all-purpose flour
- ½ cup (113 g) unsalted butter (room temperature)
- ½ cup (120 ml) lemon juice (2–3 lemons)
- 1 tbsp lemon zest (finely grated)
- ¼ cup (30 g) powdered sugar (for dusting)
Instructions
- Crust Preparation: Grease an 8×8 inch pan with non-stick spray and line with parchment paper, covering bottom and sides completely.
- Crust Mixing: Blend softened unsalted butter, all-purpose flour, and powdered sugar until achieving a sandy, crumbly consistency.
- Crust Formation: Press the crumb mixture evenly into the prepared pan, creating a compact base layer, then chill in refrigerator for 10 minutes.
- Initial Baking: Preheat oven to 350°F (175°C) and bake the chilled crust for 15-18 minutes until edges turn light golden brown.
- Filling Creation: Whisk together fresh lemon juice, lemon zest, large eggs, granulated sugar, and all-purpose flour until smooth and fully integrated.
- Filling Application: Remove crust from oven, pour lemon mixture evenly over hot surface, then return to oven for 25-30 minutes until center shows slight wobble.
- Cooling and Setting: Allow bars to cool completely at room temperature, then refrigerate for at least 1 hour to ensure firm consistency.
- Serving Presentation: Dust chilled bars generously with powdered sugar, creating an elegant, frost-like surface before slicing and serving.
Notes
- Prep Pan Perfectly: Line with parchment paper completely to ensure easy removal and clean cutting of lemon bars without sticking.
- Crust Consistency Matters: Mix butter and flour until it resembles coarse crumbs for a tender, crumbly base that holds together beautifully.
- Temperature Technique: Chill crust before baking to prevent shrinking and create a stable, crisp foundation for the lemon filling.
- Doneness Detection: Watch for a slight jiggle in the center when baking filling, which indicates perfect texture without overbaking and drying out the bars.
- Prep Time: 20 minutes
- Cook Time: 45 minutes
- Category: Desserts
- Method: Baking
- Cuisine: American
Nutrition
- Serving Size: 10
- Calories: 218
- Sugar: 24 g
- Sodium: 45 mg
- Fat: 9 g
- Saturated Fat: 5 g
- Unsaturated Fat: 4 g
- Trans Fat: 0 g
- Carbohydrates: 34 g
- Fiber: 1 g
- Protein: 3 g
- Cholesterol: 70 mg
Sophie Reynolds
Co-Founder, Recipe Curator & Culinary Educator
Expertise
Education
Auguste Escoffier School of Culinary Arts, Boulder, CO
Oregon State University
Sophie Reynolds is the recipe developer and culinary voice behind many of the approachable, flavor-focused creations at The Dream Café.
Sophie’s style leans into comfort food made simple: wholesome, satisfying meals anyone can make with confidence. Her passion lies in helping home cooks feel at ease in the kitchen while finding joy in the everyday act of cooking.