Decadent Chocolate Peanut Butter Krispie Brownies Dessert Recipe
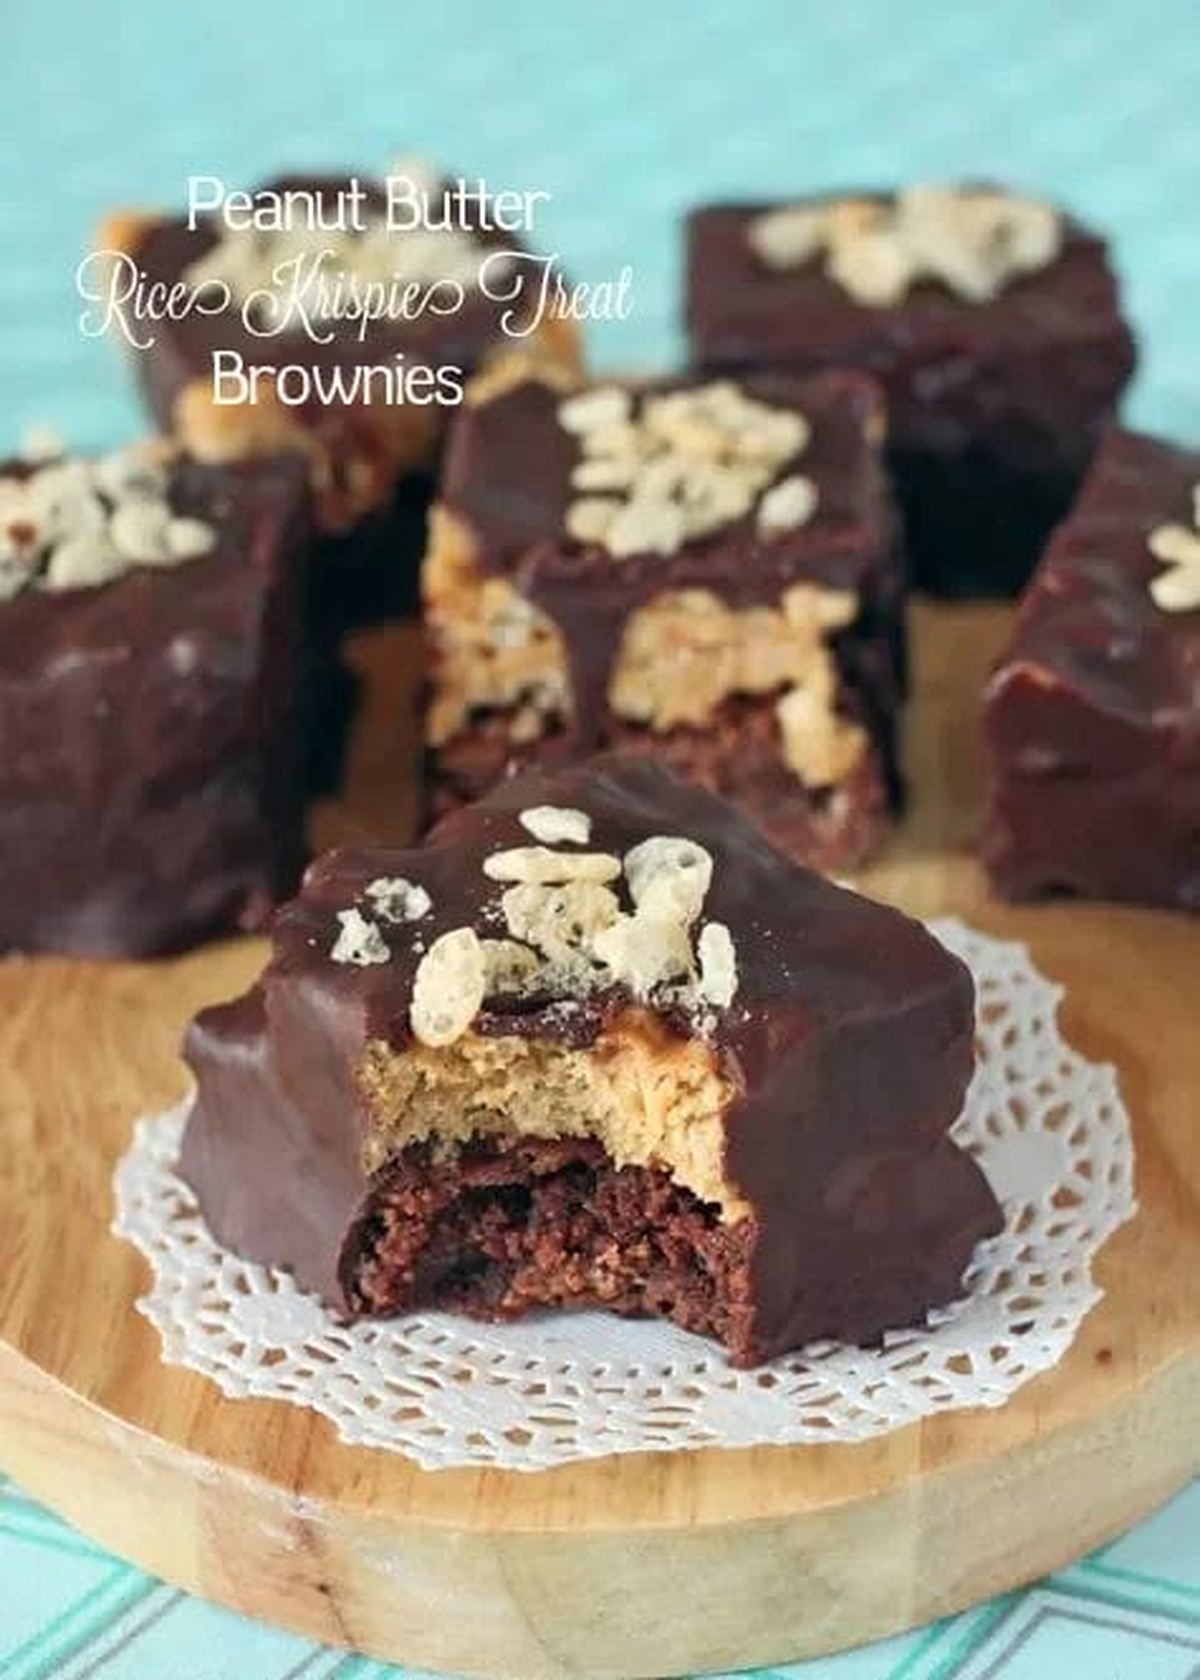
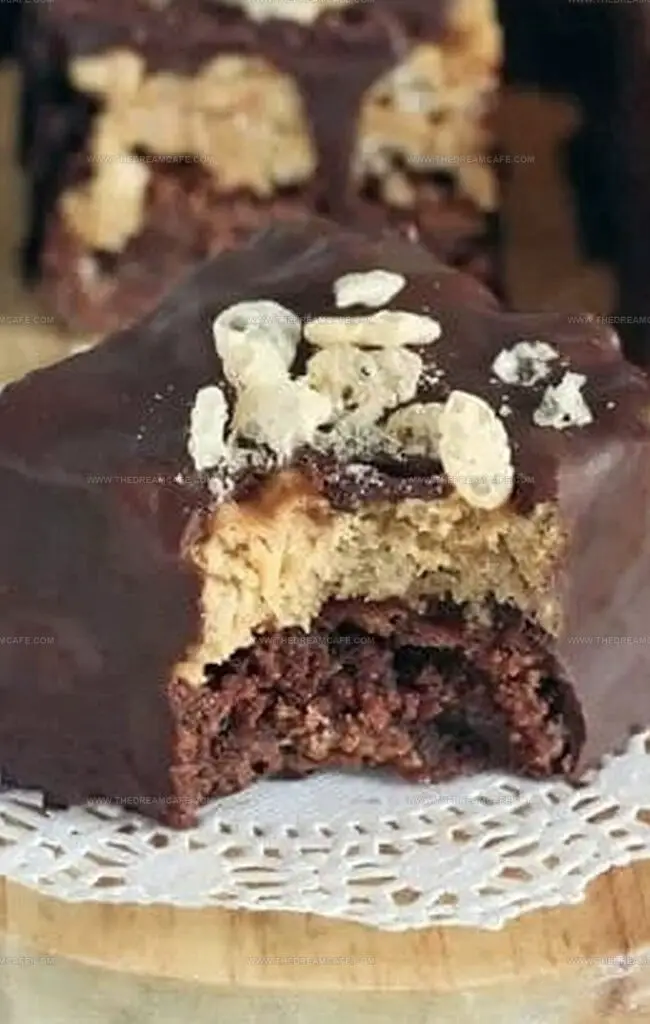
Chocolate covered peanut butter rice krispie treat brownies represent the ultimate indulgence for serious dessert enthusiasts.
Sweet and salty combinations create an unexpected flavor profile that tantalizes taste buds.
Decadent layers meld together in a symphony of textures and tastes that defy ordinary expectations.
Creamy peanut butter infuses rich chocolate with remarkable depth and complexity.
Dense brownie foundations provide a luxurious backdrop for crispy cereal elements that add irresistible crunch.
Sophisticated yet playful, these bars change ordinary ingredients into a remarkable culinary experience.
Prepare to fall in love with a dessert that promises pure chocolate-peanut butter bliss.
Why You’ll Love Chocolate Covered PB Rice Krispie Treat Brownies
All the Ingredients for Chocolate Covered PB Rice Krispie Treat Brownies
Base Ingredients:Dry Ingredients:Binding and Flavor Ingredients:Step-by-Step Instructions for This Layered Dessert
Step 1: Prepare Baking Setup
Warm oven to 350°F. Grease center of 8×8 baking pan. Line pan with parchment paper, leaving overhang on two sides. Lightly butter parchment paper.
Step 2: Create Chocolate Brownie Base
Melt butter and chocolate chips using double boiler or microwave. Stir until smooth. Mix in:Fold in rice krispies until combined.
Step 3: Bake Brownie Layer
Spread batter evenly in prepared pan. Bake until toothpick shows moist crumbs, approximately 35 minutes.
Step 4: Add Chocolate Topping
Remove brownies from oven. Sprinkle remaining chocolate chips on top. Wait 15-20 minutes, then gently spread melted chips. Allow to cool completely.
Step 5: Prepare Peanut Butter Cereal Layer
Melt butter in saucepan over low heat. Add marshmallows, stir until melted. Remove from heat. Mix in peanut butter until smooth.
Step 6: Create Cereal Layer
Stir cereal into marshmallow mixture. Spread evenly over brownie base using buttered spatula. Refrigerate 25 minutes.
Step 7: Cut Brownies
Remove from refrigerator. Lift brownies using parchment paper. Cut into squares with clean knife.
Step 8: Chocolate Coating Preparation
Melt chocolate in microwave, reserving . Stir in shortening until smooth.
Step 9: Coat Brownies
Dip each brownie in melted chocolate. Use skewer for easier handling. Let excess chocolate drip. Place on wire rack.
Step 10: Final Setting
Allow chocolate to set at room temperature. If needed, refrigerate for 10 minutes.
Step 11: Store Treats
Keep in cool, dry place. Layer with parchment paper. Consume within 5 days.
Tips for Chocolate Covered Peanut Butter Rice Krispie Brownies
How to Keep These Brownies Fresh and Delicious
What to Pair with Chocolate Covered PB Rice Krispie Brownies
Delicious Twists on Chocolate Covered Peanut Butter Rice Krispie Treat Brownies
Print
Chocolate Peanut Butter Krispie Brownies Recipe
- Total Time: 1 hour 10 minutes
- Yield: 9 1x
Description
Chocolate Covered Peanut Butter Rice Krispie Treat Brownies elevate classic desserts into a delightful fusion of rich chocolate and creamy peanut butter. Layers of gooey brownie, crispy Rice Krispies, and smooth peanut butter create an irresistible treat sure to satisfy intense sweet cravings.
Ingredients
Main Ingredients:
- 1½ cups Rice Krispies cereal (brownies)
- 3 cups Rice Krispies cereal (Rice Krispie layer)
- 1½ cups semi-sweet chocolate chips (brownies)
- 1½ cups chopped milk or semi-sweet chocolate (chocolate coating)
- ½ cup all-purpose flour
Dairy and Sugar Ingredients:
- ½ cup unsalted butter (cut into pieces, plus more for greasing)
- 1 tablespoon butter
- ½ cup granulated sugar
- ½ cup light brown sugar
- 5 ounces marshmallows (about 20)
- 2 eggs (room temperature)
Additional Ingredients:
- ⅓ cup creamy peanut butter
- ½ teaspoon salt
- 1 teaspoon melted shortening
Instructions
- Heat the oven to 350°F (177°C). Prepare an 8×8 inch baking pan by applying a light butter coating in the center to help parchment paper adhere, then line the pan with parchment paper, ensuring two sides overhang for easy removal.
- Create the brownie base by melting butter and of chocolate chips using a double boiler or microwave, stirring frequently until smooth and fully integrated.
- Incorporate sugars and salt into the melted chocolate mixture, then gently fold in eggs until well combined. Add flour, mixing minimally to prevent overmixing, then fold in rice krispies cereal to create a thick batter.
- Distribute the batter evenly across the prepared pan, ensuring uniform thickness. Bake for approximately 35 minutes, or until a toothpick inserted in the center reveals moist crumbs.
- After removing from the oven, immediately sprinkle remaining chocolate chips across the surface. Allow 15-20 minutes for chips to soften, then gently spread to create a thin chocolate layer.
- Prepare the peanut butter rice krispie layer by melting butter in a medium saucepan over low heat. Add marshmallows and stir continuously until completely dissolved.
- Remove from heat and mix in peanut butter until smooth. Quickly fold in cereal, ensuring thorough and even coating. Spread the mixture across the cooled brownie base, using a buttered spatula or moistened fingers.
- Refrigerate the pan for 25 minutes to facilitate easier cutting and chocolate coating. Once chilled, lift the dessert from the pan using parchment paper edges and transfer to a cutting board.
- Slice into uniform squares or rectangles using a sharp chef’s knife, cleaning the blade between cuts to maintain clean edges.
- Melt chocolate in a microwave-safe bowl, reserving a tablespoon. Heat in 20-second intervals, stirring between each session until completely smooth. Incorporate the reserved chocolate and mix in shortening.
- Dip each brownie piece into the melted chocolate, using a skewer or chopstick for easier handling. Allow excess chocolate to drip off, then place on a wire rack or parchment paper to set.
- For faster chocolate setting, place the coated brownies in the refrigerator for approximately 10 minutes. Store in an airtight container with parchment paper between layers, keeping in a cool, dry location for up to 5 days.
Notes
- Customize your brownie base by using dark or milk chocolate chips for a personalized flavor profile.
- Refrigerating the rice krispie layer helps create clean, precise cuts and prevents crumbling during chocolate coating.
- Wiping the knife between cuts ensures smooth, professional-looking brownie edges without sticky residue.
- Work quickly when dipping brownies in chocolate to maintain an even, glossy chocolate coating.
- Store treats in an airtight container with parchment layers to preserve texture and prevent sticking.
- Prep Time: 35 minutes
- Cook Time: 35 minutes
- Category: Desserts
- Method: Baking, Blending
- Cuisine: American
Nutrition
- Serving Size: 9
- Calories: 450 kcal
- Sugar: 32g
- Sodium: 250mg
- Fat: 20g
- Saturated Fat: 9g
- Unsaturated Fat: 10g
- Trans Fat: 0g
- Carbohydrates: 52g
- Fiber: 2g
- Protein: 6g
- Cholesterol: 50mg


Julian Park
Co-Founder, Cuisine Researcher & Food Culture Writer
Expertise
Education
The Institute of Culinary Education (ICE), Los Angeles, CA
Julian Park is a natural storyteller at The Dream Café who blends hands-on culinary experience with a passion for exploring global food traditions. A graduate of The Institute of Culinary Education in Los Angeles, Julian combines professional technique with a love for cultural discovery, diving into how dishes reflect heritage, migration, and identity.
His work spans everything from in-depth cuisine guides to reflections on everyday meals around the world. With a curious palate and a journal always close by, Julian helps readers connect with food in a way that feels so insightful and personal.