Classic Buckeye Cheesecake Bars Recipe: Peanut Butter Bliss
Decadent chocolate and peanut butter create magic in these irresistible buckeye cheesecake bars that blend two classic dessert favorites into one incredible treat.
The rich combination of smooth peanut butter and silky chocolate sends taste buds on an adventure of pure indulgence.
Ohio’s beloved buckeye flavors meld seamlessly with a creamy cheesecake base, promising a dessert that’s both familiar and exciting.
Each bite delivers a perfect balance of sweet and tangy notes that dance across your palate.
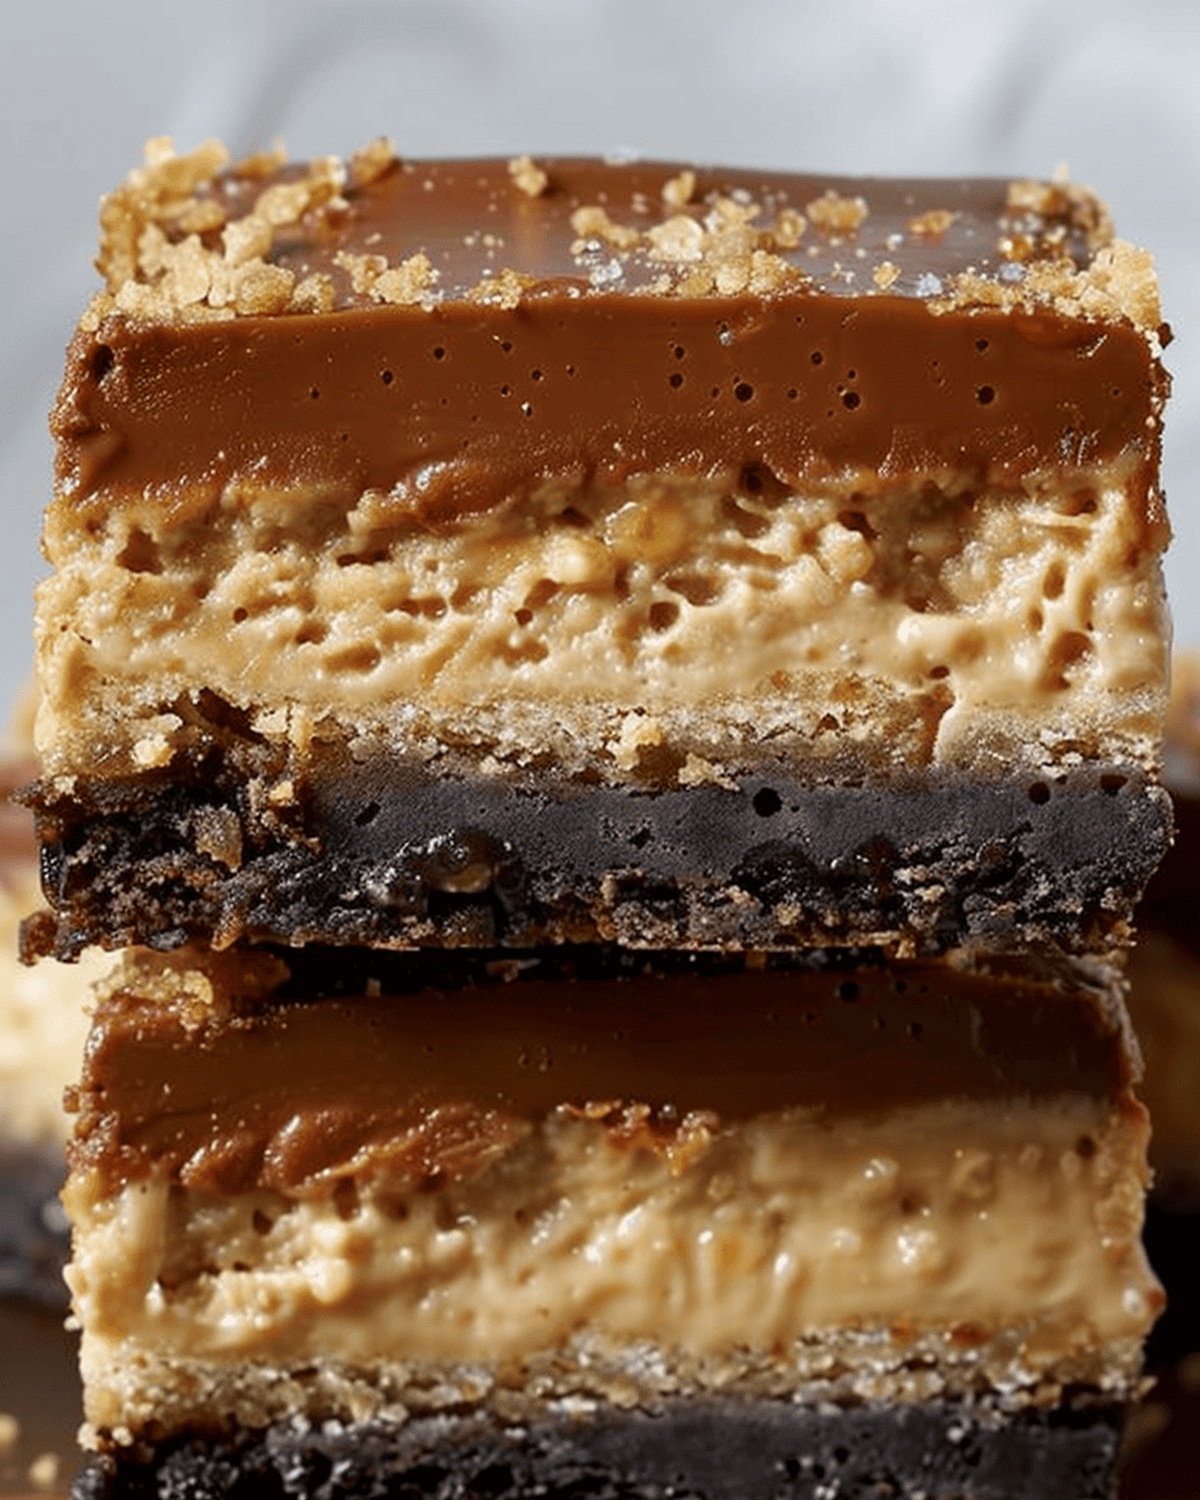
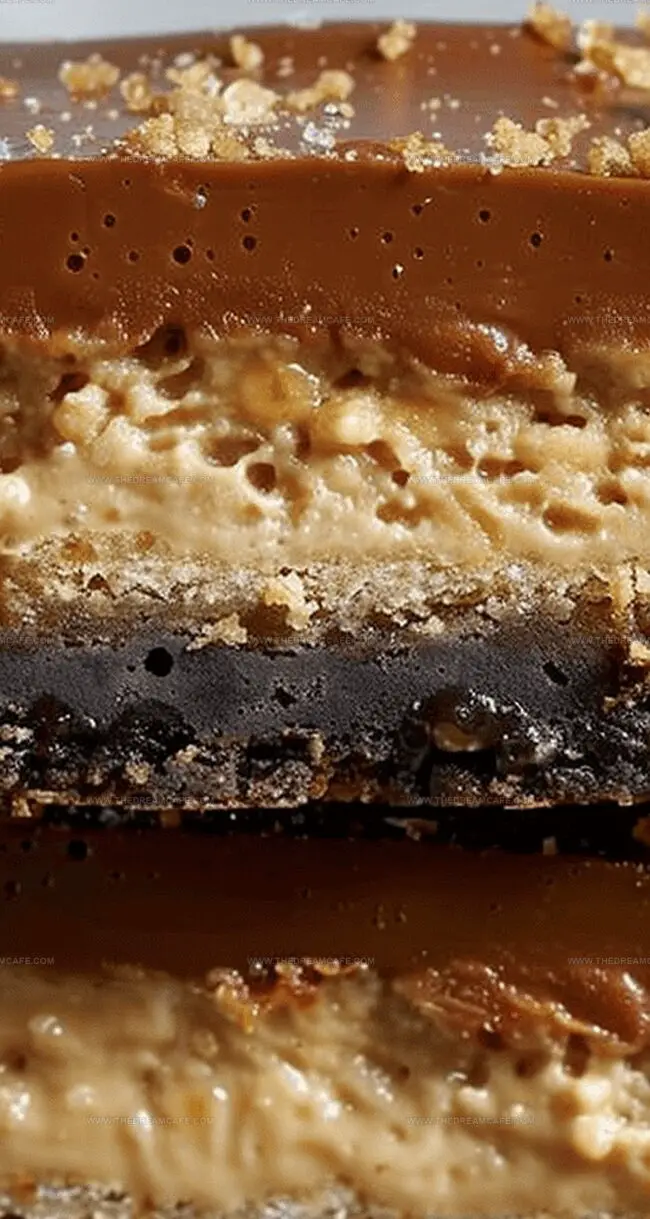
The layered texture provides a delightful contrast between the velvety cheesecake and the smooth chocolate-peanut butter topping.
Simple ingredients come together to craft a dessert that looks impressive but requires minimal effort.
This recipe transforms ordinary ingredients into an extraordinary experience that will have everyone asking for seconds.
Quick Recipe Overview
Ingredients That Bring Buckeye Cheesecake Bars to Life
For Crust Base:For Creamy Filling:For Decadent Topping:Tools for Smooth Layers and a Clean Cheesecake Base
How to Build Buckeye Bars with Precision
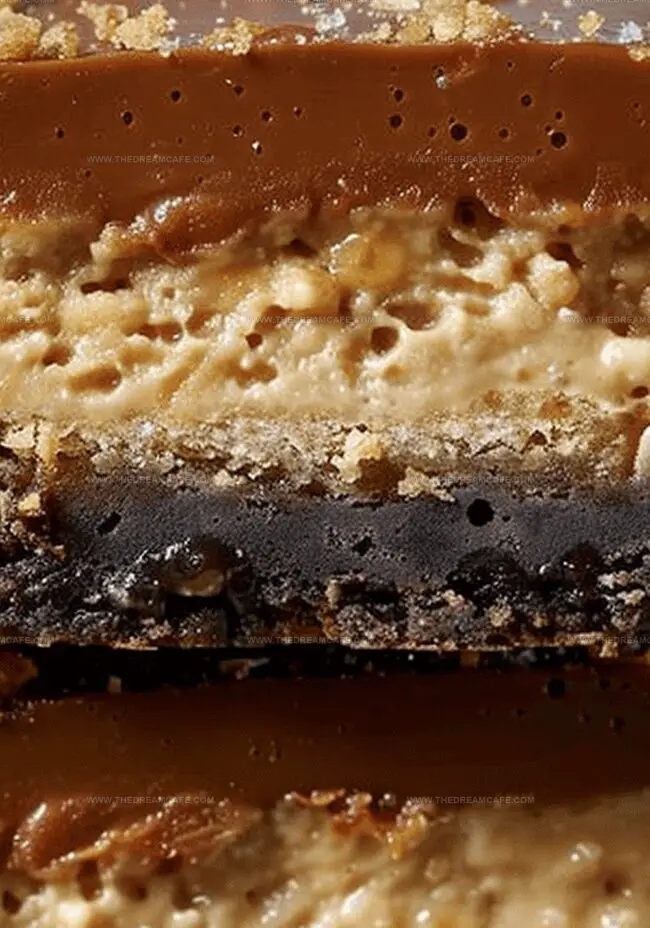
Crush chocolate sandwich cookies into fine crumbs, blending with melted butter to create a rich, sturdy base that will cradle your creamy dessert.
Whip cream cheese until velvety, introducing peanut butter and hazelnut spread for a luxurious, decadent flavor profile that will make taste buds dance.
Pour the silky filling over the cookie crust, allowing it to settle into a perfect, even layer before sliding into a warm oven for gentle transformation.
Melt chocolate chips with warm cream, creating a glossy ganache that will cascade over the chilled cheesecake like a sophisticated waterfall of sweetness.
Sprinkle a whisper of sea salt across the top, adding a sophisticated contrast that elevates the entire dessert from delicious to extraordinary.
Flavor Boosts for Your Peanut Butter-Chocolate Balance
Serving Buckeye Cheesecake Bars with Neat Presentation
Keeping Cheesecake Bars Fresh and Dense Over Time
Print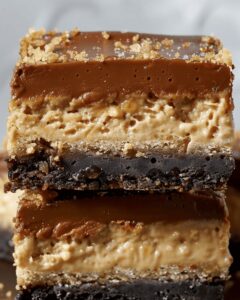
Creamy Buckeye Cheesecake Bars Recipe
- Total Time: 1 hour 5 minutes
- Yield: 17 1x
Description
Buckeye cheesecake bars blend Ohio’s favorite peanut butter and chocolate treat with creamy cheesecake perfection. Rich layers promise indulgent dessert magic for chocolate and peanut butter fans seeking sweet satisfaction.
Ingredients
- 16 oz (454 g) full-fat cream cheese
- 2 large eggs
- ¾ cup (177 ml) smooth peanut butter
- ¾ cup (150 g) granulated sugar
- ½ cup (120 ml) sour cream
- 1 tsp vanilla extract
- ½ tsp kosher salt
- ¼ cup (60 ml) chocolate-hazelnut spread
- 8 oz (226 g) semisweet chocolate chips
- 1 cup (240 ml) heavy cream
- 1 tsp flaky salt
- 20 Oreo cookies
- 5 tbsps (71 g) unsalted butter
- ½ tsp kosher salt
Instructions
- Prepare Crust: Pulverize Oreo cookies with salt in a food processor. Integrate melted butter until mixture resembles wet sand. Press firmly into parchment-lined 9×9-inch pan and bake at 350°F for 10 minutes, then cool slightly.
- Create Cheesecake Filling: Whip cream cheese and sugar until silky smooth. Blend in sour cream, peanut butter, hazelnut spread, vanilla extract, and salt until uniform. Gradually incorporate eggs, mixing thoroughly and scraping bowl sides to ensure even distribution.
- Bake Cheesecake: Pour filling over prepared crust, spreading evenly to eliminate air pockets. Bake 22-26 minutes until edges set and center slightly wobbles. Cool at room temperature for one hour, then refrigerate 4-6 hours or overnight.
- Prepare Ganache Topping: Gently heat heavy cream to simmering point. Pour over dark chocolate chips and let rest 2-3 minutes. Whisk until glossy and smooth. Cool to pourable consistency.
- Finish and Serve: Drizzle ganache over chilled cheesecake, tilting to ensure complete coverage. Sprinkle flaky sea salt on top. Refrigerate 15-20 minutes to set ganache. Remove from pan using parchment overhang, slice into 16 squares, and serve chilled.
Notes
- Chill for Perfection: Refrigerate the cheesecake for 4-6 hours or overnight to ensure a firm, smooth texture that cuts cleanly and holds its shape.
- Prevent Cracking Technique: Beat cream cheese and sugar until completely smooth, and add eggs one at a time to create a silky, crack-free cheesecake surface.
- Room Temperature Magic: Let ingredients like cream cheese, eggs, and sour cream sit at room temperature before mixing to create a more uniform, lump-free batter.
- Ganache Wisdom: Allow ganache to cool slightly before pouring to achieve the ideal pourable consistency that spreads evenly without overwhelming the cheesecake.
- Prep Time: 30 minutes
- Cook Time: 35 minutes
- Category: Desserts, Snacks
- Method: Baking
- Cuisine: American
Nutrition
- Serving Size: 17
- Calories: 400
- Sugar: 24 g
- Sodium: 250 mg
- Fat: 28 g
- Saturated Fat: 16 g
- Unsaturated Fat: 10 g
- Trans Fat: 0 g
- Carbohydrates: 34 g
- Fiber: 1 g
- Protein: 6 g
- Cholesterol: 75 mg
Sophie Reynolds
Co-Founder, Recipe Curator & Culinary Educator
Expertise
Education
Auguste Escoffier School of Culinary Arts, Boulder, CO
Oregon State University
Sophie Reynolds is the recipe developer and culinary voice behind many of the approachable, flavor-focused creations at The Dream Café.
Sophie’s style leans into comfort food made simple: wholesome, satisfying meals anyone can make with confidence. Her passion lies in helping home cooks feel at ease in the kitchen while finding joy in the everyday act of cooking.