Quick Homemade Ricotta Cheese Recipe: Fluffy Kitchen Magic
Crafting creamy homemade ricotta cheese transforms ordinary kitchen moments into delightful culinary adventures.
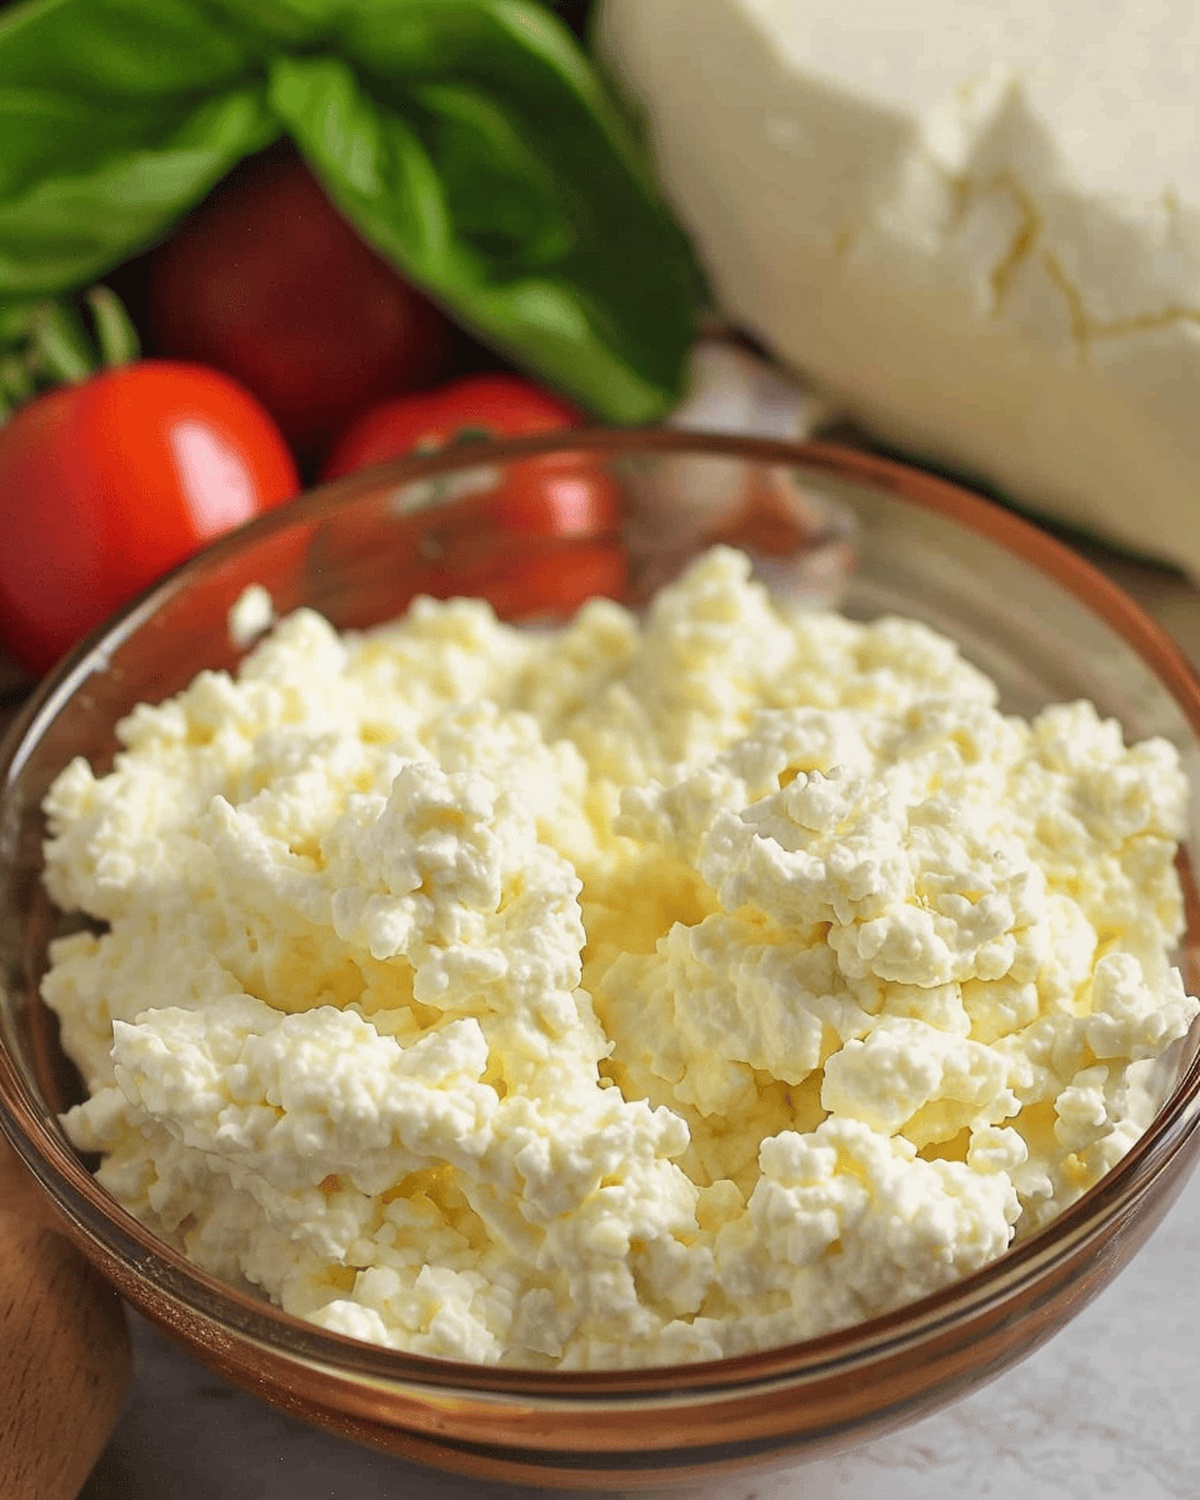
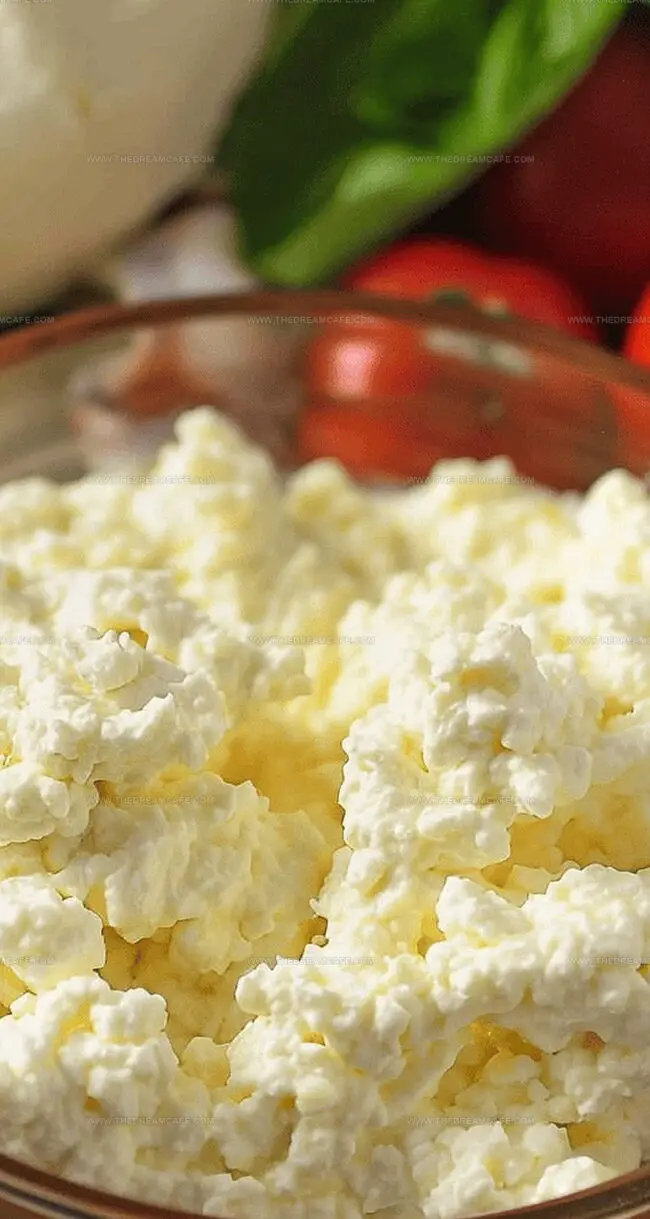
Soft, cloud-like ricotta cheese emerges from simple ingredients you already have in your pantry.
Making fresh cheese isn’t complicated or intimidating – it’s a surprisingly straightforward process.
Every step brings rich, velvety texture closer to your plate.
Professional chefs and home cooks alike treasure this delicate, versatile cheese for its pure flavor and incredible smoothness.
The magic happens with just milk, salt, and acid – no fancy equipment needed.
Let’s find out this recipe and uncover the joy of creating restaurant-quality ricotta right in your own kitchen.
Quick Recipe Overview
Homemade Ricotta Cheese: What to Gather
For Dairy Base:For Acid Activator:For Seasoning:Tools That Make Homemade Ricotta Cheese a Breeze
How to Make Ricotta Cheese the Way

Select a sturdy pot and pour fresh milk inside, creating the foundation for your homemade cheese adventure. Sprinkle a gentle touch of salt for flavor enhancement.
Warm the milk slowly, watching it gradually transform and release its potential. Allow the liquid to reach a steamy state without aggressive boiling, hovering around 185°F.
Introduce tangy lemon juice, watching magical separation begin. Soft clouds will start forming as proteins dance and separate from liquid.
Let the mixture sit quietly, allowing curds to develop natural texture and character. Patient waiting rewards you with delicate cheese structures.
Gently transfer your developing cheese into a soft cheesecloth nestled inside a catching bowl. Allow excess liquid to gracefully drain away, concentrating rich cheese flavors.
Gather your cheesecloth, creating a delicate bundle. Suspend over a container, letting remaining moisture escape naturally for one to two hours.
Transfer your freshly crafted cheese into a clean glass container, ready to enhance salads, toast, or enjoy as a standalone delicacy.
Creative Uses for Homemade Ricotta Cheese
Serve Homemade Ricotta Cheese with These Ideas
Storing Homemade Ricotta for the Week Ahead
Print
Creamy Homemade Ricotta Cheese Recipe
- Total Time: 30 minutes
- Yield: 5 1x
Description
Creamy homemade ricotta cheese elevates any dish with its luxurious texture and fresh flavor. Crafted from simple ingredients, this Italian classic brings authentic taste to kitchens, inviting you to savor pure, rich goodness.
Ingredients
- ½ gallon (1.89 L) whole milk
- 2 tbsps (30 mL) lemon juice or apple cider vinegar
- 1 tsp (5 g) sea salt
Instructions
- Preparation: Gather a heavy-bottomed pot and combine whole milk and kosher salt, establishing a foundational dairy base for ricotta transformation.
- Heating Process: Elevate milk mixture to 185°F (85°C) over medium-high heat, creating a steamy environment without aggressive boiling, stirring occasionally to prevent scorching.
- Curdling Technique: Introduce freshly squeezed lemon juice or apple cider vinegar, triggering immediate protein separation and initiating delicate cheese formation.
- Coagulation Stage: Reduce heat and allow gentle chemical reaction for 1-2 minutes, observing subtle curdling while maintaining consistent temperature.
- Resting Period: Remove from heat and let mixture settle undisturbed for 10-12 minutes, enabling complete protein configuration and flavor development.
- Straining Method: Line a large colander with multiple cheesecloth layers, positioning above a deep collection bowl to facilitate precise whey drainage.
- Draining Process: Gently transfer curdled mixture into cloth-lined colander, suspending cheesecloth edges to encourage natural filtration and moisture removal.
- Consistency Control: Allow ricotta to drain for 1.5-2 hours, monitoring texture and moisture levels to achieve desired creamy consistency.
- Storage Technique: Transfer finished ricotta into a sealed glass container, refrigerating immediately to maintain freshness and preserve delicate dairy characteristics for 5-7 days.
Notes
- Select Quality Milk: Choose full-fat, fresh whole milk for rich, creamy ricotta with superior texture and flavor.
- Temperature Precision: Monitor milk heat carefully; overheating causes tough, rubbery cheese while underheating prevents proper curd formation.
- Acid Selection Matters: Fresh lemon juice or apple cider vinegar work best, providing clean tangy notes and consistent protein separation.
- Draining Technique: Longer drain time creates firmer cheese, while shorter periods result in softer, more spreadable ricotta.
- Prep Time: 10 minutes
- Cook Time: 20 minutes
- Category: Snacks, Appetizer
- Method: Simmering
- Cuisine: Italian
Nutrition
- Serving Size: 5
- Calories: 166
- Sugar: 12 g
- Sodium: 200 mg
- Fat: 9 g
- Saturated Fat: 5 g
- Unsaturated Fat: 4 g
- Trans Fat: 0 g
- Carbohydrates: 13 g
- Fiber: 0 g
- Protein: 10 g
- Cholesterol: 40 mg
Sophie Reynolds
Co-Founder, Recipe Curator & Culinary Educator
Expertise
Education
Auguste Escoffier School of Culinary Arts, Boulder, CO
Oregon State University
Sophie Reynolds is the recipe developer and culinary voice behind many of the approachable, flavor-focused creations at The Dream Café.
Sophie’s style leans into comfort food made simple: wholesome, satisfying meals anyone can make with confidence. Her passion lies in helping home cooks feel at ease in the kitchen while finding joy in the everyday act of cooking.