Irresistibly Flaky Homemade Cheesy Twists Recipe
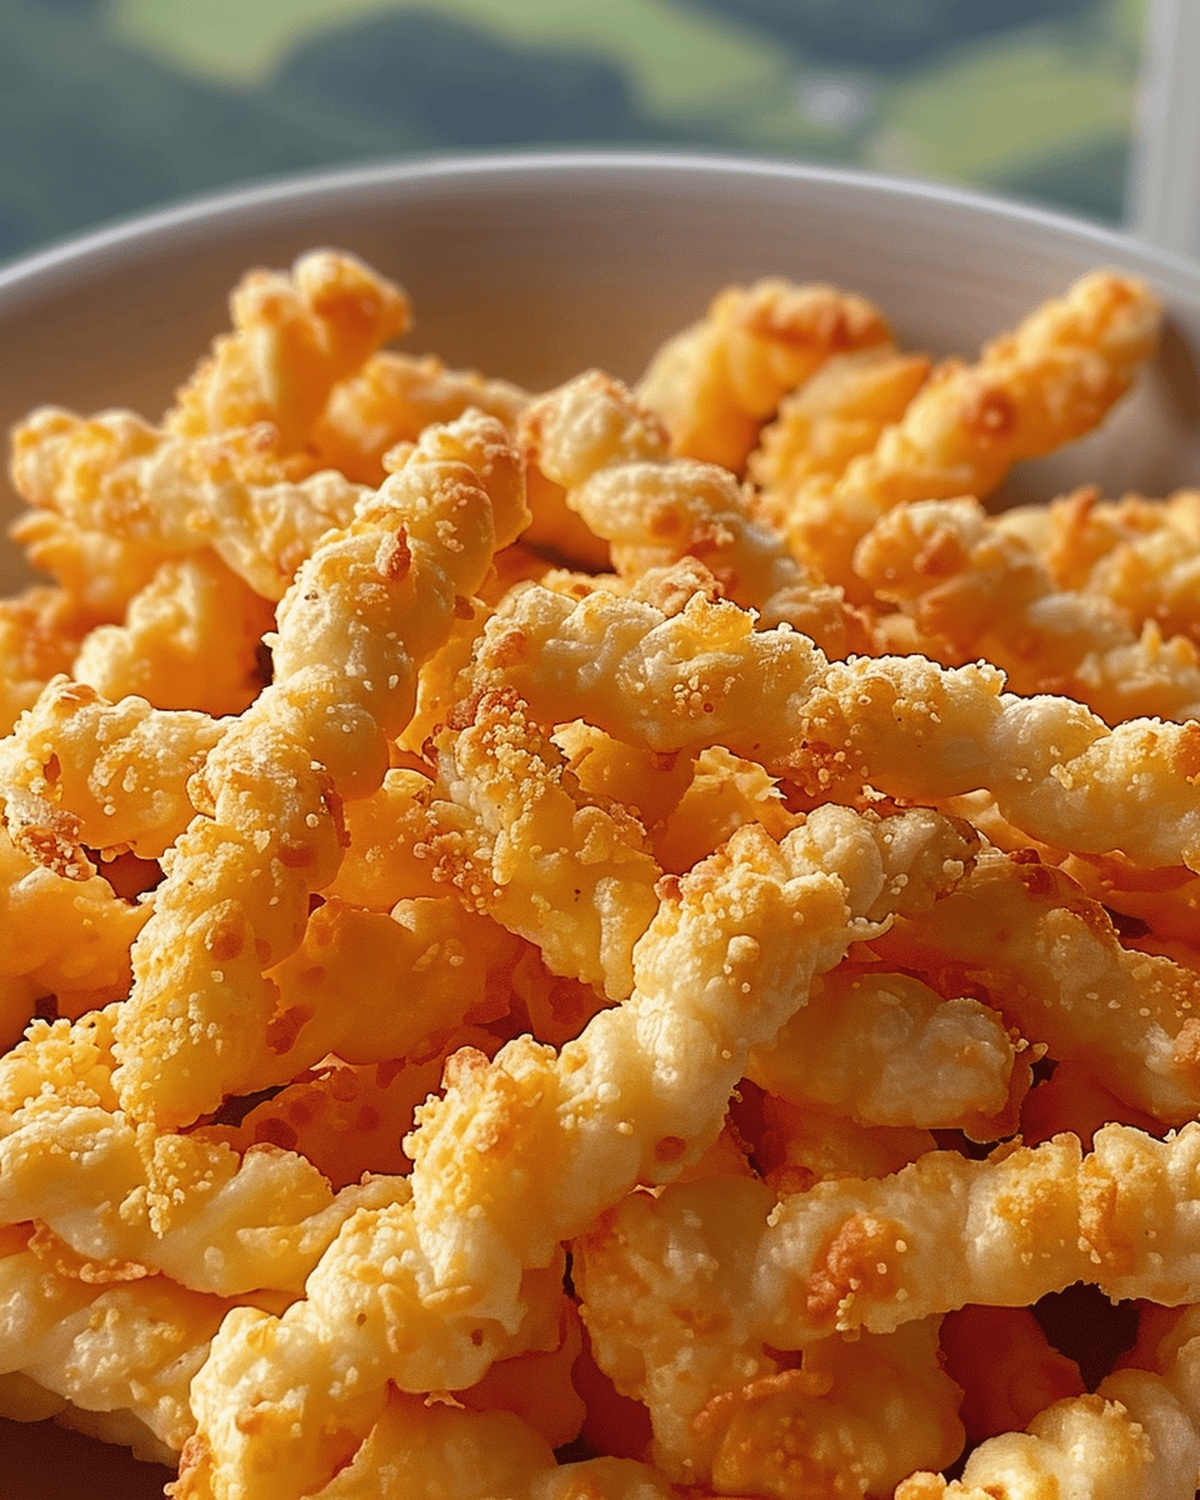
Warm, golden-brown cheesy twists dance with irresistible flavors that make snack time extraordinary.
These delectable cheese twists bring comfort straight from your kitchen.
Every crispy, buttery strand promises a delightful crunch that melts in your mouth.
Crafted with simple ingredients and a touch of love, this homemade recipe turns ordinary pastry into something spectacular.
The aroma of melted cheese and flaky dough will draw everyone to the kitchen.
Baking these twists is easier than you might expect, with minimal effort and maximum satisfaction.
Get ready to savor a snack that beats any store-bought treat.
Quick Recipe Overview

What You’ll Use for Homemade Cheesy Twists
For Dough Base:For Coating Mixture:For Optional Finishing:Get These Tools for Homemade Cheesy Twists
Homemade Cheesy Twists Instructions You’ll Follow

Gather your kitchen tools and prepare to create a savory snack that will make taste buds dance. You’ll mix butter with zesty seasonings to form a delightful dough that promises crispy, cheesy goodness.
Combine ingredients in a mixer, blending until a smooth, cohesive mixture forms. The key is creating a consistency that’s firm yet pliable, promising a perfect texture for your twisty treats.
Wrap the dough in plastic and let it relax in the refrigerator. This cooling period helps develop rich flavors and ensures your twists will have the perfect structure.
Roll small portions of chilled dough into rustic, imperfect logs. Embrace the handmade look – each twist tells a delicious story of homemade craftsmanship.
Place twists on baking sheets and transform them in a warm oven. Watch as they turn golden and develop a delicate crunch that hints at the cheesy delights to come.
Once cooled, coat your twists in a magical powder blend that amplifies the cheesy flavor. Gently tumble the twists to ensure every inch is covered in deliciousness.
Serve these irresistible cheese twists at gatherings or savor them as a personal snack. Each bite promises a burst of flavor that celebrates homemade creativity.
Tips That Elevate Homemade Cheesy Twists
Stylish Serving for Homemade Cheesy Twists
Homemade Cheesy Twists Storage Suggestions
Print
Crispy Cheesy Twists Recipe
- Total Time: 1 hour 25 minutes
- Yield: 9 1x
Description
Cheesy twists emerge as a delightful snack with golden, crispy edges and a rich parmesan core. Mediterranean herbs and sharp cheddar blend perfectly, inviting you to savor each delectable bite.
Ingredients
- 4 oz (113 g) Monterey Jack cheese, finely shredded
- 1 cup (4 ¼ oz / 120 g) unbleached all-purpose flour
- 4 tbsps (2 oz / 57 g) chilled unsalted butter, cut into ½-inch cubes
- 1 ½ tbsps Cheddar Cheese powder (preferably King Arthur Vermont White Cheddar Powder)
- ½ tbsp Penzeys Brady Street Cheese Sprinkle
- ½ tsp buttermilk powder
- ½ tsp kosher salt
- ¼ tsp kosher salt
- 1/8 tsp garlic powder
- ½ tsp cornstarch
- 1 ½ tsps yellow cornmeal
Instructions
- Butter Fusion: Cream unsalted butter with salt and garlic powder using a stand mixer’s paddle attachment until smooth and thoroughly blended.
- Dough Formation: Fold in flour, cornmeal, and shredded cheese on low speed, transforming the mixture into a cohesive, firm dough. Shape into a compact disc, encase in plastic wrap, and chill in the refrigerator for one hour to enhance flavor melding and structural integrity.
- Oven Preparation: Heat oven to 350°F (175°C) and line baking sheets with parchment paper or silicone mats. Extract chilled dough and craft rustic, uneven logs by pinching and rolling small portions between palms.
- Baking Process: Arrange dough logs on prepared sheets with ample spacing. Roast for 12-15 minutes until edges achieve a golden-brown hue and surface loses its glossy sheen.
- Cooling and Coating: Transfer twists to a wire rack, allowing complete cooling at room temperature. Pulverize cheese powders, buttermilk powder, salt, and cornstarch in a spice grinder until uniformly blended.
- Final Transformation: Enclose cooled cheese twists in a large zip-top bag, introduce the prepared coating mixture, seal, and gently agitate to ensure comprehensive and even coverage.
Notes
- Chill for Success: Refrigerating the dough for 60 minutes allows ingredients to meld, enhancing flavor and creating a firmer texture for easier shaping.
- Rustic Shaping Technique: Roll dough logs by hand for uneven, artisanal-style twists that give a homemade, authentic appearance and texture.
- Golden Brown Indicator: Watch for edges turning golden and surface losing its glossy sheen – this signals perfect baking and optimal crispness.
- Coating Pro Tip: Use a sealed zip-top bag for even powder distribution, ensuring each twist gets maximum flavor coverage without mess.
- Prep Time: 1 hour 10 minutes
- Cook Time: 15 minutes
- Category: Snacks, Appetizer
- Method: Baking
- Cuisine: Italian
Nutrition
- Serving Size: 9
- Calories: 200
- Sugar: 0 g
- Sodium: 200 mg
- Fat: 12 g
- Saturated Fat: 7 g
- Unsaturated Fat: 4 g
- Trans Fat: 0 g
- Carbohydrates: 18 g
- Fiber: 1 g
- Protein: 6 g
- Cholesterol: 30 mg
Sophie Reynolds
Co-Founder, Recipe Curator & Culinary Educator
Expertise
Education
Auguste Escoffier School of Culinary Arts, Boulder, CO
Oregon State University
Sophie Reynolds is the recipe developer and culinary voice behind many of the approachable, flavor-focused creations at The Dream Café.
Sophie’s style leans into comfort food made simple: wholesome, satisfying meals anyone can make with confidence. Her passion lies in helping home cooks feel at ease in the kitchen while finding joy in the everyday act of cooking.