
Scrumptious Butterfinger Balls Recipe: Sweet Candy Bites
Sweet, creamy butterfinger balls recipe delights dessert lovers with an irresistible blend of chocolate and peanut butter.
These no-bake treats melt in your mouth with pure indulgence.
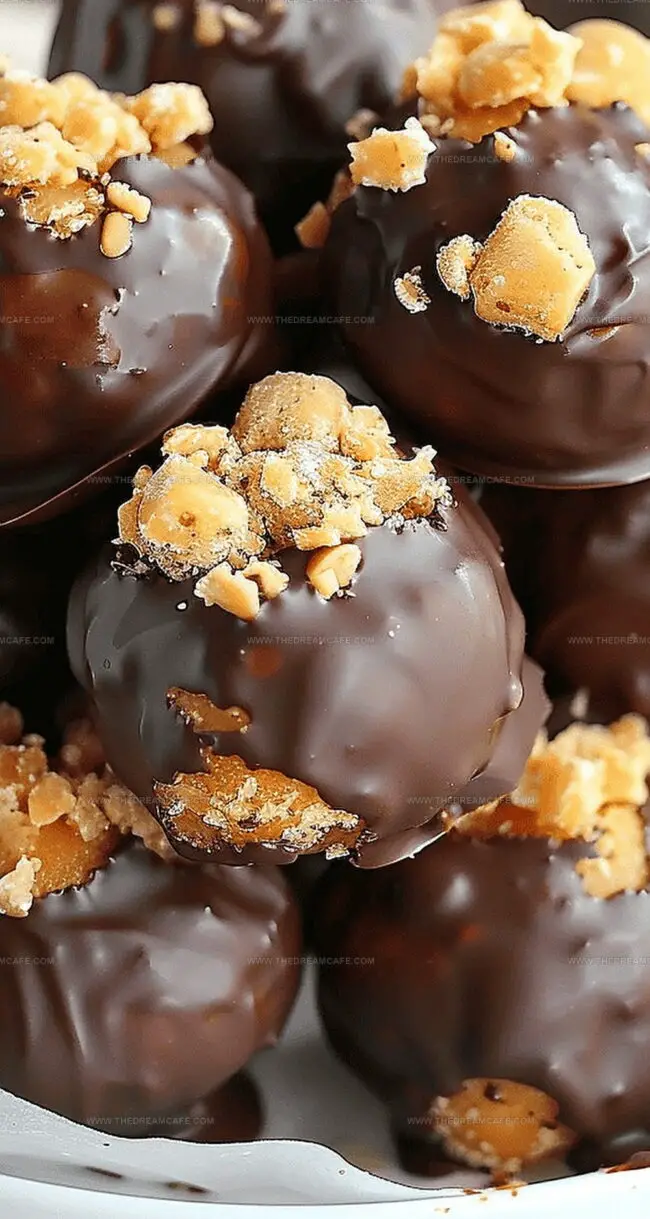
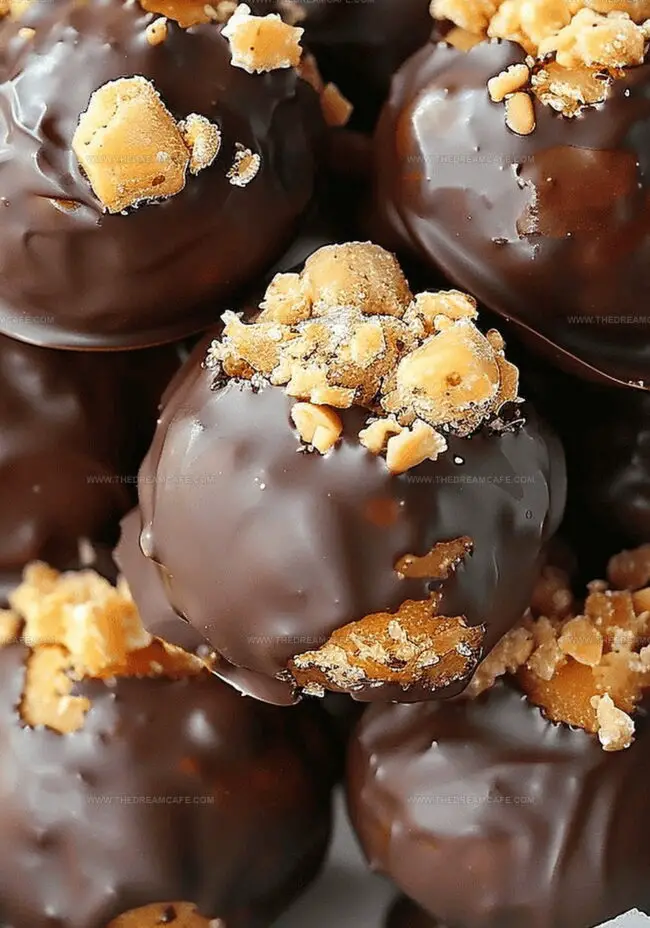
Crushed butterfinger candy bars create a stunning texture that sets these balls apart from ordinary desserts.
Chocolate coating adds a luxurious finish to each bite-sized morsel.
The recipe comes together quickly, requiring minimal effort and delivering maximum flavor.
Simple ingredients and straightforward steps make these balls a perfect solution for satisfying sudden sugar cravings.
Serve these decadent bites at parties or enjoy them as a personal sweet escape that will have everyone asking for the recipe.
Quick Recipe Overview
Butterfinger Balls Ingredient Checklist
For Base Ingredients:For Flavor Enhancers:For Crunch and Coating:Kitchen Tools to Shape Butterfinger Balls Easily
How to Make Butterfinger Balls with a Crunch
Grab your mixing bowl and combine the creamy peanut butter with softened butter, adding powdered sugar and a splash of vanilla. Crush some Butterfinger candy bars into fine crumbs and fold them into the mixture until everything blends beautifully.
Roll the rich mixture into small, delightful bite-sized spheres using your hands. Place these little treasures on a cookie sheet and pop them into the refrigerator to firm up.
Melt smooth chocolate in a double boiler or microwave. Carefully dunk each chilled ball, ensuring a complete chocolate coating. Gently place the chocolate-covered gems onto parchment paper.
Return the chocolate-coated balls to the refrigerator, allowing them to set completely. The cool environment will help the chocolate harden and create a perfect shell around the creamy interior.
Once firm, remove from the refrigerator and serve these decadent Butterfinger balls at your next gathering. Store any leftovers in an airtight container in the refrigerator for maximum freshness.
Flavor Tweaks for Better Candy Texture
Fun Ways to Serve Butterfinger Balls
Keep Your Candy Balls Fresh and Firm
Print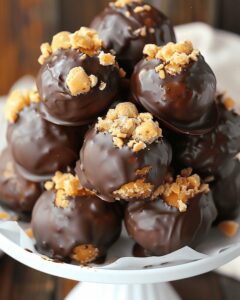
Decadent Butterfinger Balls Recipe
- Total Time: 20 minutes
- Yield: 25 1x
Description
Homemade butterfinger balls combine creamy peanut butter and crunchy candy bar crumbles for an irresistible treat. Chocolate-coated spheres deliver rich flavor with each delightful bite you’ll savor.
Ingredients
- 6 Butterfinger candy bars, finely crushed
- 1 cup (240 ml / 8 fl oz) creamy peanut butter
- 2 cups (240 g / 8.5 oz) powdered sugar
- ¼ cup (57 g / 2 oz) unsalted butter, softened
- 1 tsp vanilla extract
- Pinch of salt
- 12 oz (340 g) semisweet or milk chocolate, chopped (optional, for dipping)
Instructions
- Preparation: Mix peanut butter, butter, powdered sugar, vanilla extract, and crushed Butterfinger candy bars in a large bowl until smooth and homogeneous.
- Shaping: Craft uniform 1-inch spheres using hands or a cookie scoop, arranging them on a parchment-lined baking sheet.
- Chilling: Refrigerate the formed balls for 20-25 minutes to solidify their structure and enhance handling.
- Chocolate Coating: Melt chocolate chips or wafers in a microwave-safe bowl, stirring periodically to ensure a silky, consistent texture.
- Dipping: Immerse each chilled ball into the molten chocolate, using a fork to drain excess coating and achieve an even, glossy surface.
- Setting: Position chocolate-covered balls back on the parchment sheet, allowing them to cool and solidify in the refrigerator for 10-15 minutes until the chocolate shell becomes completely rigid and lustrous.
Notes
- Chill for Success: Refrigerate the peanut butter mixture before shaping to prevent sticky hands and ensure easier ball formation.
- Chocolate Coating Technique: Use a fork when dipping to allow excess chocolate to drip off, creating a thin, even chocolate shell without clumps.
- Crush with Care: Finely crush Butterfinger bars for a consistent texture and even distribution throughout the mixture.
- Storage Tip: Store these treats in an airtight container in the refrigerator for up to one week to maintain their delightful texture and flavor.
- Prep Time: 20 minutes
- Cook Time: 0 minutes
- Category: Desserts, Snacks
- Method: None
- Cuisine: American
Nutrition
- Serving Size: 25
- Calories: 200
- Sugar: 18 g
- Sodium: 50 mg
- Fat: 10 g
- Saturated Fat: 4 g
- Unsaturated Fat: 6 g
- Trans Fat: 0 g
- Carbohydrates: 24 g
- Fiber: 1 g
- Protein: 3 g
- Cholesterol: 5 mg
Sophie Reynolds
Co-Founder, Recipe Curator & Culinary Educator
Expertise
Education
Auguste Escoffier School of Culinary Arts, Boulder, CO
Oregon State University
Sophie Reynolds is the recipe developer and culinary voice behind many of the approachable, flavor-focused creations at The Dream Café.
Sophie’s style leans into comfort food made simple: wholesome, satisfying meals anyone can make with confidence. Her passion lies in helping home cooks feel at ease in the kitchen while finding joy in the everyday act of cooking.