Dreamy No-Bake Chocolate Tart Recipe: Smooth Bliss in Every Bite
Decadent chocolate has a way of stealing hearts, and this no-bake chocolate tart recipe promises pure indulgence without the fuss of heating up the oven.
Rich, silky chocolate melds perfectly with a buttery graham cracker crust that melts in your mouth.
Every layer whispers luxury and simplicity, making this dessert a true showstopper for any occasion.
The recipe requires minimal effort but delivers maximum flavor that will impress even the most discerning sweet tooth.
With just a few quality ingredients, you can create a dessert that looks like it came straight from a professional patisserie.
Smooth chocolate ganache and a crisp crust combine to create a dessert that’s both elegant and irresistibly delicious.
Prepare to dive into a world of chocolatey bliss that’s sure to become your new favorite go-to dessert.
Quick Recipe Overview
What You’ll Need for No-Bake Chocolate Tart
For Oreo Crust:For Chocolate Ganache Filling:For Topping:Tools to Shape and Chill a No-Bake Tart
Easy Steps to Assemble Chocolate Tart
Crush those delicious Oreo cookies into tiny, uniform crumbs using a food processor or rolling pin. Press the crumbs firmly into a tart pan, creating a smooth, even layer that covers the entire bottom and sides.
Gently warm chocolate with cream in a saucepan, stirring constantly until everything melts into a luxurious, glossy mixture. Taste and adjust sweetness to your preference, ensuring a rich and smooth consistency.
Pour the warm chocolate mixture over the Oreo crust, allowing it to settle naturally. Place the tart in the refrigerator and let it transform into a decadent dessert, waiting patiently for several hours until it becomes perfectly firm.
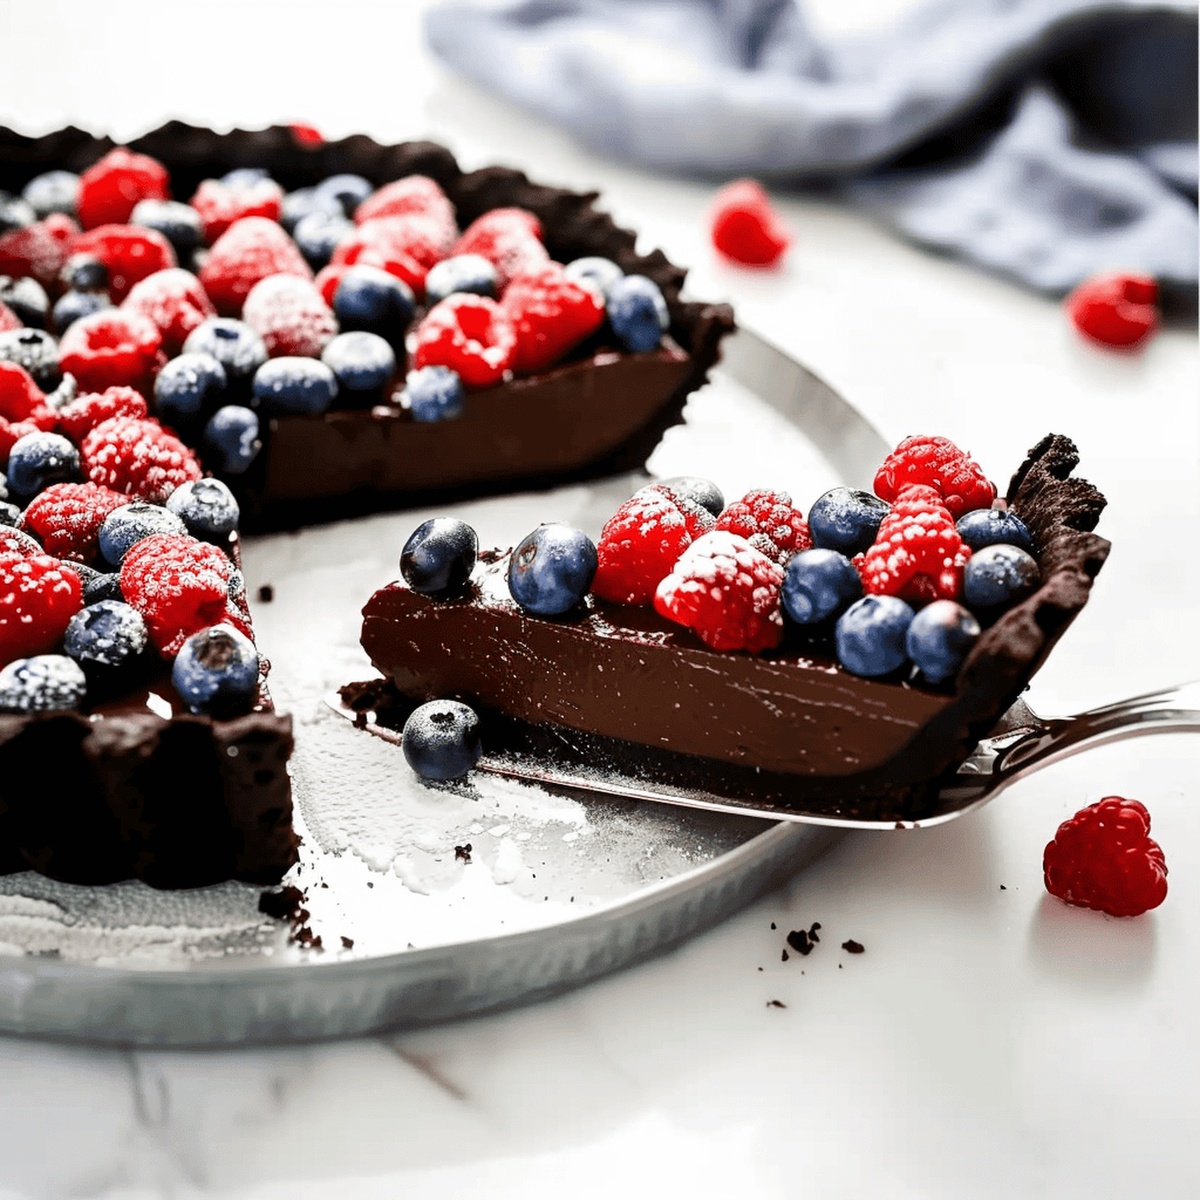
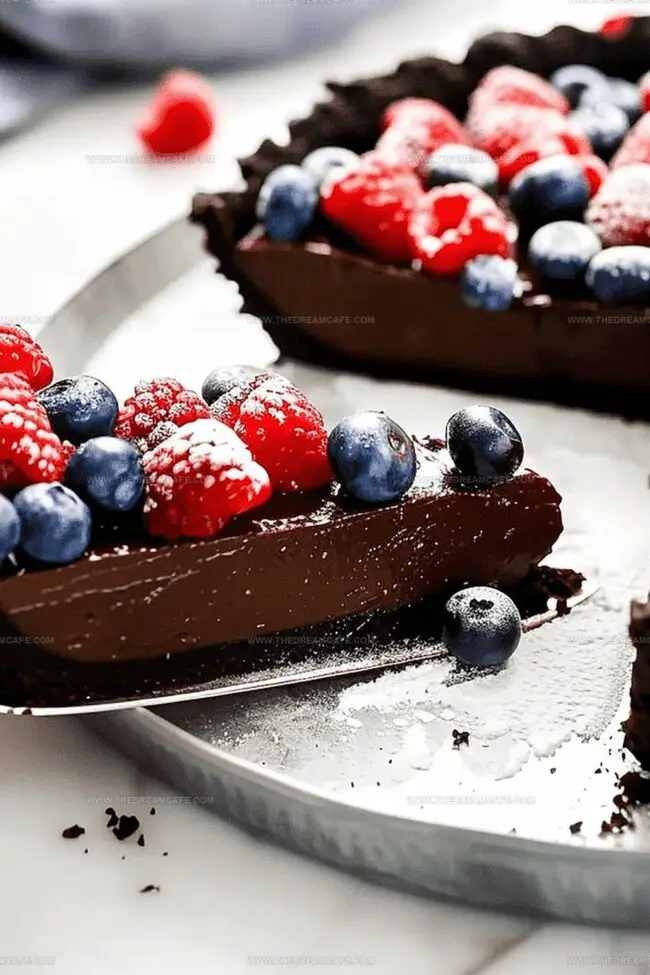
Once chilled, garnish the tart with fresh, vibrant berries and a delicate dusting of powdered sugar. The contrast of deep chocolate and bright fruit creates a stunning visual and flavor experience.
Slice the tart with a sharp knife, revealing the smooth chocolate interior. Serve chilled and watch as your guests marvel at this effortless yet impressive dessert.
Tips for Silky Smooth No-Bake Texture
Serving This Tart With a Creative Twist
Keeping Your Chocolate Tart Ready to Enjoy
Print
Decadent Chocolate Tart Recipe
- Total Time: 4 hours 15 minutes
- Yield: 9 1x
Description
Chocolate lovers will adore this no-bake chocolate tart that combines silky ganache with a crisp graham cracker crust. Rich Belgian chocolate and smooth cream create an elegant dessert you can enjoy without turning on the oven.
Ingredients
- 25 Oreo cookies
- 7 tbsps (105 ml) unsalted butter
- 1.5 cups (360 ml) semi-sweet chocolate chips
- 1 cup (240 ml) heavy cream
- 2 tbsps (30 ml) granulated sugar
- 1 cup (240 ml) mixed berries (blueberries, raspberries, or strawberries)
- 1 tsp (5 ml) powdered sugar
Instructions
- Crust Preparation: Pulverize chocolate sandwich cookies into fine, sandy consistency using a food processor, ensuring uniform texture.
- Crust Molding: Press cookie crumbs firmly into a 9-inch tart pan, creating a compact, smooth base that covers bottom and sides evenly.
- Filling Fusion: Combine heavy cream, dark chocolate, unsalted butter, and granulated sugar in a saucepan, melting ingredients over low heat while stirring continuously until achieving a glossy, smooth mixture.
- Cooling and Setting: Remove chocolate mixture from heat, allowing it to cool briefly, then pour gently over chilled crust, ensuring seamless coverage.
- Chilling and Solidifying: Refrigerate the tart for 3-4 hours or overnight, allowing filling to transform into a firm, luxurious texture.
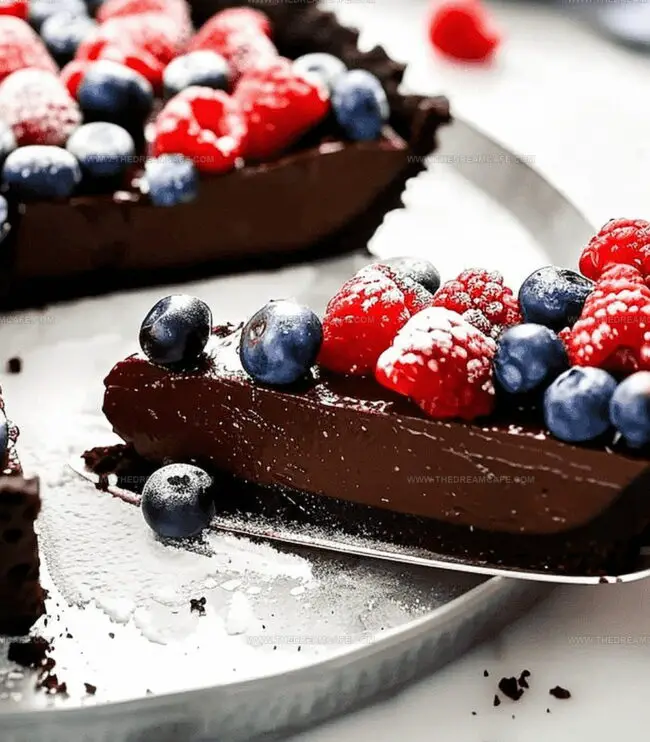
- Elegant Finishing: Embellish with fresh raspberries or strawberries, dusting lightly with powdered sugar for a sophisticated presentation.
- Serving: Slice and serve chilled, revealing a decadent dessert with rich, creamy characteristics that promise to delight the palate.
Notes
- Chill Crust Properly: Refrigerate the cookie crust for at least 15-20 minutes to prevent crumbling and ensure a solid base for the chocolate filling.
- Control Chocolate Melting: Heat chocolate mixture on low heat, stirring constantly to avoid burning and achieve a smooth, glossy texture without separation.
- Patience with Setting: Allow the tart to set completely in the refrigerator for minimum 3-4 hours, preferably overnight, to guarantee a firm, slice-able consistency.
- Garnish Strategically: Add fresh berries and powdered sugar just before serving to maintain berry freshness and prevent sugar from dissolving or becoming soggy.
- Prep Time: 15 minutes
- Cook Time: 4 hours
- Category: Desserts
- Method: Blending
- Cuisine: American
Nutrition
- Serving Size: 9
- Calories: 364
- Sugar: 22 g
- Sodium: 90 mg
- Fat: 24 g
- Saturated Fat: 14 g
- Unsaturated Fat: 9 g
- Trans Fat: 0 g
- Carbohydrates: 36 g
- Fiber: 1 g
- Protein: 4 g
- Cholesterol: 51 mg
Sophie Reynolds
Co-Founder, Recipe Curator & Culinary Educator
Expertise
Education
Auguste Escoffier School of Culinary Arts, Boulder, CO
Oregon State University
Sophie Reynolds is the recipe developer and culinary voice behind many of the approachable, flavor-focused creations at The Dream Café.
Sophie’s style leans into comfort food made simple: wholesome, satisfying meals anyone can make with confidence. Her passion lies in helping home cooks feel at ease in the kitchen while finding joy in the everyday act of cooking.