Decadent Oreo Dirt Cake Recipe

Magical Mud Madness: Fun Oreo Dirt Cake Recipe For All

Dive into a chocolatey wonderland with this irresistible Oreo dirt cake that promises pure dessert bliss.

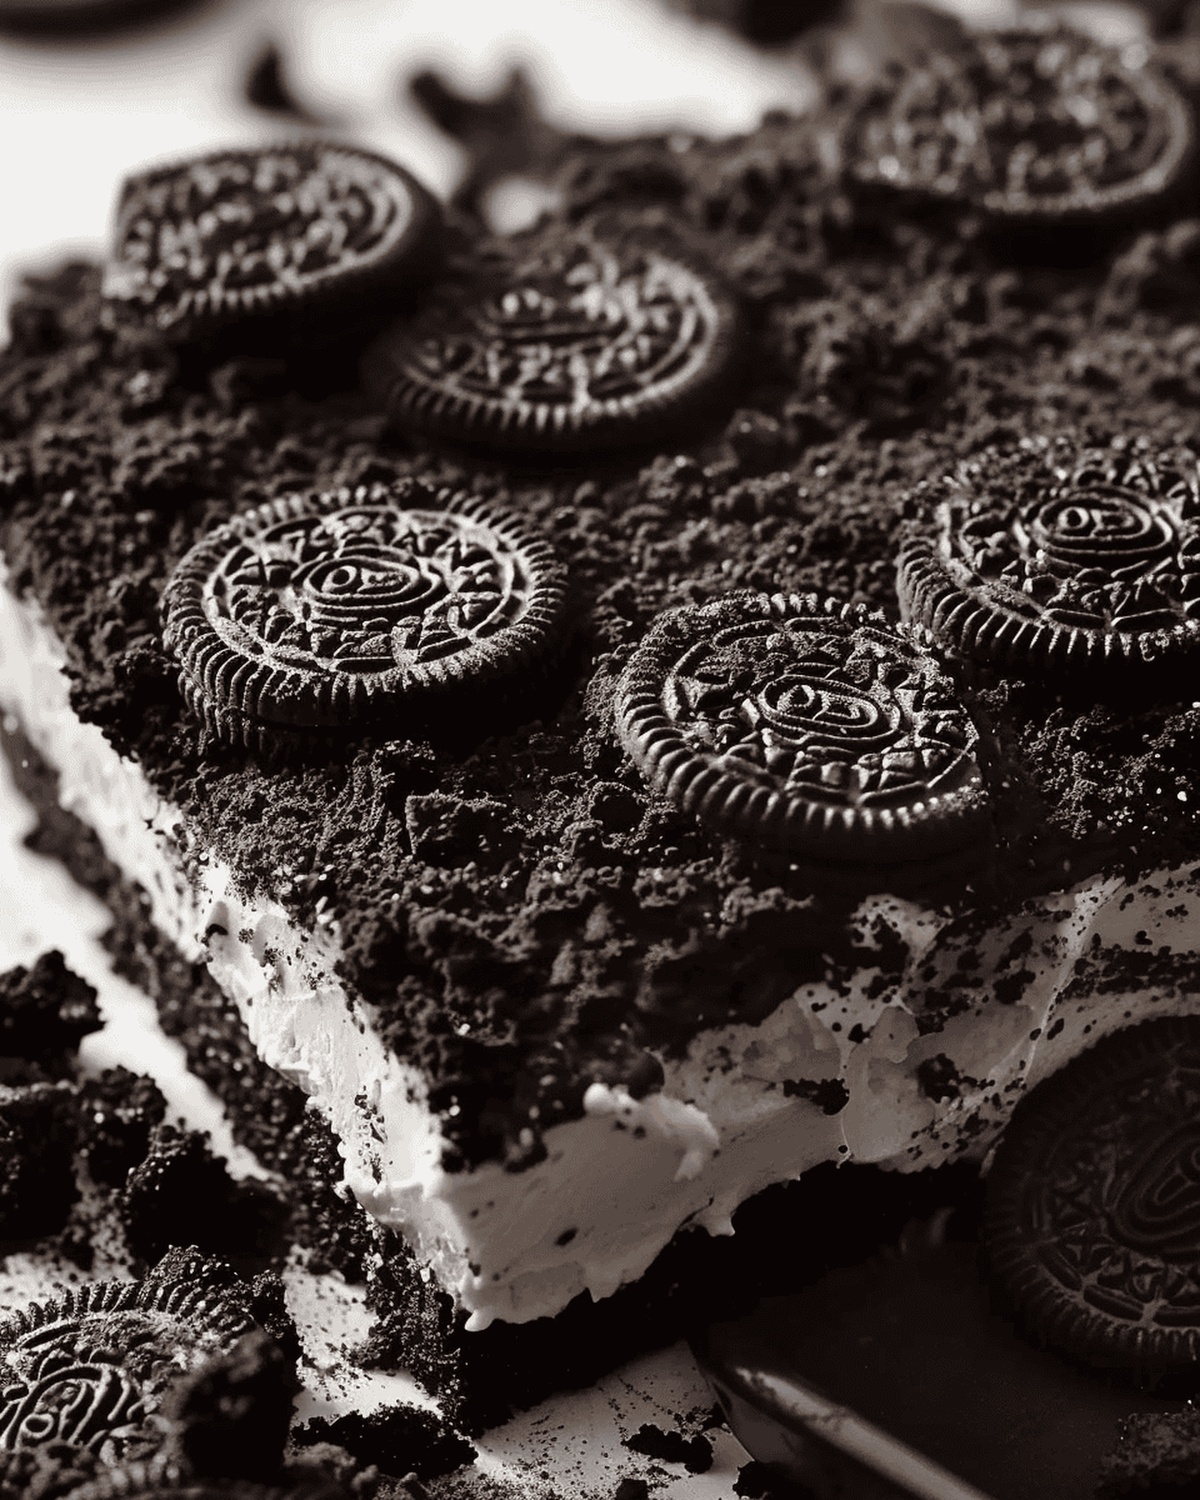
Layers of creamy goodness and crunchy cookie crumbles create a decadent treat that screams indulgence.

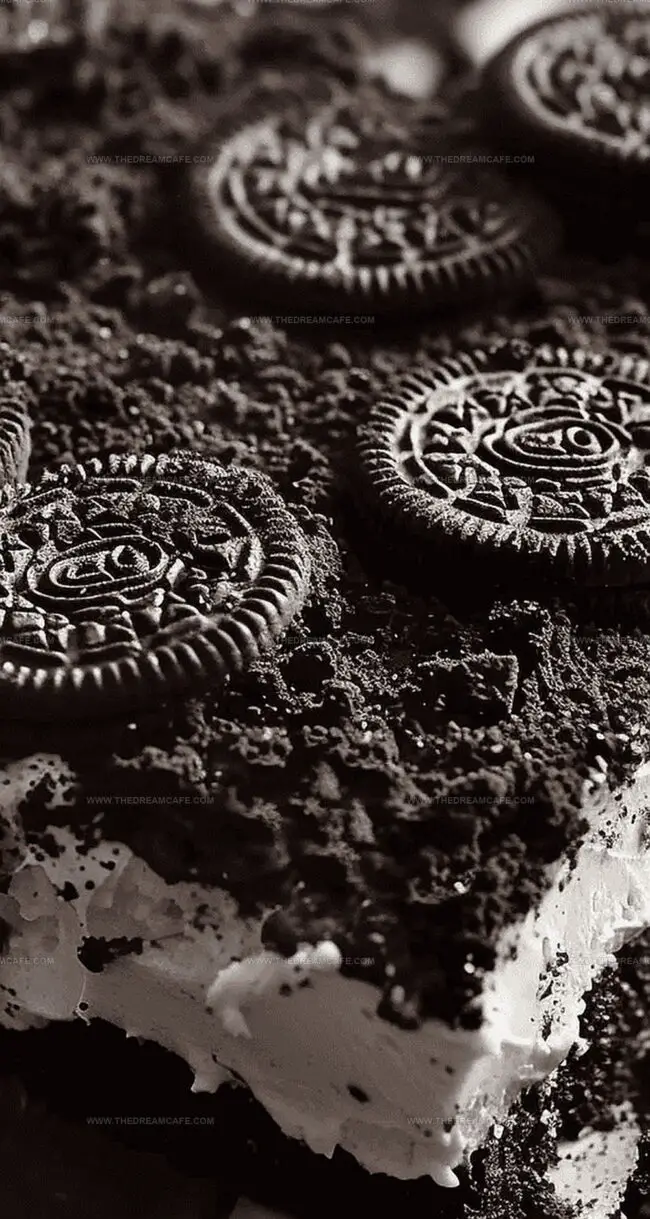
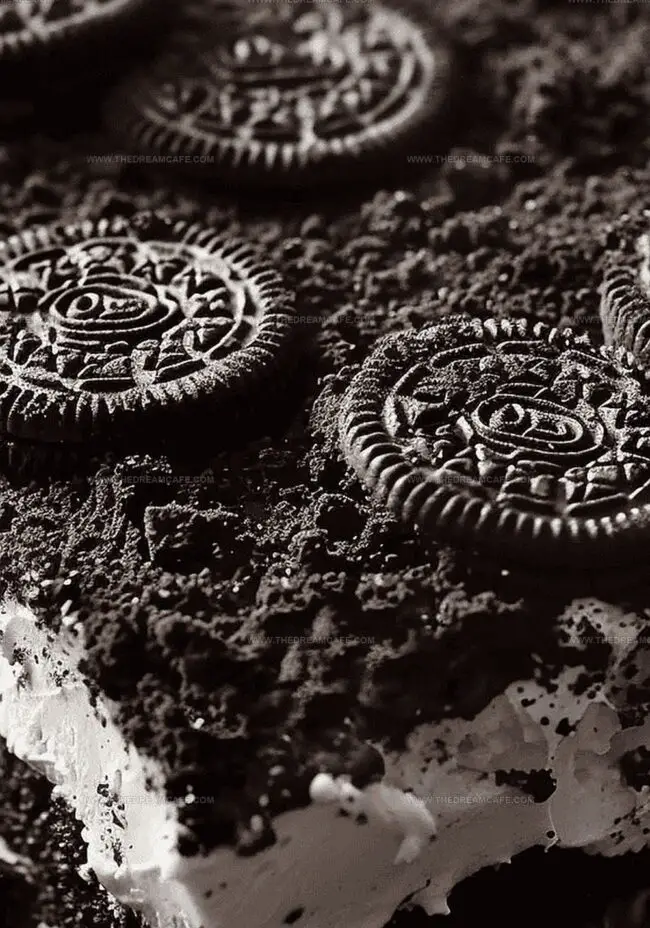
Crushed Oreo cookies meld perfectly with rich pudding and whipped cream, forming a dessert that looks like delightful edible soil.

Each spoonful delivers a playful texture that surprises and delights the senses.

This no-bake dessert brings childhood memories flooding back with its nostalgic charm.

Whip up this crowd-pleasing dessert that’s sure to disappear faster than you can say “more please!” Prepare to be the dessert hero at your next gathering.

Quick Recipe Overview

Prep Time: 30 minutes

Cook Time: 2 hours

Total Time: 3 hours 30 minutes

Calories: 310 kcal

Servings: 13

What You’ll Need for Oreo Dirt Cake

For Crust and Crumble:
  • Oreo Cookies: Iconic chocolate sandwich cookies that create a rich, crumbly base with deep chocolatey flavor, look for fresh packages with intact cookies.
  • Unsalted Butter: Provides binding and richness to the crust, ensures precise flavor control by avoiding extra salt.
For Creamy Filling:
  • Cream Cheese: Delivers tangy, smooth texture and helps stabilize the dessert, select full-fat version for best consistency.
  • Whipped Topping: Adds lightness and silky smoothness, ensure completely thawed before mixing.
  • Powdered Sugar: Sweetens and helps thicken the filling, sift to prevent lumps for ultra-smooth mixture.
For Pudding Layer:
  • Instant White Chocolate Pudding: Creates a luscious, creamy base with subtle sweetness, choose instant variety for quick preparation.
  • Milk: Activates pudding mix and provides additional liquid for perfect consistency, whole milk works best for richest results.

Tools That Make Oreo Dirt Cake Fun to Assemble

  • Food Processor: Essential for crushing Oreo cookies into fine, even crumbs.
  • 13×9 Baking Dish: Perfect for layering and chilling the dessert.
  • Large Mixing Bowls: Needed for combining cookie crumbs, preparing filling, and mixing ingredients.
  • Whisk: Great for blending pudding mix and creating smooth textures.
  • Electric Mixer: Helps beat cream cheese to a creamy consistency.
  • Spatula: Useful for folding ingredients and spreading filling evenly.
  • Measuring Cups and Spoons: Ensure accurate ingredient proportions.

Steps for Making Oreo Dirt Cake with Layers

  • Cookie Foundation

Crush chocolate sandwich cookies into tiny pieces, creating a delightful crumbly base that will hold the entire dessert together. Spread these crumbs across the bottom of a large serving dish, pressing firmly to create a solid layer.

  • Creamy Dream Layer

Whip cream cheese until silky smooth, blending in powdered sweetness. Gently fold in fluffy whipped topping and chilled pudding mixture, creating a cloud-like filling that will make taste buds dance with joy.

  • Pudding Magic

Mix instant pudding with cold milk, whisking until the texture becomes perfectly smooth and velvety. Let the mixture chill briefly to develop rich, intense flavors.

  • Topping Crunch

Sprinkle remaining cookie crumbs across the top of the dessert, creating a rustic, textured landscape that hints at the deliciousness waiting underneath.

  • Chill and Enjoy

Tuck the dessert into the refrigerator, allowing all the flavors to mingle and set. Wait patiently for a few hours, knowing a spectacular treat awaits. Serve cold and watch everyone’s eyes light up with delight.

Tips for Creamy Layers and Crunchy Toppings

  • Crush cookies differently for varied textures – some fine, some chunky – to create an interesting mouthfeel and visual appeal.
  • Experiment with different Oreo flavors like mint, peanut butter, or birthday cake to transform the classic dessert's taste profile.
  • Top with gummy worms, chocolate shavings, or mini chocolate chips to make the dirt cake look more playful and exciting.
  • Substitute full-fat ingredients with low-fat cream cheese, sugar-free pudding mix, and light whipped topping for a healthier version without sacrificing flavor.
  • This dessert can be prepared up to 2 days in advance, making it perfect for stress-free party planning and gatherings.

Serve Oreo Dirt Cake in Cups or a Dish

  • Dessert Playground Party: Create a fun dessert station where guests can customize their Oreo Dirt Cake slice with extra toppings like chocolate shavings, mini marshmallows, or colorful sprinkles.
  • Seasonal Celebration Twist: Decorate the top with seasonal candy like candy corn for fall, mini peppermint pieces for winter, or fresh berries for summer to match the occasion and add festive flair.
  • Kid-Friendly Serving Adventure: Cut into fun shapes using cookie cutters or serve in individual clear cups to let children see the delicious layers, making dessert time more exciting and interactive.
  • Grown-Up Gourmet Upgrade: Drizzle a bit of chocolate liqueur or espresso over each slice for an adult version that transforms this classic dessert into an elegant after-dinner treat with sophisticated flavor notes.

Store Oreo Dirt Cake for Later Enjoyment

  • Smart Chilling Strategy: Refrigerate the Oreo Dirt Cake for at least 2-3 hours, allowing flavors to meld and texture to firm perfectly. Overnight chilling enhances the dessert's taste and consistency.
  • Freshness Defense: Store covered with plastic wrap or in an airtight container in the refrigerator for up to 5 days. Keep away from strong-smelling foods to maintain the cake's delicate flavor profile.
  • Freezing Friendly: Wrap individual slices or the entire cake tightly in plastic wrap, then aluminum foil. Freeze for 2-3 months, ensuring a delightful treat is always ready when dessert cravings strike.
  • Serving Smart: Remove the cake from the refrigerator 10-15 minutes before serving to soften slightly. This allows the creamy layers to reach the perfect, melt-in-your-mouth texture that makes this dessert irresistible.
Print
clock clock iconcutlery cutlery iconflag flag iconfolder folder iconinstagram instagram iconpinterest pinterest iconfacebook facebook iconprint print iconsquares squares iconheart heart iconheart solid heart solid icon
Decadent Oreo Dirt Cake Recipe

Decadent Oreo Dirt Cake Recipe


5 Stars 4 Stars 3 Stars 2 Stars 1 Star

4.6 from 17 reviews

  • Total Time: 3 hours 30 minutes
  • Yield: 13 1x

Description

Childhood memories merge with Oreo dirt cake, creating a nostalgic dessert that delights sweet tooths. Layers of crushed cookies, creamy pudding, and whipped topping combine for a playful treat you will crave again and again.


Ingredients

Scale
  • 1 package (14.3 oz / 406 g) Oreo cookies
  • 2 tubs (8 oz / 227 g each) whipped topping, thawed
  • 2 small boxes (4 serving size each) instant white chocolate pudding
  • 3 cups milk
  • 1 package (8 oz) cream cheese, softened
  • ½ cup powdered sugar
  • ¼ cup unsalted butter, melted

Instructions

  1. Crust Preparation: Pulse Oreo cookies in a food processor until finely ground, reserving a portion for topping. Blend remaining crumbs with melted butter until mixture resembles moist sand, then press firmly into a 13 x 9 inch baking dish to form a compact base.
  2. Pudding Layer: Whisk instant vanilla pudding mix with cold whole milk until smooth and lump-free. Refrigerate briefly to thicken, creating a stable consistency.
  3. Cream Cheese Mixture: Beat cream cheese until ultra-smooth, gradually incorporating powdered sugar. Fold in whipped topping and chilled pudding, creating a light, airy filling that blends seamlessly.
  4. Assembly: Spread cream cheese mixture evenly over the chilled Oreo crust, ensuring complete coverage without air pockets. Sprinkle reserved Oreo crumbs across the top to create a rustic, dirt-like appearance.
  5. Chilling: Refrigerate the dessert for 2-3 hours or overnight, allowing flavors to meld and texture to set completely before serving.

Notes

  • Crumb Consistency Check: Pulse Oreos until they reach a fine, sand-like texture to ensure a smooth, compact crust foundation.
  • Chilling Technique: Refrigerate crust and filling stages to enhance structural integrity and develop richer flavor profiles.
  • Mixing Mastery: Whisk pudding and beat cream cheese carefully to prevent lumps, maintaining a silky-smooth texture throughout preparation.
  • Overnight Magic: Allow dessert to rest in refrigerator for minimum 2-3 hours, preferably overnight, to maximize taste integration and optimal serving consistency.
  • Prep Time: 30 minutes
  • Cook Time: 2 hours
  • Category: Desserts, Snacks
  • Method: None
  • Cuisine: American

Nutrition

  • Serving Size: 13
  • Calories: 310
  • Sugar: 26 g
  • Sodium: 250 mg
  • Fat: 18 g
  • Saturated Fat: 10 g
  • Unsaturated Fat: 8 g
  • Trans Fat: 0 g
  • Carbohydrates: 34 g
  • Fiber: 1 g
  • Protein: 4 g
  • Cholesterol: 30 mg
Sophie Reynolds

Sophie Reynolds

Co-Founder, Recipe Curator & Culinary Educator

Expertise

  • Home Cooking Innovation & Comfort Recipes
  • Flavor Development & Ingredient Pairing
  • Seasonal Produce Integration
  • Recipe Testing & Instructional Clarity
  • Culinary Education & Community Workshops

Education

Auguste Escoffier School of Culinary Arts, Boulder, CO

  • Degree: Diploma in Culinary Arts
  • Focus: Hands-on training in classic and modern culinary techniques, emphasizing sustainable cooking practices, kitchen professionalism, and real-world restaurant experience through externships.

Oregon State University

  • Degree: B.S. in Nutrition and Food Management
  • Focus: In-depth study of human nutrition, food safety, meal planning, and food-service operations, with a strong foundation in public health, dietetics, and community-based nutrition programs.

Sophie Reynolds is the recipe developer and culinary voice behind many of the approachable, flavor-focused creations at The Dream Café. 

Sophie’s style leans into comfort food made simple: wholesome, satisfying meals anyone can make with confidence. Her passion lies in helping home cooks feel at ease in the kitchen while finding joy in the everyday act of cooking.

Leave a Reply

Your email address will not be published. Required fields are marked *

Recipe rating 5 Stars 4 Stars 3 Stars 2 Stars 1 Star