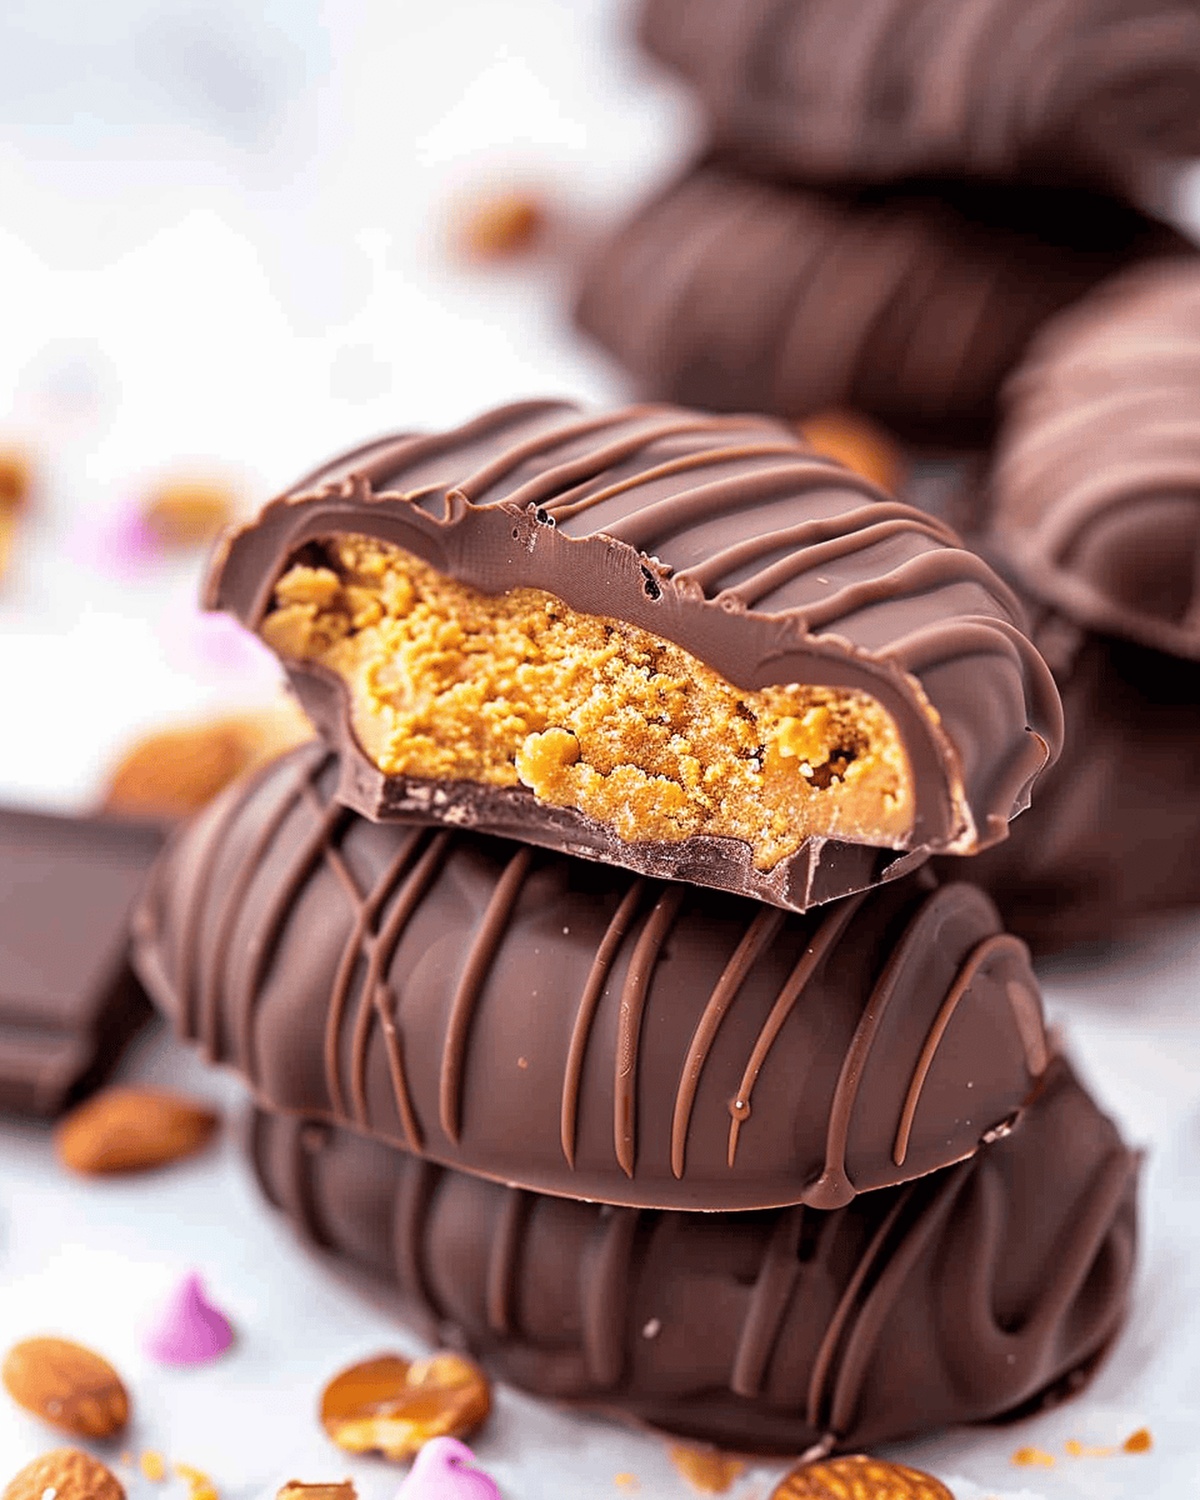
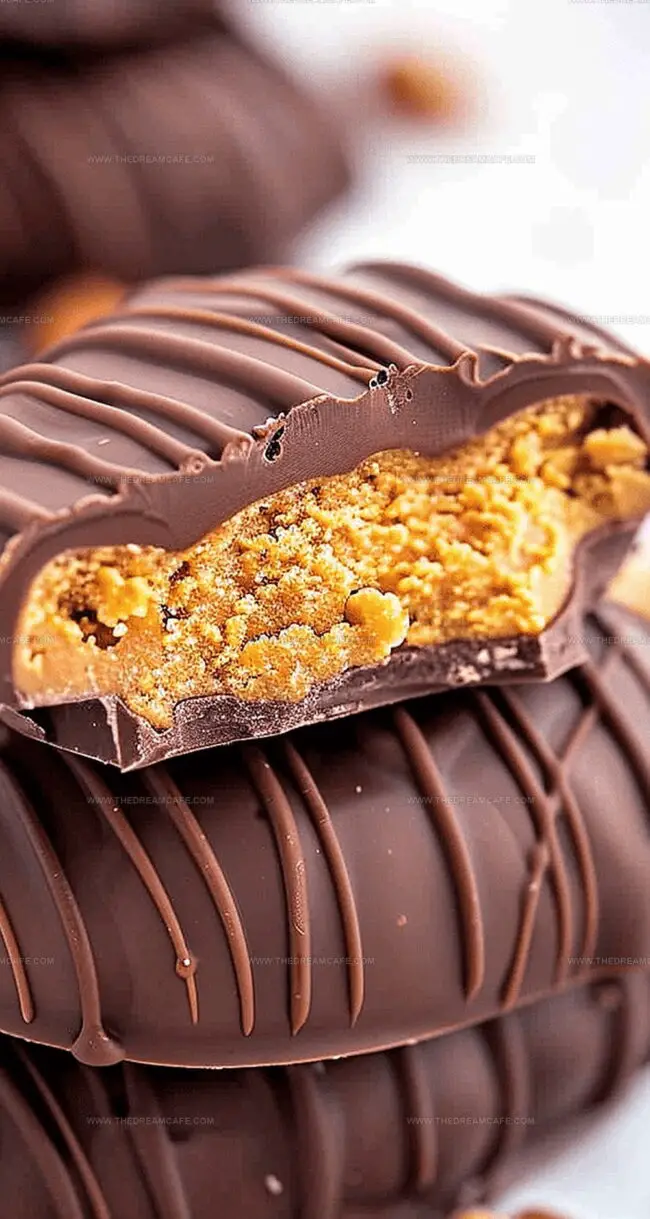
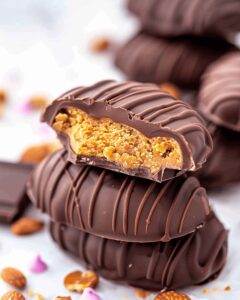
Smooth, creamy peanut butter melts into rich chocolate, creating a decadent treat that sparks pure joy.
Sweet memories of childhood snacks dance across your taste buds with every single bite.
No fancy culinary skills needed for this irresistible dessert.
The combination of classic flavors guarantees instant satisfaction.
Dark chocolate and nutty peanut butter form a perfect harmony that feels like a warm embrace.
Simple ingredients merge into a delightful confection you won’t be able to resist.
This recipe promises to become your new favorite indulgence that will have everyone asking for seconds.
Quick Recipe Overview
Prep Time: 10 minutes
Cook Time: 60 minutes
Total Time: 1 hour 10 minutes
Calories: 202 kcal
Servings: 13
What You Need to Make Peanut Butter Chocolate
For Base and Filling:
Creamy Peanut Butter: Provides rich, nutty foundation with smooth texture; choose natural or standard creamy style for best consistency.
Unsalted Butter: Adds silky richness and helps bind ingredients; select high-quality butter for deeper flavor.
Milk: Softens mixture and creates perfect blending; whole milk works best for creamiest results.
Powdered Sugar: Creates sweetness and helps stabilize filling; sift to prevent lumps for smooth texture.
For Chocolate Layers:
Mini Chocolate Chips: Adds delightful chocolate bursts and extra texture; use high-quality chocolate for deeper flavor.
Milk Chocolate Chips: Creates smooth chocolate coating with sweet profile; select premium brands for best melting properties.
For Decorative Coating:
Blue Candy Melts: Provides vibrant decorative color and professional finish; choose food-grade melts for smooth melting.
Yellow Candy Melts: Offers bright, cheerful accent to enhance visual appeal; select high-quality melts for consistent coating.
Pink Candy Melts: Creates soft, playful color variation for beautiful presentation; ensure even melting for perfect drizzle.
Tools Required for Peanut Butter Chocolate Treats
Mixing bowl: Large, sturdy bowl for combining ingredients smoothly.
Fork: Essential for dipping eggs into melted chocolate and lifting them out.
Baking sheet: Flat pan for arranging and freezing egg-shaped treats.
Egg-shaped cookie cutter: Precise tool for creating uniform egg shapes.
Parchment or wax paper: Prevents sticking and helps eggs cool.
Microwave-safe bowl or small saucepan: For melting chocolate gently.
Sandwich bag: Optional tool for decorating with candy melts.
Measuring cups and spoons: For accurate ingredient measurements.
Easy Instructions for Peanut Butter Chocolate Preparation
Mixing Magic A smooth blend of powdered sugar, peanut butter, butter, and milk creates a creamy foundation for these delightful treats.
Chocolate Chip Surprise Gently fold mini chocolate chips into the mixture, adding a fun texture and extra burst of flavor.
Shaping Adventure Roll out the dough on a lightly floured surface, using an egg-shaped cookie cutter to create playful shapes.
Chilling Moment Place the shaped eggs in the freezer for one hour, allowing them to firm up and become easier to handle.
Chocolate Bath Melt milk chocolate chips using low heat or a microwave, creating a silky coating for the peanut butter eggs.
Dipping Technique Carefully dip each frozen egg into the melted chocolate, ensuring a complete and even coverage.
Cooling Time Arrange the chocolate-covered eggs on parchment paper, letting them cool and set completely.
Optional Decoration For a festive touch, use colored candy melts to add creative designs and personal flair to your treats.
Tips for Peanut Butter Chocolate
For ultra-smooth peanut butter filling, ensure all ingredients are at room temperature before mixing, which helps create a creamy, lump-free consistency.
Use high-quality chocolate chips for a glossy, professional-looking finish that melts and re-hardens beautifully.
Experiment with different nut butters like almond or cashew for unique taste variations that complement the chocolate coating.
Try drizzling white chocolate, sprinkling crushed nuts, or adding colorful sprinkles to give each egg a personalized touch that makes them look bakery-worthy.
These treats keep best in an airtight container in the refrigerator for up to a week, making them perfect for make-ahead dessert preparation.
How to Serve Peanut Butter Chocolate Creatively
Sweet Party Platter: Arrange these chocolate peanut butter eggs on a festive wooden board with colorful sprinkles scattered around, creating an eye-catching dessert centerpiece for gatherings.
Gifting Delights: Package these treats in clear cellophane bags tied with pastel ribbons, perfect for Easter baskets, birthday presents, or thoughtful homemade gifts that wow friends and family.
Dessert Pairing Perfection: Serve alongside a cold glass of milk, creamy vanilla ice cream, or pair with a rich espresso for an indulgent afternoon treat that balances sweet and rich flavors.
Decorative Touches: Drizzle contrasting white chocolate over the milk chocolate coating or sprinkle crushed nuts on top to add extra texture and visual appeal that makes these eggs look professionally crafted.
Storage Tips for Peanut Butter Chocolate Delights
Fridge-Friendly Storage Strategy: Keep these delightful chocolate peanut butter eggs in an airtight container inside the refrigerator for up to seven days. The cool environment maintains their creamy texture and prevents melting.
Freezer Batch Preparation: Wrap individual eggs in wax paper, then store inside a freezer-safe container for maximum two months. Thaw overnight in the refrigerator before enjoying, ensuring optimal taste and consistency.
Make-Ahead Magic: Prepare the dough and shape eggs up to three days before final chocolate coating. Store the uncoated shapes in the refrigerator, covered tightly with plastic wrap to maintain freshness and prevent drying.
Serving Temperature Tip: Remove eggs from the refrigerator 10-15 minutes before serving. This short resting period allows the chocolate to soften slightly, creating a more luxurious melt-in-your-mouth experience that enhances the rich flavors of peanut butter and chocolate.
Chocolate peanut butter bars blend rich cocoa with creamy nut spread for an irresistible dessert. Smooth layers of sweet chocolate and salty peanut butter create a perfect balance that delights you with each indulgent bite.
Ingredients
Scale
12 oz (340 g) milk chocolate chips
1.5 cups creamy peanut butter
3 cups powdered sugar
1 cup mini chocolate chips
0.25 cup (60 ml) unsalted butter, melted
2 tbsps (30 ml) milk
Blue candy melts
Yellow candy melts
Pink candy melts
Instructions
Mixture Preparation: Whisk powdered sugar, peanut butter, melted butter, and milk in a medium bowl until achieving a smooth, homogeneous texture.
Chip Integration: Fold miniature chocolate chips into the peanut butter base, ensuring even distribution throughout the mixture.
Dough Shaping: Dust a work surface with flour, then roll the dough to a uniform 1/4-inch thickness using a rolling pin.
Egg Cutting: Utilize an egg-shaped cookie cutter to create precise confectionery shapes, transferring each delicately to a parchment-lined baking sheet.
Freezing Stage: Freeze the egg-shaped treats for one hour, allowing them to solidify completely and maintain structural integrity.
Chocolate Coating: Melt milk chocolate chips using a double boiler or microwave, stirring consistently to create a glossy, smooth coating.
Dipping Process: Extract frozen peanut butter eggs and immerse each in melted chocolate using a fork, ensuring complete and elegant coverage.
Setting and Decorating: Place chocolate-enrobed eggs on fresh parchment paper, refrigerate for 15-20 minutes until hardened, and optionally embellish with colored candy melt designs.
Notes
Chill for Perfect Texture: Freezing the peanut butter eggs for exactly 60 minutes ensures they hold their shape during chocolate coating and prevents crumbling.
Smooth Chocolate Coating: Use low, consistent heat when melting chocolate to avoid burning and maintain a glossy, even finish that perfectly covers each egg.
Prevent Sticking Tricks: Dust work surface with flour and use parchment paper to easily handle delicate peanut butter eggs without breaking or sticking.
Decorative Finishing Touch: Drizzle contrasting candy melts or sprinkle sea salt for professional-looking gourmet treats that elevate the classic chocolate-peanut butter combination.
Auguste Escoffier School of Culinary Arts, Boulder, CO
Degree: Diploma in Culinary Arts
Focus: Hands-on training in classic and modern culinary techniques, emphasizing sustainable cooking practices, kitchen professionalism, and real-world restaurant experience through externships.
Oregon State University
Degree: B.S. in Nutrition and Food Management
Focus: In-depth study of human nutrition, food safety, meal planning, and food-service operations, with a strong foundation in public health, dietetics, and community-based nutrition programs.
Sophie Reynolds is the recipe developer and culinary voice behind many of the approachable, flavor-focused creations at The Dream Café.
Sophie’s style leans into comfort food made simple: wholesome, satisfying meals anyone can make with confidence. Her passion lies in helping home cooks feel at ease in the kitchen while finding joy in the everyday act of cooking.

Sophie Reynolds
Co-Founder, Recipe Curator & Culinary Educator
Expertise
Education
Auguste Escoffier School of Culinary Arts, Boulder, CO
Oregon State University
Sophie Reynolds is the recipe developer and culinary voice behind many of the approachable, flavor-focused creations at The Dream Café.
Sophie’s style leans into comfort food made simple: wholesome, satisfying meals anyone can make with confidence. Her passion lies in helping home cooks feel at ease in the kitchen while finding joy in the everyday act of cooking.