Dreamy Red Velvet Brownies Recipe: A Sweet Indulgence
Decadent chocolate brownies meet their match in this irresistible red velvet brownies recipe that will make dessert lovers swoon.
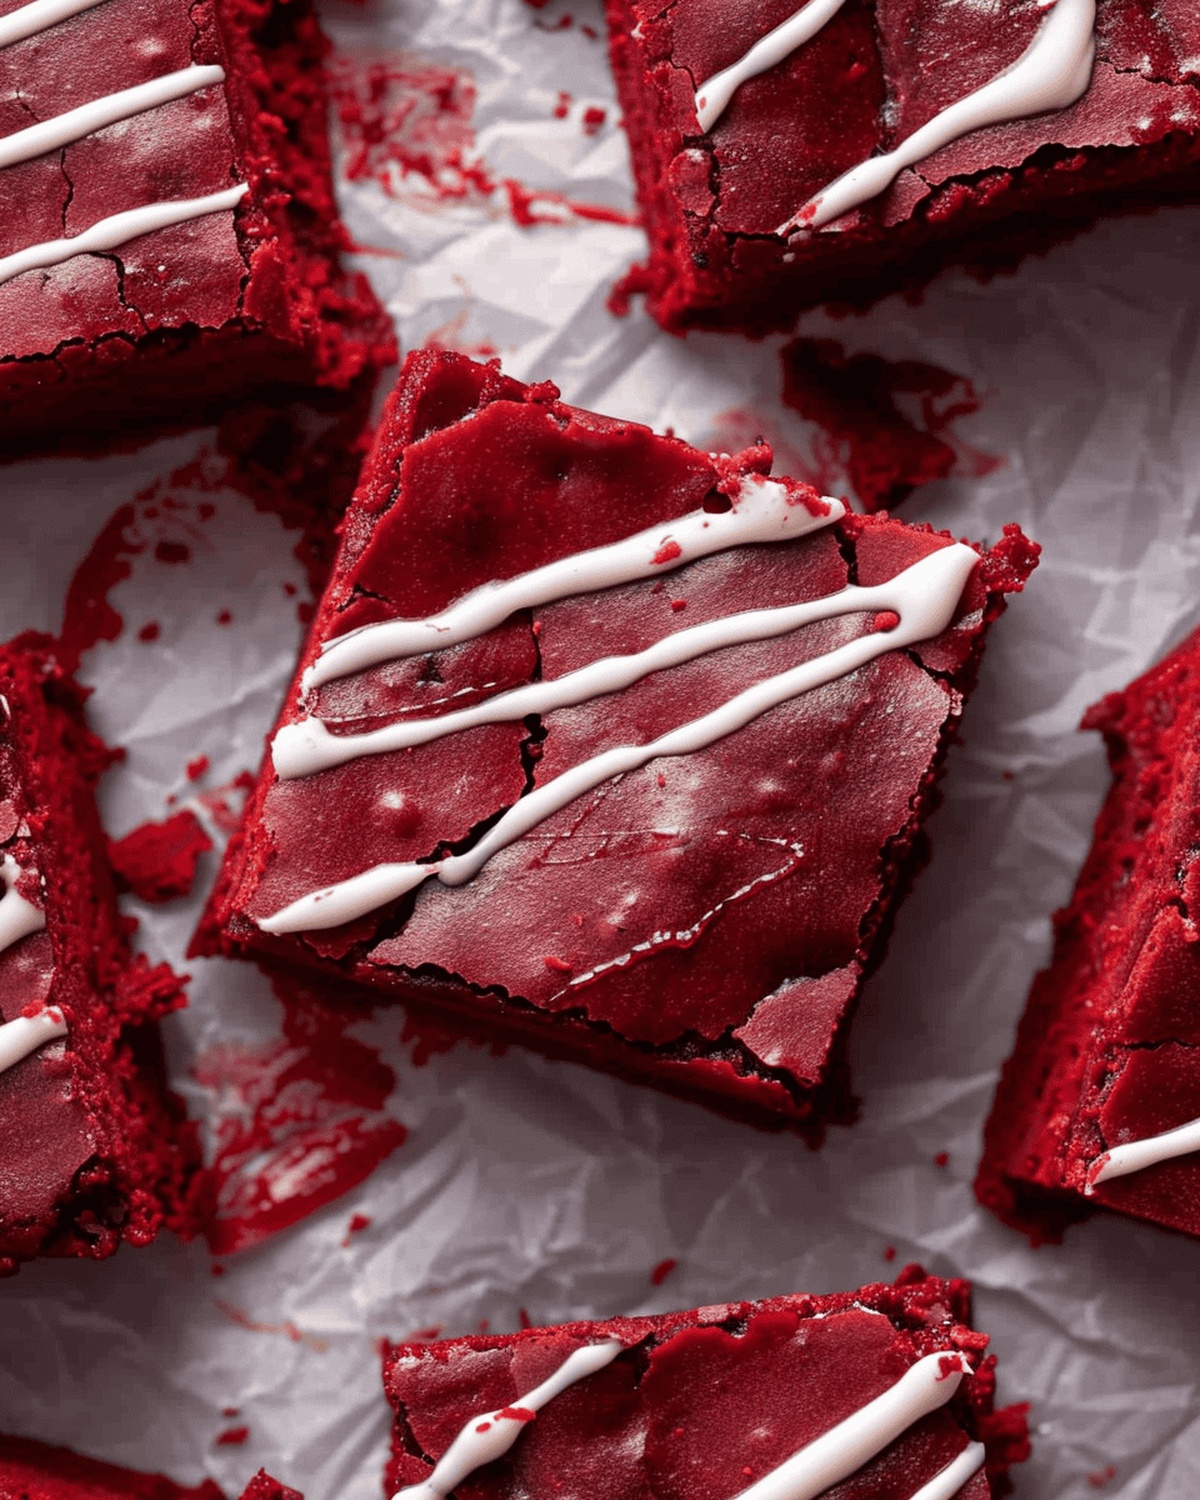
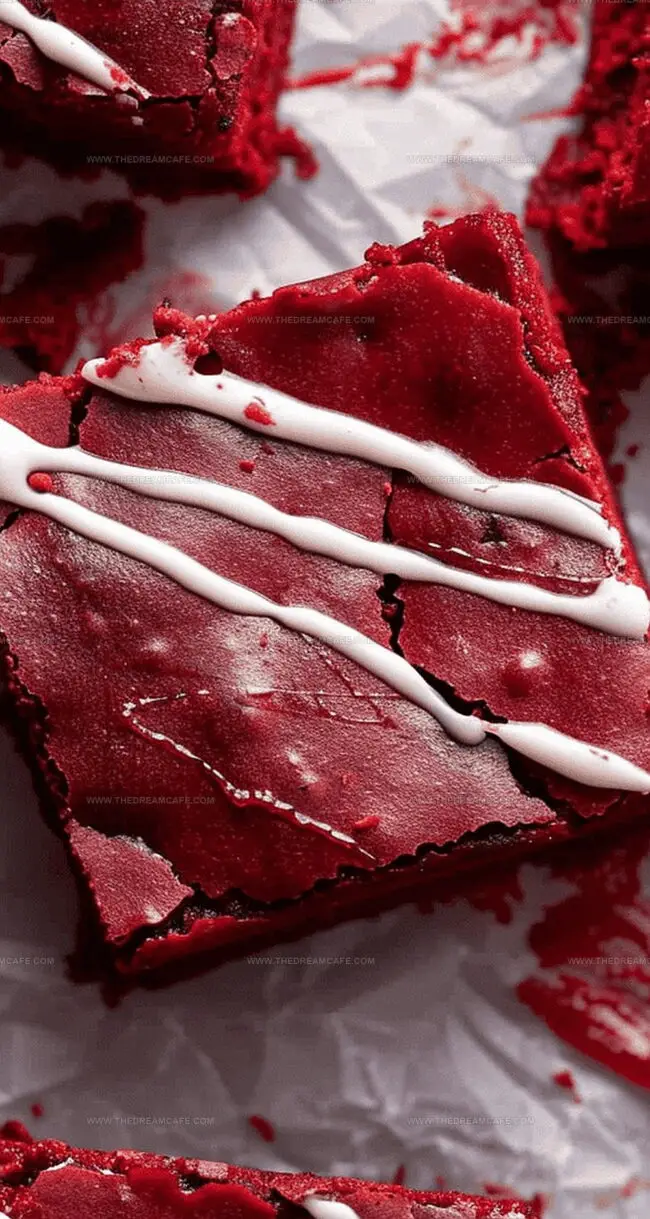
Rich cocoa and vibrant red hues blend seamlessly in this indulgent treat.
The deep crimson color promises a visual feast before you even take the first bite.
Velvety smooth edges give way to a luscious, moist interior that melts on your tongue.
Cream cheese frosting adds a tangy contrast to the deep chocolate base, creating a symphony of flavors.
Each square delivers a luxurious experience that transforms an ordinary dessert into a showstopping sensation.
Bake these brownies and watch as everyone around you falls under their delicious spell.
Quick Recipe Overview
What You’ll Need for Red Velvet Brownies
For Fats and Richness:For Sweetening and Flavoring:For Color, Texture, and Structure:Tools for Baking Great Red Velvet Brownies
How to Bake Red Velvet Brownies with Ease

Set up your workspace with all necessary tools. Warm your oven to a cozy 350°F and line a square baking pan with parchment paper, creating a smooth surface for your delectable treat.
Gently melt chocolate and butter together, creating a silky smooth mixture. Stir carefully to prevent burning, allowing the ingredients to blend into a luxurious base.
Introduce sugar to the warm chocolate mixture, then incorporate eggs and vibrant red food coloring. Add a splash of vanilla and a hint of vinegar to enhance the complex flavor profile.
Sift together cocoa powder, flour, and a pinch of salt. Fold these dry ingredients into the wet mixture with a light touch, ensuring a perfect texture. Optional white chocolate chips can add extra decadence.
Pour the rich batter into the prepared pan, spreading evenly. Bake until the edges are set and a toothpick reveals just a few moist crumbs – typically 30-35 minutes.
Allow the brownies to cool completely, letting the flavors settle and intensify. Slice into elegant squares and optionally drizzle with melted white chocolate for a stunning presentation.
Tips That Add a Touch of Wow to Red Velvet
Ways to Present Red Velvet Brownies Beautifully
Store Your Red Velvet Brownies for Later Bites
Print
Decadent Red Velvet Brownies Recipe
- Total Time: 50 minutes
- Yield: 13 1x
Description
Red velvet brownies combine rich chocolate and classic Southern charm in a delightful dessert. Luxurious cream cheese frosting crowns these fudgy, crimson-hued squares that you’ll savor with pure indulgence.
Ingredients
- ¾ cup (170 g) unsalted butter, melted
- 2 large eggs
- 1 & ¼ cup (250 g) granulated sugar
- 1 & ¼ cup (155 g) all-purpose flour
- 2 oz (56 g) semi-sweet chocolate bar, chopped
- 2 tbsps (30 mL) unsweetened cocoa powder
- 2 tsps vanilla extract
- 1 tsp white vinegar
- ½ tbsp red gel food coloring
- ½ cup (85 g) white chocolate chips (optional)
- ¼ tsp salt
Instructions
- Workspace Preparation: Preheat oven to 350°F (175°C) and line an 8×8-inch baking pan with parchment paper, creating slight overhang for effortless removal.
- Chocolate Foundation: Melt unsalted butter and chocolate in a microwave-safe bowl, stirring at 30-second intervals until smooth and glossy, preventing any scorching.
- Flavor Infusion: Whisk granulated sugar into the chocolate mixture, then integrate eggs individually, followed by vanilla extract, white vinegar, and red food coloring to achieve the characteristic red velvet essence.
- Dry Ingredient Integration: Sift cocoa powder, all-purpose flour, and sea salt together, eliminating potential lumps and ensuring uniform ingredient distribution.
- Batter Composition: Delicately fold dry ingredients into wet mixture, mixing until just combined to preserve a luxurious, tender brownie texture. Optionally incorporate white chocolate chips for enhanced richness.
- Pan Transformation: Spread the velvety batter evenly in the prepared pan, creating a smooth, consistent surface using a spatula.
- Baking Precision: Bake for 30-35 minutes, verifying doneness with a toothpick test – slight moist crumbs indicate a perfectly fudgy interior.
- Cooling and Presentation: Allow brownies to cool completely in the pan, facilitating set and clean cutting. Remove using parchment paper edges and slice into elegant squares.
- Finishing Flourish: Optionally embellish with a decorative white chocolate drizzle before serving.
Notes
- Prevent Overmixing: Stir batter gently to maintain a soft, tender brownie texture without developing tough gluten strands.
- Temperature Control: Allow melted chocolate and butter to cool slightly before adding eggs to prevent unwanted scrambling.
- Color Intensity: Use gel food coloring for a more vibrant, deeper red hue that doesn’t thin out the batter.
- Cooling Technique: Let brownies rest completely in the pan to set structure and achieve clean, precise cutting lines.
- Prep Time: 15 minutes
- Cook Time: 35 minutes
- Category: Desserts, Snacks
- Method: Baking
- Cuisine: American
Nutrition
- Serving Size: 13
- Calories: 284
- Sugar: 22 g
- Sodium: 58 mg
- Fat: 16 g
- Saturated Fat: 10 g
- Unsaturated Fat: 6 g
- Trans Fat: 0 g
- Carbohydrates: 33 g
- Fiber: 1 g
- Protein: 3 g
- Cholesterol: 63 mg
Sophie Reynolds
Co-Founder, Recipe Curator & Culinary Educator
Expertise
Education
Auguste Escoffier School of Culinary Arts, Boulder, CO
Oregon State University
Sophie Reynolds is the recipe developer and culinary voice behind many of the approachable, flavor-focused creations at The Dream Café.
Sophie’s style leans into comfort food made simple: wholesome, satisfying meals anyone can make with confidence. Her passion lies in helping home cooks feel at ease in the kitchen while finding joy in the everyday act of cooking.