
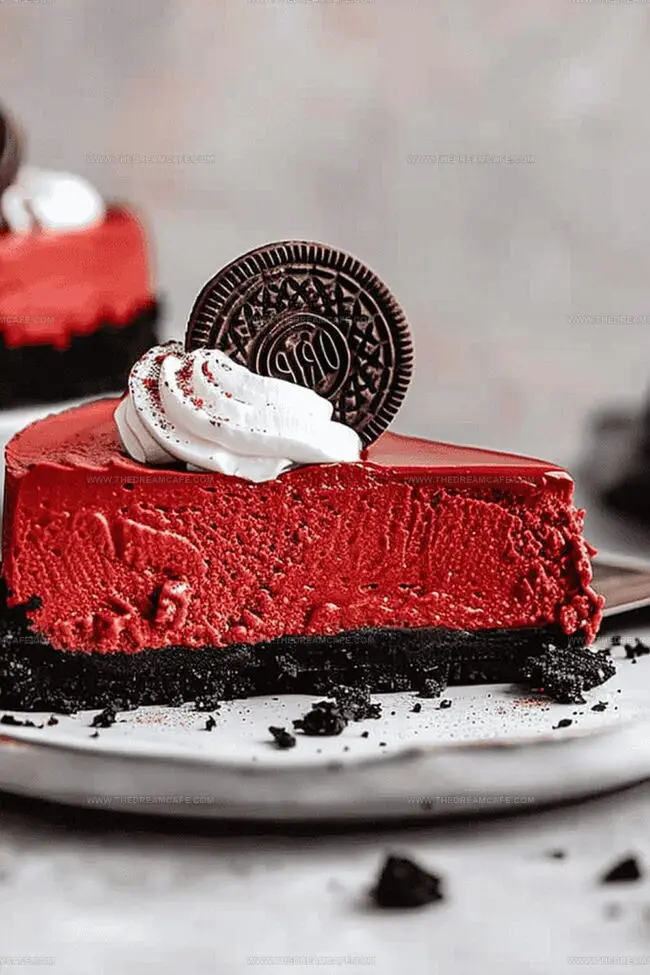
Perfect Red Velvet Cheesecake with Oreo Crust Recipe – Ready to Wow
Red velvet cheesecake with Oreo crust redefines ordinary dessert into an extraordinary culinary adventure.
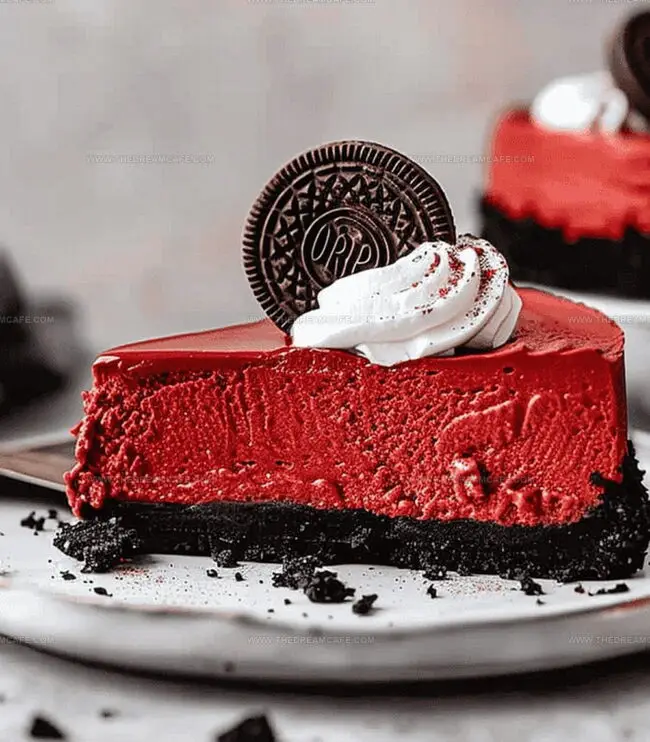
Decadent layers of rich, velvety goodness promise an unforgettable sweet experience for anyone craving indulgence.
Complex flavors dance between creamy and crunchy textures, creating a sensational contrast that delights the palate.
Unexpected combinations elevate this dessert beyond traditional expectations, making each slice a work of delicious art.
Home bakers and dessert enthusiasts will find this recipe both challenging and rewarding.
The stunning visual appeal matches its incredible taste, guaranteeing impressed guests and satisfied taste buds.
Bold and beautiful, this dessert represents pure culinary creativity.
What Makes Easy Red Velvet Cheesecake with Oreo Crust So Irresistible
Must-Have Ingredients for Red Velvet Cheesecake with Oreo Crust
Crust Ingredients:Cheesecake Base Ingredients:Dry Ingredients:Garnish Ingredients:How to Make a Dreamy Red Velvet Cheesecake with Oreo Crust
Step 1: Prepare Oven and Equipment
Preheat oven to 375°F. Gather a 9-inch springform pan, food processor, and baking spray.
Step 2: Create Oreo Crust
Crush Oreo cookies using these methods:Transfer crumbs to mixing bowl.
Step 3: Bind Crust Mixture
Melt butter and pour over cookie crumbs. Mix thoroughly until mixture resembles damp sand-like texture.
Step 4: Form Crust Base
Spray springform pan with baking spray. Press Oreo mixture evenly across bottom and sides of pan. Bake crust for 8 minutes.
Step 5: Lower Oven Temperature
Reduce oven temperature to 350°F after initial crust baking.
Step 6: Prepare Cheesecake Filling
Use stand mixer with paddle attachment to blend:Mix until completely smooth with no lumps.
Step 7: Incorporate Wet Ingredients
Add and mix:Step 8: Finalize Batter
Scrape mixer sides. Add:Mix on low speed until consistent.
Step 9: Prepare Water Bath
Place 9×13 inch tray filled with 1-inch water on lower oven rack.
Step 10: Bake Cheesecake
Pour batter into prepared crust. Bake 45-55 minutes until edges brown and center remains slightly jiggly.
Step 11: Cool Cheesecake
Turn off oven. Crack door open. Let cheesecake cool inside for 1 hour.
Step 12: Refrigerate
Transfer to counter. Cool completely. Refrigerate 4-8 hours.
Step 13: Serve and Garnish
Top with:Slice and enjoy!
Baking Tips for a Perfect Oreo Cheesecake
How to Chill and Reheat Red Velvet Cheesecake Just Right
Pairing Picks for Red Velvet Cheesecake
Red Velvet Cheesecake Variations That Feel Fancy
Print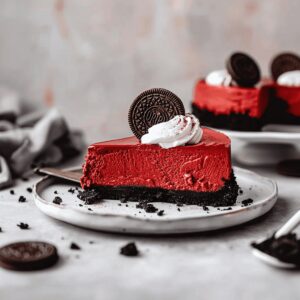
Easy Red Velvet Cheesecake with Oreo Crust Recipe
- Total Time: 1 hour 35 minutes
- Yield: 12 1x
Description
Red Velvet Cheesecake delivers classic Southern charm with creamy indulgence nestled on a rich Oreo cookie base. Chocolate and cream cheese mingle in perfect harmony, promising pure bliss when dessert lovers slice into this luxurious treat.
Ingredients
Main Ingredients:
- 32 ounces (907 grams) cream cheese, room temperature
- 4 large eggs, room temperature
- 1 cup (240 milliliters) sour cream, room temperature
- 1 cup (200 grams) sugar
- ½ cup (120 milliliters) half and half, room temperature
Flavor and Color Ingredients:
- 2 teaspoons vanilla extract
- 1 tablespoon red food coloring
- 3 tablespoons unsweetened cocoa powder
- 2 tablespoons all-purpose flour
Crust and Topping:
- Oreo cookies
- Whipped cream
Instructions
- Prepare the oven by heating it to 375 degrees Fahrenheit (190 degrees Celsius).
- Transform Oreo cookies into fine crumbs using a food processor or by placing them in a resealable plastic bag and crushing with a rolling pin.
- Melt butter and combine thoroughly with the Oreo crumbs until the mixture resembles damp, compacted sand.
- Coat a 9-inch (23-centimeter) springform pan with non-stick baking spray, then firmly press the Oreo mixture across the bottom and up the sides of the pan.
- Prebake the crust for 8 minutes, then reduce the oven temperature to 350 degrees Fahrenheit (175 degrees Celsius).
- Using a stand mixer with a paddle attachment, cream the cream cheese and sugar on low to medium speed until completely smooth and free of lumps.
- Incorporate sour cream and mix for one minute, then gradually add eggs, vanilla extract, and red food coloring, blending until fully integrated.
- Pause to scrape down the sides of the mixing bowl, ensuring all ingredients are evenly distributed.
- Gently pour in half-and-half, mixing until the batter becomes uniform in texture.
- Sift cocoa powder and flour into the mixture, folding on low speed and carefully scraping the bowl’s edges to maintain a consistent batter.
- Transfer the crimson-hued batter into the prepared springform pan, positioning it on the top rack of the oven.
- Place a large 9×13 inch (23×33 centimeter) baking tray filled with approximately 1 inch (2.5 centimeters) of water on the lower rack to create a moisture-rich baking environment.
- Bake for 45-55 minutes, watching for slight browning around the edges while the center remains slightly wobbly.
- Once baking completes, turn off the oven and crack the door open, allowing the cheesecake to cool gradually inside for one hour.
- Remove from the oven and let cool completely at room temperature before refrigerating for at least 4 hours or overnight.
- Before serving, garnish with crushed Oreo cookies and delicate dollops of whipped cream for an elegant finish.
Notes
- Oreo crumbs create a decadent, crumbly base that elevates the classic cheesecake experience.
- Precise temperature control ensures a silky smooth texture without cracks or overbaking.
- Water bath technique prevents sudden temperature changes, guaranteeing a creamy, luxurious dessert.
- Red food coloring transforms an ordinary cheesecake into a stunning, vibrant showstopper.
- Gradual cooling process helps prevent surface cracking and maintains the cheesecake’s delicate structure.
- Whipped cream and crushed Oreos add a final touch of indulgence and textural contrast.
- Prep Time: 30 minutes
- Cook Time: 1 hour 5 minutes
- Category: Desserts
- Method: Baking
- Cuisine: American
Nutrition
- Serving Size: 12
- Calories: 335 kcal
- Sugar: 25 g
- Sodium: 250 mg
- Fat: 22 g
- Saturated Fat: 12 g
- Unsaturated Fat: 8 g
- Trans Fat: 0.5 g
- Carbohydrates: 30 g
- Fiber: 1 g
- Protein: 6 g
- Cholesterol: 90 mg
Julian Park
Co-Founder, Cuisine Researcher & Food Culture Writer
Expertise
Education
The Institute of Culinary Education (ICE), Los Angeles, CA
Julian Park is a natural storyteller at The Dream Café who blends hands-on culinary experience with a passion for exploring global food traditions. A graduate of The Institute of Culinary Education in Los Angeles, Julian combines professional technique with a love for cultural discovery, diving into how dishes reflect heritage, migration, and identity.
His work spans everything from in-depth cuisine guides to reflections on everyday meals around the world. With a curious palate and a journal always close by, Julian helps readers connect with food in a way that feels so insightful and personal.