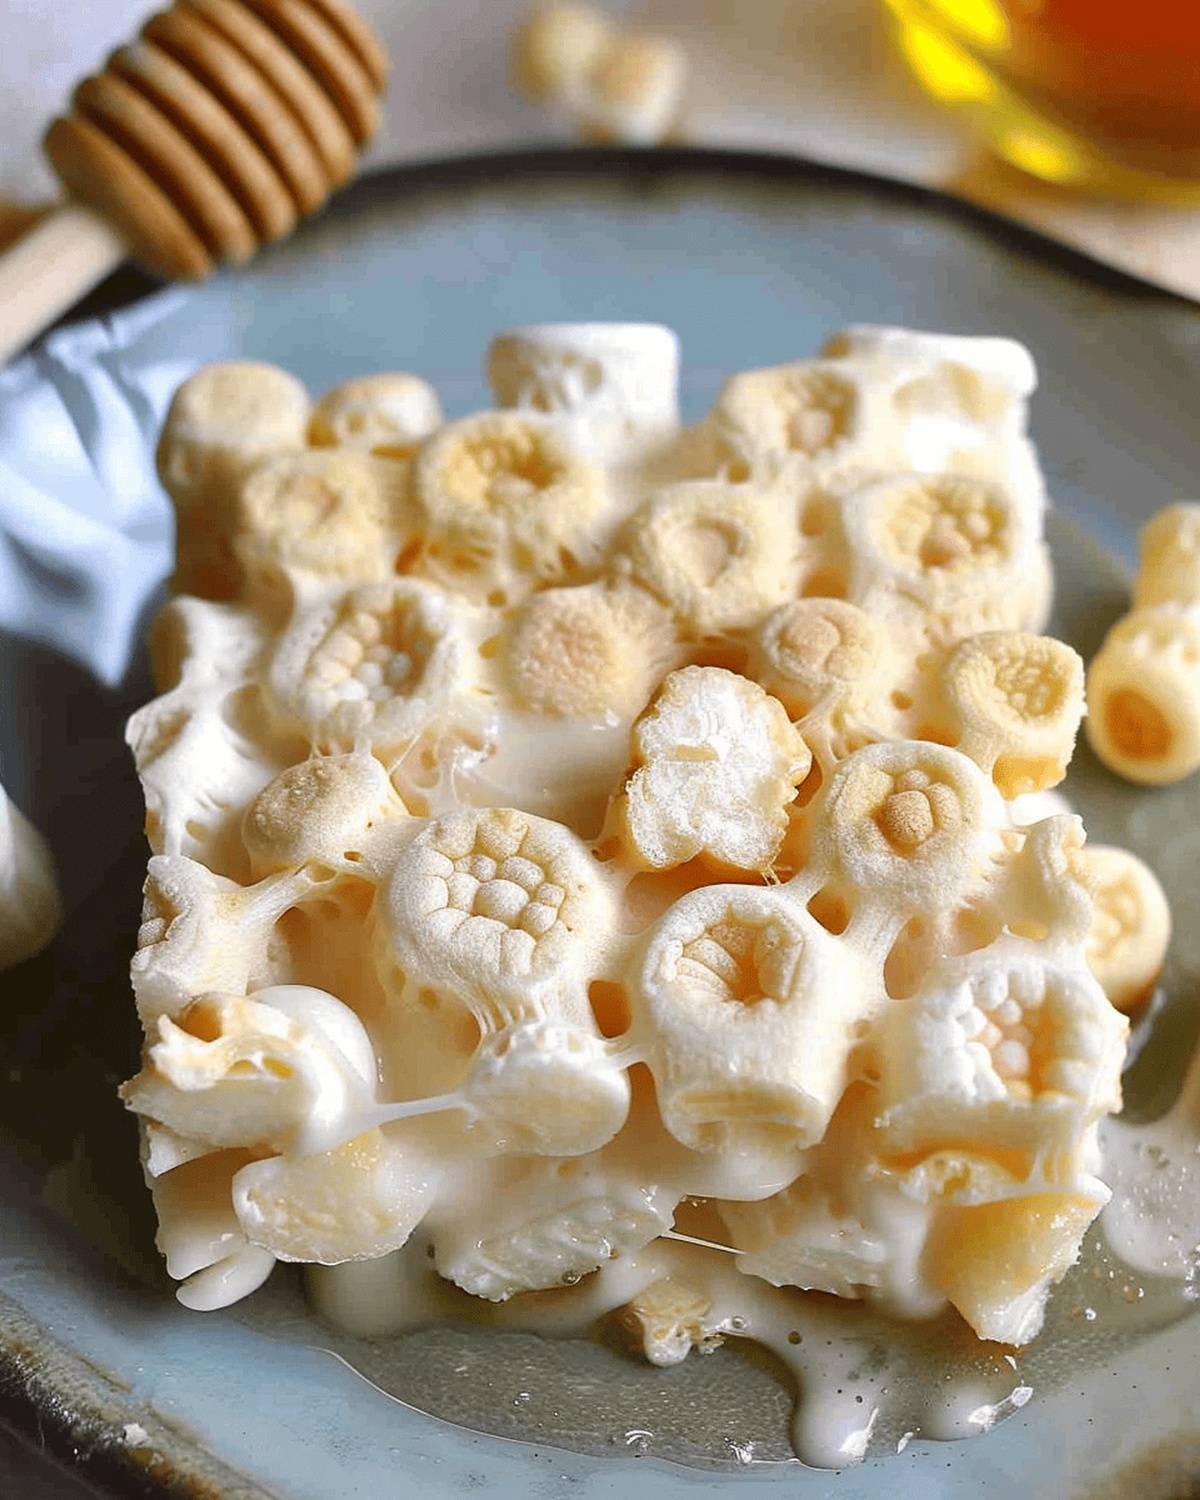
Sweet memories of childhood come flooding back with these nostalgic honeycomb marshmallow treats that blend crunchy charm and gooey delight.
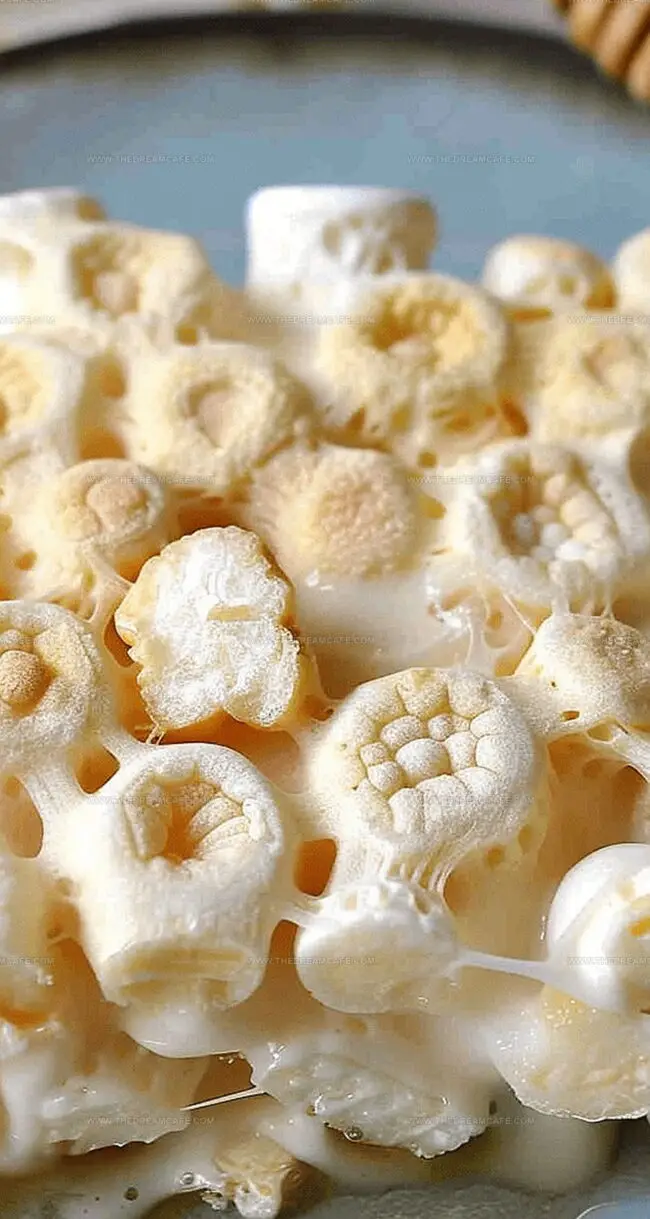
Crisp honeycomb pieces mingle perfectly with soft, pillowy marshmallows, creating a texture that dances between light and indulgent.
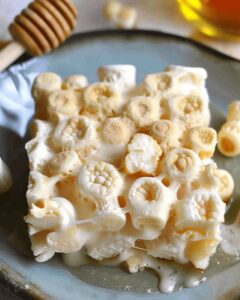
The golden-brown squares offer a playful twist on classic rice krispie treats, promising a delectable adventure for snack lovers.
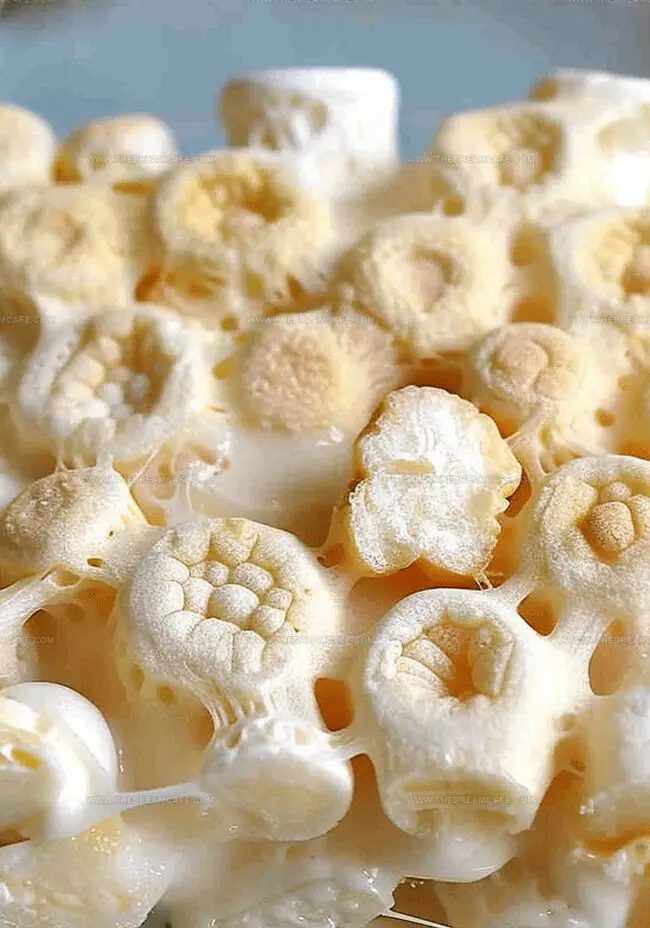
Each bite delivers a satisfying crackle and rich sweetness that beckons you closer.
The simple recipe requires minimal ingredients and almost no cooking time, making it an effortless dessert for spontaneous cravings.
Layers of honeycomb add a sophisticated crunch that elevates this humble treat from ordinary to extraordinary.
Let’s find out this irresistible recipe and let your taste buds celebrate a moment of pure, sugary bliss.
Quick Recipe Overview
Prep Time: 20 minutes
Cook Time: 0 minutes
Total Time: 20 minutes
Calories: 152 kcal
Servings: 17
What Goes into Honeycomb Marshmallow Treats
For The Base:
Honeycomb Cereal, Roasted Salted Peanuts: Crunchy foundation that delivers a delightful textural contrast with sweet and nutty undertones, selecting fresh crisp cereal ensures maximum crackle and choosing premium roasted peanuts guarantees rich, deep flavor.
For The Binding:
Mini Marshmallows, Unsalted Butter, Honey: Magical melting agents that transform dry ingredients into a gooey, cohesive treat, selecting high-quality marshmallows ensures smooth melting, using fresh butter prevents any rancid notes, and choosing raw or local honey adds complex sweetness and depth.
Tools You’ll Need for Honeycomb Marshmallow Treats
Large saucepan: Perfect for melting butter and marshmallows smoothly and evenly.
Wooden spoon or spatula: Essential for stirring ingredients and preventing sticking.
8×8 inch baking pan: Ideal size for creating uniform marshmallow treats.
Parchment paper or non-stick spray: Helps easy removal and prevents treats from sticking.
Knife: Needed for cutting cooled treats into neat squares.
Easy Method for Making Honeycomb Marshmallow Treats
Butter Transformation Gentle warming transforms solid butter into a golden liquid pool in a spacious pan.
Marshmallow Meltdown Soft, puffy marshmallows slowly dissolve, creating a silky white canvas that shimmers with potential.
Flavor Symphony Nutty peanuts and golden honey dance into the marshmallow mixture, blending into a rich, glossy concoction.
Cereal Embrace Crunchy Honeycomb pieces tumble into the pan, getting lovingly coated with the sweet mixture until every morsel glistens.
Pan Preparation Parchment paper lines the baking pan, creating a welcoming surface for the treat. Press the mixture firmly, creating a smooth, even landscape of deliciousness.
Cooling Meditation Let the treats rest and set, allowing flavors to mingle and texture to stabilize at room temperature.
Celebration Slice the cooled creation into delightful squares, ready to bring joy and sweet memories to anyone who takes a bite.
Ideas to Upgrade Honeycomb Marshmallow Treats
Flavor Boosters and Smart Swaps
Swap peanuts with almonds, pecans, or cashews for a different crunch and rich flavor profile that elevates the classic treat.
Melt dark or milk chocolate and drizzle over the top for a decadent twist that adds luxurious sweetness to each bite.
Sprinkle sea salt, ground cinnamon, or a dash of nutmeg into the marshmallow mixture to create unexpected depth and warmth in every square.
Keep treats fresh by wrapping individually in plastic wrap or storing in an airtight container at room temperature for up to 3 days, preventing them from becoming too hard or losing their soft texture.
Serve Honeycomb Marshmallow Treats Creatively
Crunchy Snack Plate: Arrange the marshmallow treats on a rustic wooden board with fresh berries and a small drizzle of honey for an elegant presentation that enhances the sweet and nutty flavors.
Dessert Companion: Pair these treats with a cold glass of milk or creamy vanilla ice cream to balance the rich, sweet texture and add a delightful contrast in temperature and taste.
Portable Lunchbox Delight: Wrap individual squares in wax paper or small sandwich bags for an easy grab-and-go snack perfect for school lunches, picnics, or afternoon energy boosts.
Game Day Crowd-Pleaser: Break the treats into smaller bite-sized pieces and serve on a large platter during movie nights, sports watching parties, or casual gatherings to keep guests munching happily.
Smart Storage Tips for Honeycomb Marshmallow Treats
Smart Storage Solutions: Keep treats in an airtight container at room temperature for maximum freshness, lasting up to 3-4 days without losing their delightful crunch.
Make-Ahead Magic: Prepare the batch a day before your event, wrapping individual squares in plastic wrap to maintain texture and prevent them from sticking together.
Freezing Friendship: Slip these treats into freezer-safe containers, separating layers with parchment paper. They’ll stay delicious for up to 2 months, ready for spontaneous snacking moments.
Temperature TLC: Avoid refrigerating these goodies, as the cool environment can make them hard and less enjoyable. Room temperature keeps their soft, chewy personality intact.
Honeycomb marshmallow treats combine classic comfort with nostalgic sweetness. Crisp cereal, gooey marshmallows, and golden honeycomb pieces create a delightful snack you’ll crave again and again.
Ingredients
Scale
10 oz (283 g) mini marshmallows
4.5 cups honeycomb cereal
1 cup roasted, salted peanuts
4 tbsps (¼ cup/56 g) unsalted butter
2 tbsps (30 mL) honey
Instructions
Melt Butter: Heat unsalted butter in a large saucepan over low flame until it transforms into a translucent golden liquid, creating a smooth base for the treats.
Marshmallow Fusion: Add miniature marshmallows to the melted butter, stirring continuously until they dissolve completely, forming a creamy, homogeneous mixture that glistens with sweetness.
Flavor Infusion: Pour golden honey and sprinkle roasted peanuts into the marshmallow blend, stirring vigorously to ensure every morsel is coated with rich, nutty goodness.
Cereal Integration: Gently fold Honeycomb cereal into the warm concoction, tumbling the crisp pieces until they’re thoroughly enrobed in the sticky, sweet mixture.
Prepare Pan: Line an 8×8 inch baking pan with parchment paper or lightly grease with non-stick spray, creating a perfect vessel for the treats.
Compress and Set: Transfer the golden mixture into the prepared pan, using a spatula or clean hands to press and smooth the surface, ensuring an even distribution of ingredients.
Cool and Slice: Allow the treats to rest at room temperature for 30-45 minutes until firm, then cut into uniform squares using a sharp knife, revealing the golden, honeycomb-studded delicacy.
Notes
Butter Warming Technique: Use low heat to prevent burning and achieve a smooth, golden melt without scorching.
Marshmallow Melting Tip: Stir constantly to create a silky, uniform texture and prevent sticking or burning at the bottom of the pan.
Ingredient Distribution Strategy: Mix peanuts and honey thoroughly to ensure every bite has balanced flavor and crunch.
Cooling and Setting Wisdom: Allow treats to rest at room temperature for precise setting, which helps achieve perfect cutting and optimal texture.
Auguste Escoffier School of Culinary Arts, Boulder, CO
Degree: Diploma in Culinary Arts
Focus: Hands-on training in classic and modern culinary techniques, emphasizing sustainable cooking practices, kitchen professionalism, and real-world restaurant experience through externships.
Oregon State University
Degree: B.S. in Nutrition and Food Management
Focus: In-depth study of human nutrition, food safety, meal planning, and food-service operations, with a strong foundation in public health, dietetics, and community-based nutrition programs.
Sophie Reynolds is the recipe developer and culinary voice behind many of the approachable, flavor-focused creations at The Dream Café.
Sophie’s style leans into comfort food made simple: wholesome, satisfying meals anyone can make with confidence. Her passion lies in helping home cooks feel at ease in the kitchen while finding joy in the everyday act of cooking.
Sophie Reynolds
Co-Founder, Recipe Curator & Culinary Educator
Expertise
Education
Auguste Escoffier School of Culinary Arts, Boulder, CO
Oregon State University
Sophie Reynolds is the recipe developer and culinary voice behind many of the approachable, flavor-focused creations at The Dream Café.
Sophie’s style leans into comfort food made simple: wholesome, satisfying meals anyone can make with confidence. Her passion lies in helping home cooks feel at ease in the kitchen while finding joy in the everyday act of cooking.