
Ina Garten’s Homemade Cherry Pie Recipe for Sweet Lovers
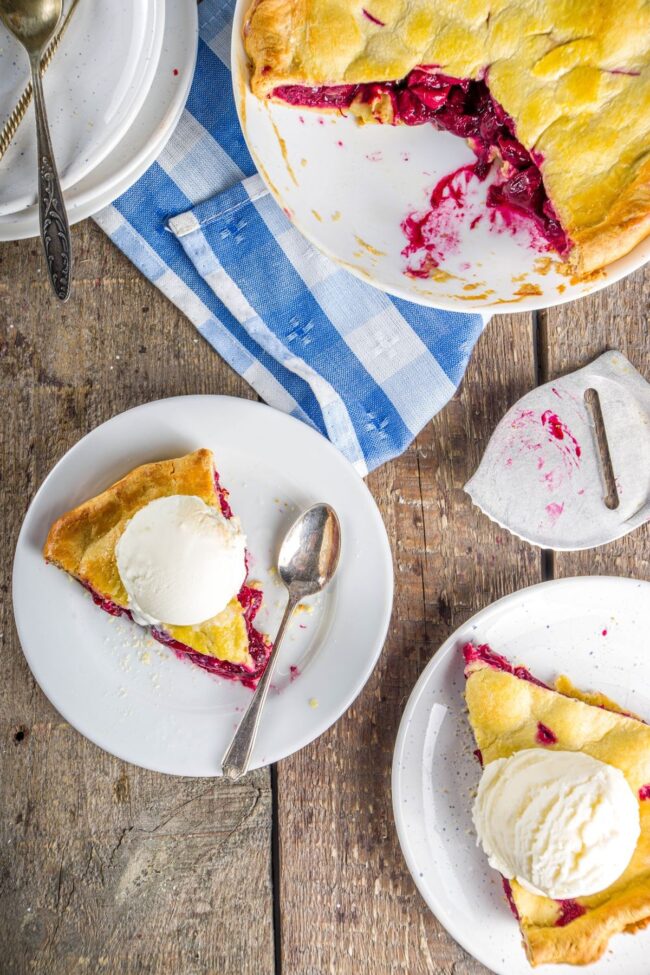
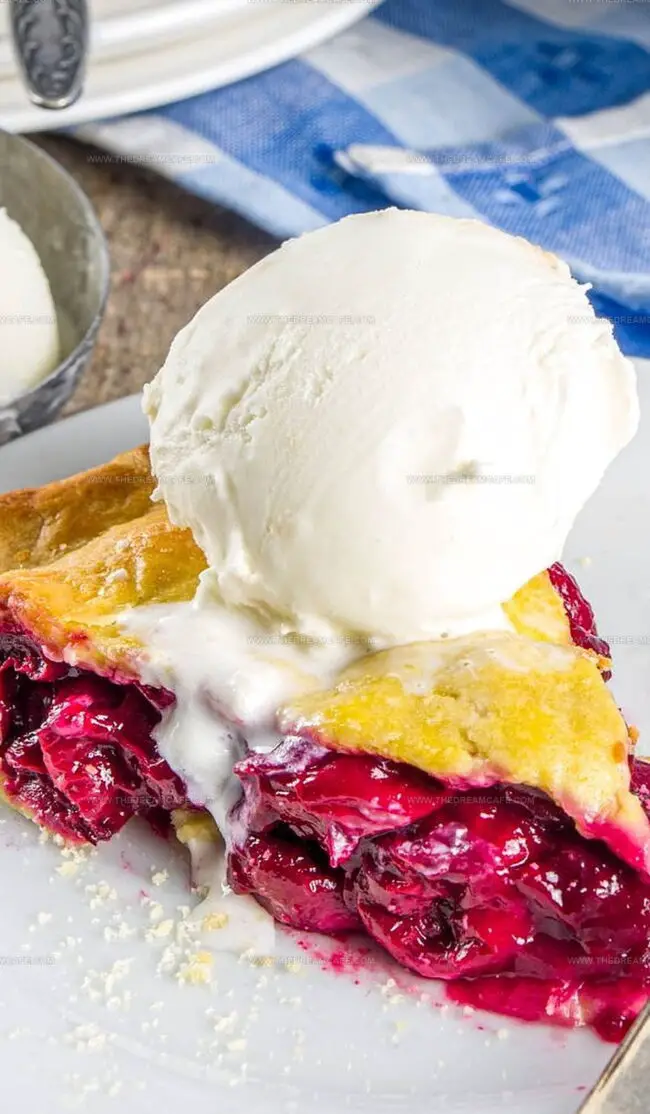
Ina Garten’s cherry pie transforms humble fruit into a spectacular dessert that dances between sweet and tangy flavor profiles.
Buttery, flaky crust cradles vibrant ruby-red jewels bursting with intense summer memories.
Her signature approach elevates this classic American treat through carefully balanced ingredients and meticulous technique.
Delicate hints of almond weave through the filling, creating complexity that surprises and delights unexpected palates.
Homemade pies represent comfort and connection, bridging generations through shared culinary traditions.
Warm aromas wafting from a freshly baked pie invite everyone to gather around the table.
You can recreate this nostalgic experience with simple techniques and quality ingredients: savor every delicious slice.
Why Ina Garten Cherry Pie Is Sweet and Classic
What You’ll Need for Cherry Pie Filling
Pie Filling:Pie Crust:Finishing Touches:How to Bake Ina’s Cherry Pie to Golden Perfection
Step 1: Prepare Cherry Filling
Cook cherries in a medium pot with the lid on until they release abundant juice. Remove from heat. In a small bowl, combine:Stir the mixture into hot cherries. Add almond extract if desired. Return pot to low heat and cook until thickened, stirring frequently. Remove from heat and let cool. Adjust consistency by adding water if too thick or cornstarch if too thin.
Step 2: Prepare Pie Crust
Preheat oven to 375°F (190°C). Divide pie dough into two equal portions. Roll each half to fit an 8 to 9-inch pie pan. The dough should be large enough to cover the pan with some overhang.
Step 3: Assemble Pie
Transfer cooled cherry filling into the bottom pie crust. Dot the surface with small butter pieces. Moisten the edges of the bottom crust with water. Carefully place the top crust over the filling. Seal edges by pressing together. Create several small vents in the top crust to allow steam escape. Sprinkle sugar over the top crust for a golden finish.
Step 4: Bake and Cool
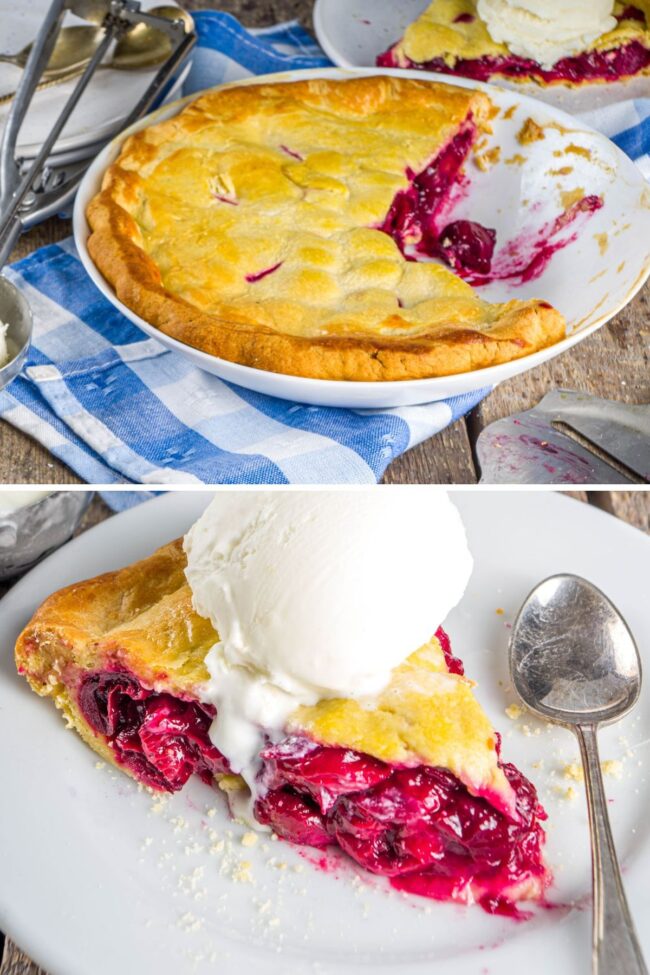
Bake pie for approximately 50 minutes until crust turns golden brown and filling bubbles. Remove from oven and place on a cooling rack. Allow pie to cool completely before serving.
Helpful Tips for Juicy, Tart Cherry Pie
Storing Leftover Cherry Pie the Right Way
Creative Takes on the Cherry Pie Theme

Wrapping Up the Cherry Pie Plate
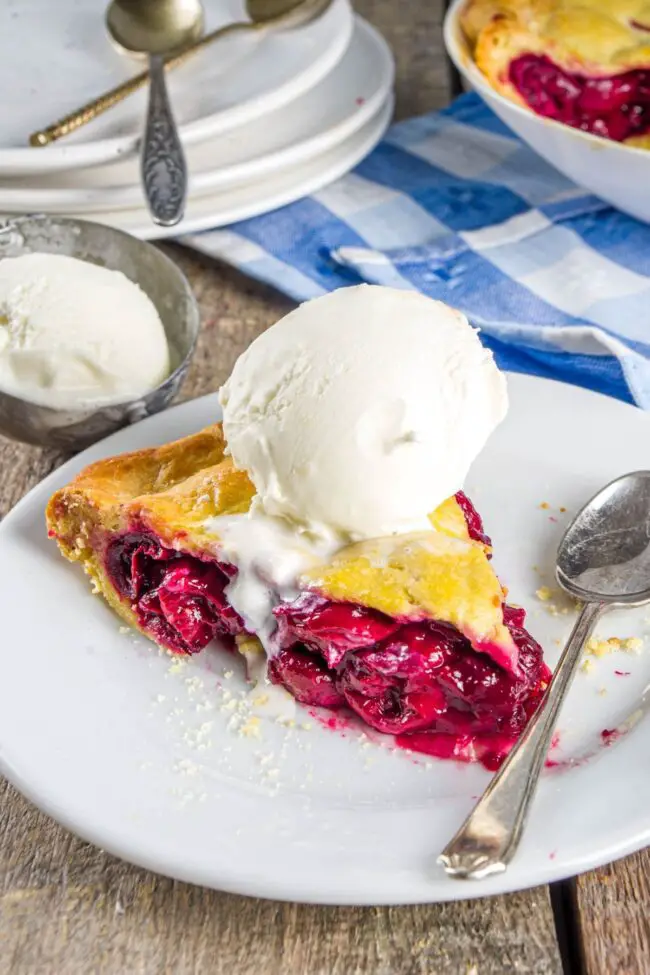
Culinary magic emerges from Ina Garten’s cherry pie, showcasing pure American baking tradition.
Sweet-tart cherries dance within golden, flaky pastry layers that whisper homemade comfort.
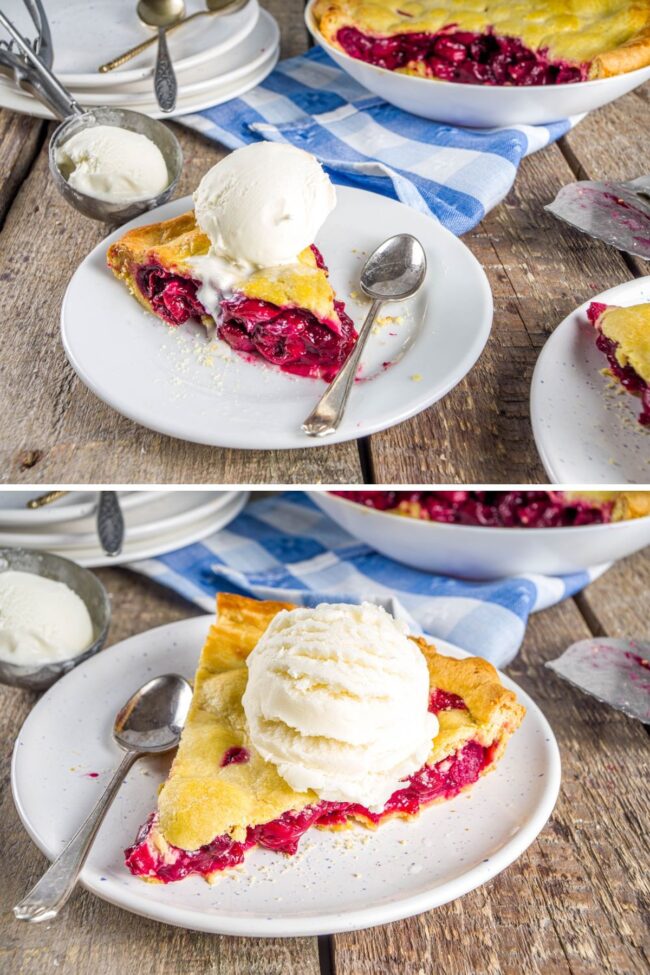
Summer’s most delightful dessert arrives with rustic charm and sophisticated flavor profiles.
Family gatherings become memorable celebrations around this classic pie’s centerpiece.
Warm aromas of baked cherries and buttery crust promise nostalgic satisfaction for anyone seeking genuine culinary pleasure.
Passionate bakers, slice into this masterpiece, share its delectable story across social platforms, spark conversations about its irresistible allure, and invite fellow dessert enthusiasts to experience this extraordinary recipe’s delicious journey.
Print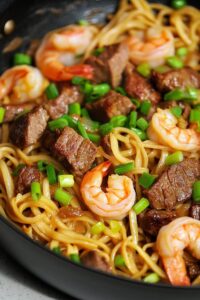
Shrimp & Teriyaki Steak Noodles Recipe
- Total Time: 35 minutes
- Yield: 4 1x
Description
Succulent shrimp and tender teriyaki steak dance together over silky Asian noodles, creating a harmony of flavors that whisks diners straight to Japanese street markets. Soy-glazed meat and plump seafood intermingle with noodles, promising a quick, satisfying meal you’ll crave again and again.
Ingredients
Proteins:
- 1 pound (454 grams) shrimp (peeled and deveined)
- 1 pound (454 grams) steak (cut into bite-sized pieces)
Noodles and Base:
- 1 pound (454 grams) spaghetti noodles (cooked and drained)
- 2 tablespoons olive oil
- 2 teaspoons sesame oil
- ½ a medium onion (sliced)
Sauces and Seasonings:
- ⅓ cup teriyaki sauce
- 2 tablespoons soy sauce
- 2 teaspoons minced garlic
- ¼ cup chopped green onions (for garnish)
- Salt (to taste)
- Black pepper (to taste)
Instructions
- Preheat a large skillet over medium-high heat and drizzle of olive oil across the surface. Introduce seasoned steak pieces with salt and pepper, searing until they achieve a golden-brown exterior while maintaining a blush-pink center, approximately 2-3 minutes per side.
- Transfer the partially cooked steak to a separate plate. In the same skillet, introduce sliced onions and sauté until they become translucent and slightly caramelized, about 3-4 minutes.
- Add raw shrimp to the skillet, seasoning with a pinch of salt and pepper. Cook for 2-3 minutes until they transform from gray to a vibrant pink color, indicating they are perfectly prepared.
- Reduce the heat to medium and pour of sesame oil into the skillet. Quickly introduce minced garlic, allowing it to release its aromatic essence for approximately 30 seconds.
- Create a savory sauce by combining ⅓ cup (80 milliliters) of teriyaki sauce with of soy sauce. Whisk together until thoroughly integrated.
- Gently fold cooked spaghetti noodles into the skillet, ensuring each strand becomes evenly coated with the rich, umami-packed sauce.
- Reintroduce the seared steak and sautéed shrimp into the noodle mixture, gently tossing to redistribute heat and harmonize flavors.
- Finish the dish by sprinkling freshly chopped green onions across the top, adding a bright, crisp element to the robust meal.
- Serve immediately while the noodles remain steaming and the proteins retain their succulent texture.
Notes
- Uncover the secret to perfectly seared steak by letting it rest slightly pink before adding onions for maximum tenderness.
- Shrimp cooks lightning-fast, transforming from translucent to vibrant pink in just minutes, signaling its readiness.
- Sesame oil adds a nutty, fragrant backdrop that elevates the entire dish’s aromatic profile with minimal effort.
- Teriyaki and soy sauce create a dynamic flavor fusion, binding noodles and proteins into a harmonious culinary experience.
- Green onions provide a fresh, crisp finishing touch that brightens the rich, savory noodle medley.
- Prep Time: 15 minutes
- Cook Time: 20 minutes
- Category: Lunch, Dinner
- Method: Sautéing
- Cuisine: Fusion
Nutrition
- Serving Size: 4
- Calories: 600 kcal
- Sugar: 6g
- Sodium: 1200mg
- Fat: 20g
- Saturated Fat: 4g
- Unsaturated Fat: 14g
- Trans Fat: 0g
- Carbohydrates: 80g
- Fiber: 3g
- Protein: 40g
- Cholesterol: 200mg
Julian Park
Co-Founder, Cuisine Researcher & Food Culture Writer
Expertise
Education
The Institute of Culinary Education (ICE), Los Angeles, CA
Julian Park is a natural storyteller at The Dream Café who blends hands-on culinary experience with a passion for exploring global food traditions. A graduate of The Institute of Culinary Education in Los Angeles, Julian combines professional technique with a love for cultural discovery, diving into how dishes reflect heritage, migration, and identity.
His work spans everything from in-depth cuisine guides to reflections on everyday meals around the world. With a curious palate and a journal always close by, Julian helps readers connect with food in a way that feels so insightful and personal.