
Ina Garten’s Swirled Chocolate Babka Recipe You’ll Love
Chocolate babka transforms ordinary bread into a spectacular sweet sensation that tantalizes taste buds with its luxurious swirls and rich textures.
Jewish culinary traditions birthed this remarkable pastry, blending cultural heritage with extraordinary baking craft.
Dense and intricate layers promise an indulgent experience that transcends typical breakfast breads.
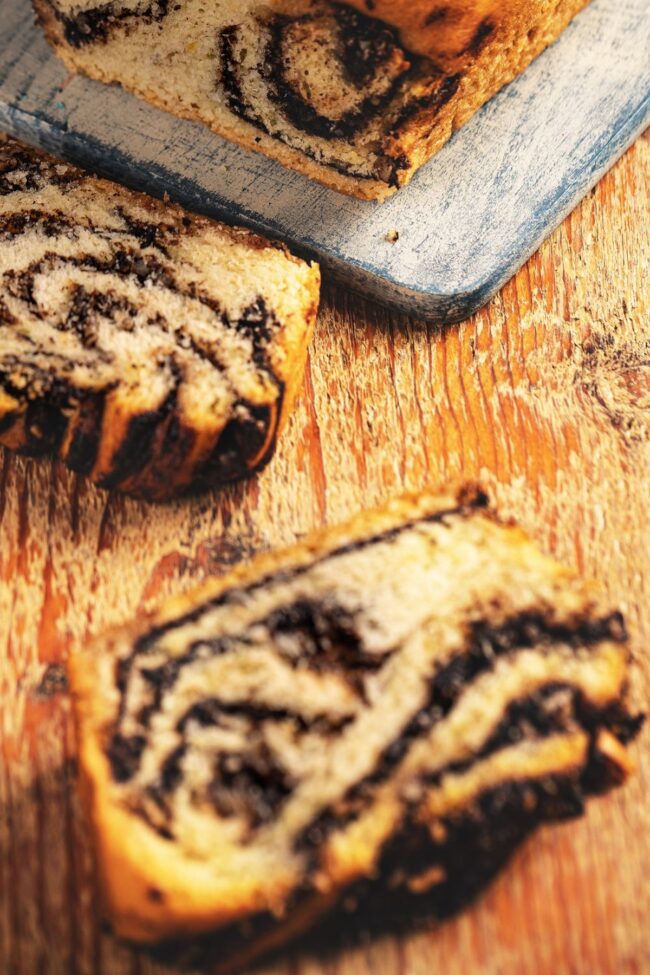
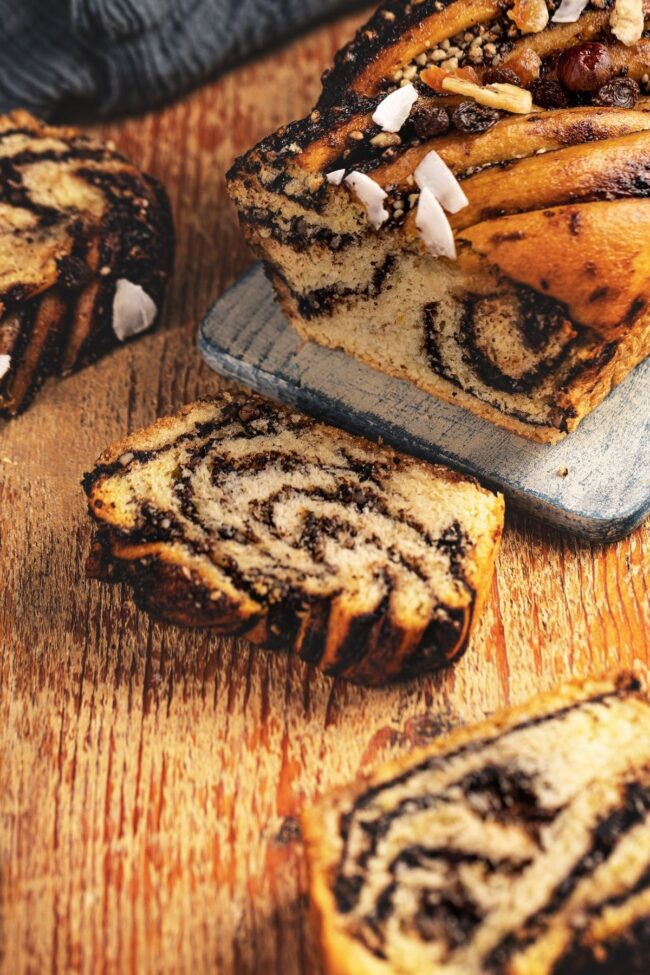
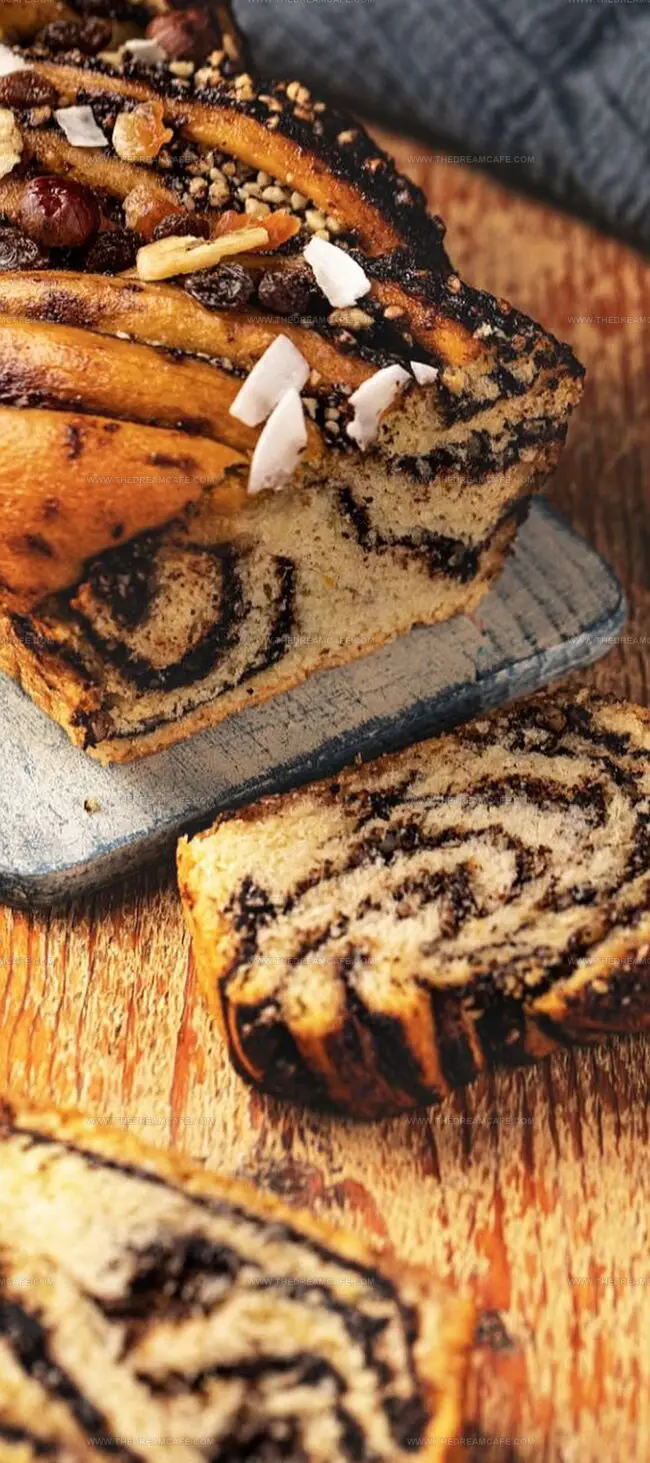
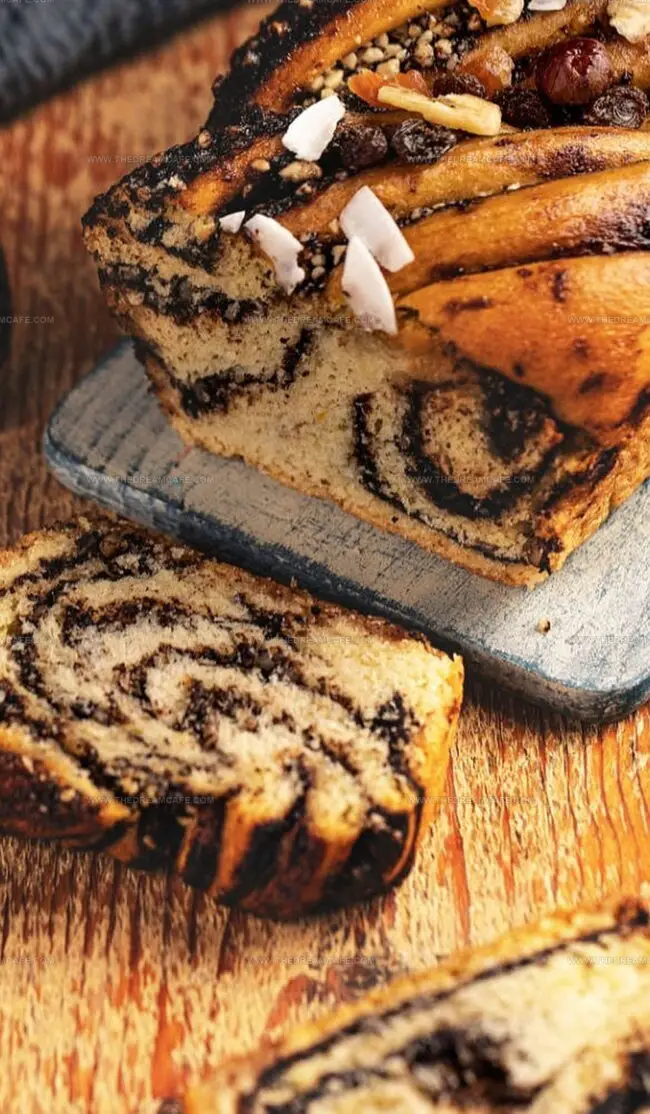
Delicate dough becomes a canvas for deep chocolate ribbons that wind through each tender slice.
Soft, buttery strands pull apart dramatically, revealing intensely marbled inner landscapes of sweet complexity.
Home bakers love creating this impressive treat that looks far more challenging than its actual preparation requires.
One bite promises to transport you into a realm of pure comfort and delectable satisfaction:
What Makes Ina Garten Chocolate Babka So Special
What You’ll Need for Rich Chocolate Babka
For The Dough:Wet Ingredients:Filling And Topping:How to Braid and Bake Ina Garten Chocolate Babka
Step 1: Create Magical Dough
In a spacious mixing bowl, combine:Whisk in eggs and egg yolk until smooth. Gradually fold in flour until fully incorporated. Cover loosely and let the dough rest at room temperature for 2 hours. Refrigerate for minimum 3 hours or up to 3 days for enhanced flavor development.
Step 2: Prepare Baking Station
Generously grease a 9×5-inch loaf pan with butter, ensuring complete coverage.
Step 3: Roll Out Delectable Layers
Sprinkle work surface with flour. Remove chilled dough and place on surface. Gently knead for 30 seconds. Roll into a perfect 14-inch square, approximately 1/8 inch thick.
Step 4: Craft Chocolate Swirl
Spread Nutella across dough, leaving a 1/2-inch border. Scatter chocolate pieces over Nutella. Carefully roll dough into a tight log. Slice log lengthwise, creating two strands. Artfully twist strands together and transfer to prepared loaf pan.
Step 5: Allow Dough to Rise
Cover pan with plastic wrap. Let babka rise at room temperature for 90 minutes until puffy and expanded.
Step 6: Bake to Golden Perfection
Preheat oven to 350°F. Bake babka for 45-50 minutes until deep golden brown and center feels set.
Step 7: Create Sweet Glaze
In a small saucepan, combine:Boil until sugar completely dissolves. Remove from heat.
Step 8: Final Finishing Touch
Generously brush or drizzle syrup over warm babka. Allow to cool in pan for 15 minutes. Transfer to wire rack and cool completely before slicing.
Tips to Get the Swirl Just Right

Keeping Chocolate Babka Moist and Tasty
Flavor Variations to Try With Ina Garten’s Babka
Chocolate Babka – A Sweet Ending
Chocolate babka emerges as ultimate comfort confection, blending rich chocolate and tender bread into pure culinary magic.
Ina Garten’s masterful recipe transforms simple ingredients into extraordinary experience.
Sweet aromas waft through kitchens, promising delectable moments of indulgence.
Chocolate ribbons weave through delicate dough, creating irresistible layers of flavor.
Precision and patience reward bakers with spectacular results that elevate weekend breakfast or afternoon treat.
You’ll find this recipe becomes cherished tradition – share its deliciousness, drop a comment below, and spread sweet inspiration across your favorite social platforms!
Print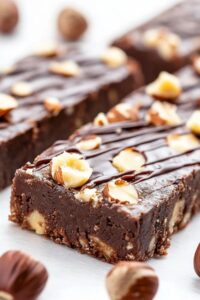
Low Carb Keto Protein Bars Recipe
- Total Time: 10 minutes
- Yield: 12 1x
Description
These homemade keto protein bars deliver portable nutrition without compromise. Rich chocolate and nutty almond flavors combine seamlessly, offering protein-packed snacking perfection for health-conscious individuals seeking delicious low-carb alternatives.
Ingredients
Nuts and Flours:
- 120g (1 cup) blanched hazelnuts, divided into 90g (¾ cup) and 30g (¼ cup)
- 100g (1 cup) blanched almond flour
Powders and Sweeteners:
- 15g (2 tablespoons) Dutch processed cocoa powder
- 25g (¼ cup) collagen protein powder
- 60g (½ cup) powdered monk fruit allulose blend
- ¼ teaspoon sea salt
Fats and Optional Toppings:
- 30g (2 tablespoons) almond butter (slightly runny)
- 30g (1 ounce) cocoa butter, melted
- Sugar-free dark chocolate chips, melted (optional, for drizzling)
Instructions
- Prepare a parchment-lined square baking dish, ensuring overhang on at least two sides for easy removal, using an 8×8-inch (20×20 cm) pan.
- Transform 90 grams (¾ cup) of hazelnuts into a fine, powdery texture by pulsing in a food processor until they resemble a coarse meal.
- Incorporate almond flour, cocoa powder, collagen protein powder, powdered monk fruit allulose blend, and sea salt into the ground hazelnuts. Pulse intermittently to create a uniform mixture, pausing to scrape down the processor sides for even distribution.
- Introduce almond butter and melted cocoa butter to the dry ingredients. Process continuously until a cohesive dough emerges, pulling away from the processor walls and achieving a compact consistency that holds a fingerprint when pressed.
- Transfer the prepared dough into the parchment-lined pan, applying firm, even pressure to create a smooth, compact base layer.
- Enhance the surface by sprinkling and gently pressing the remaining 30 grams (¼ cup) of chopped hazelnuts across the top. Optionally, drizzle with melted chocolate for added decadence.
- Refrigerate the pan for 1–2 hours until the mixture becomes completely firm and set. Once chilled, carefully separate any edges clinging to the pan using a knife.
- Extract the entire block from the pan using the parchment paper overhang, position on a cutting board, and slice into 12 precisely measured bars using a sharp chef’s knife with a direct downward cutting motion.
Notes
- Toast hazelnuts to intensify their rich, nutty flavor before grinding, releasing those delicious natural oils that elevate the entire recipe.
- Select smooth, slightly runny almond butter to ensure your dough binds perfectly without becoming dry or crumbly.
- Mix ingredients gently and quickly, stopping just when the mixture comes together to prevent excess oil extraction and maintain ideal texture.
- Pack the dough firmly into the pan using a spatula or spoon’s back, creating compact bars that won’t fall apart when sliced.
- Refrigerate the prepared bars for minimum two hours, allowing them to set completely and develop a satisfyingly clean cutting edge.
- Prep Time: 10 minutes
- Cook Time: 0 minutes
- Category: Snacks, Desserts
- Method: Blending
- Cuisine: American
Nutrition
- Serving Size: 12
- Calories: 178
- Sugar: 1.1g
- Sodium: 50mg
- Fat: 16.2g
- Saturated Fat: 2.2g
- Carbohydrates: 5.1g
- Fiber: 2.8g
- Protein: 6.5g
- Cholesterol: 0.4mg
Julian Park
Co-Founder, Cuisine Researcher & Food Culture Writer
Expertise
Education
The Institute of Culinary Education (ICE), Los Angeles, CA
Julian Park is a natural storyteller at The Dream Café who blends hands-on culinary experience with a passion for exploring global food traditions. A graduate of The Institute of Culinary Education in Los Angeles, Julian combines professional technique with a love for cultural discovery, diving into how dishes reflect heritage, migration, and identity.
His work spans everything from in-depth cuisine guides to reflections on everyday meals around the world. With a curious palate and a journal always close by, Julian helps readers connect with food in a way that feels so insightful and personal.