
Ina Garten’s Soft Honey White Bread Recipe for Beginners
Honey white bread transforms ordinary ingredients into an extraordinary culinary experience that beckons home bakers with its irresistible aroma and tender crumb.
Crafting this delightful loaf requires patience, precision, and a touch of baking magic that elevates simple pantry staples.
Soft and slightly sweet, the bread promises a comforting embrace that makes any meal feel special.
Delicate golden edges hint at the careful technique behind its creation, inviting you to knead, rise, and bake with confidence.
Professional techniques merge with homestyle warmth, turning basic ingredients into a masterpiece that fills your kitchen with nostalgic comfort.
Subtle honey notes dance through each slice, promising a sensory journey that connects tradition with modern baking artistry: Get ready to slice into pure deliciousness!
Sweet Start to Your Day: Why You’ll Love Honey White Bread
What Goes Into Ina’s Golden Honey Loaf
Wet Ingredients:Dry Ingredients:Leavening Agents:Instructions for That Perfect Bakery-Style Rise
Step 1: Activate the Yeast
In an electric mixer bowl, combine:Stir gently and let the mixture sit for 5 minutes until it becomes frothy and alive.
Step 2: Create the Liquid Base
Add to the yeast mixture:Mix on medium speed until all ingredients blend smoothly and create a golden liquid foundation.
Step 3: Form the Dough
Incorporate into the mixture:Mix on low speed for 5 minutes. Gradually add remaining flour until the dough pulls away from the bowl’s sides. Knead for 8 minutes to develop gluten and create a silky texture.
Step 4: First Rising Period
Transfer dough to a floured surface and knead gently until smooth. Place in a buttered bowl, turning to coat completely. Cover with a damp towel and let rise in a warm spot for 1 hour until doubled in size.
Step 5: Shape the Loaves
Grease two 9×5-inch loaf pans. Divide dough into two equal portions, shape into smooth loaves, and place in prepared pans. Cover with a damp towel and let rise for another hour.
Step 6: Bake to Golden Perfection
Preheat oven to 350°F. Gently brush loaves with egg white for a beautiful sheen. Bake for 40-45 minutes until the bread sounds hollow when tapped and turns a deep golden brown.
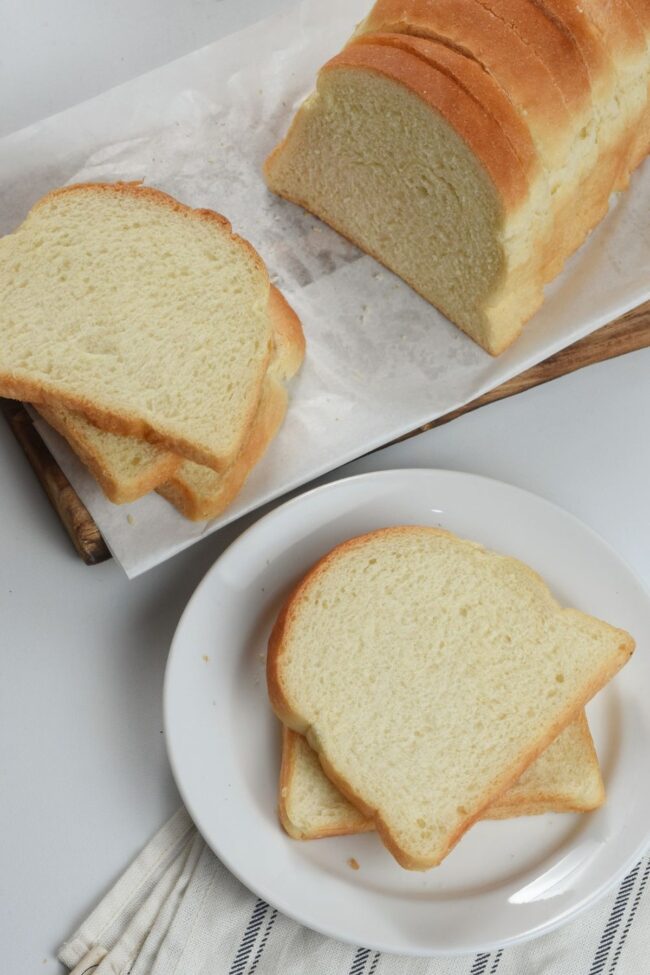
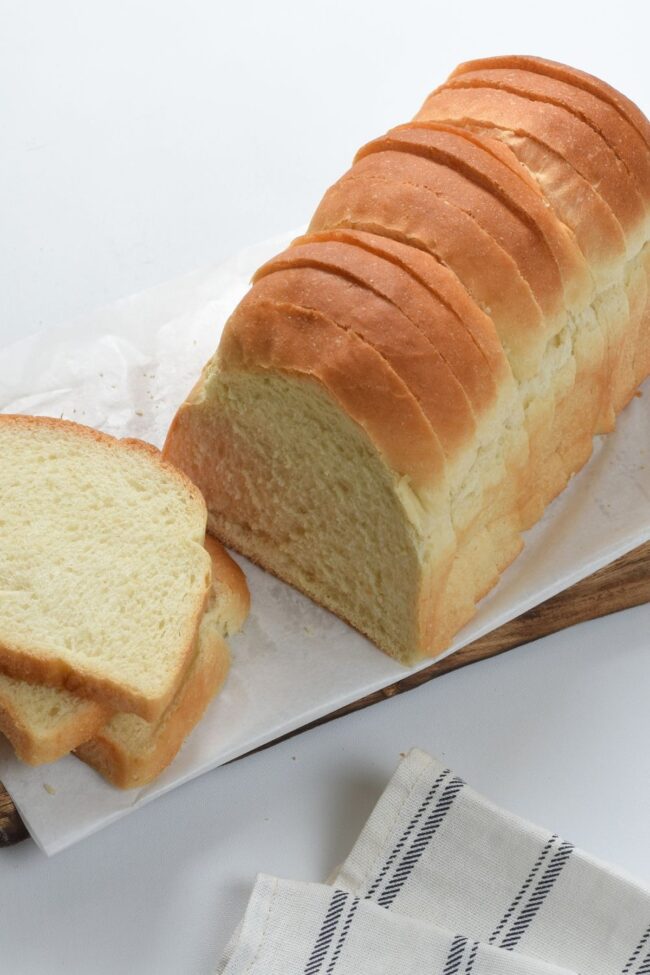
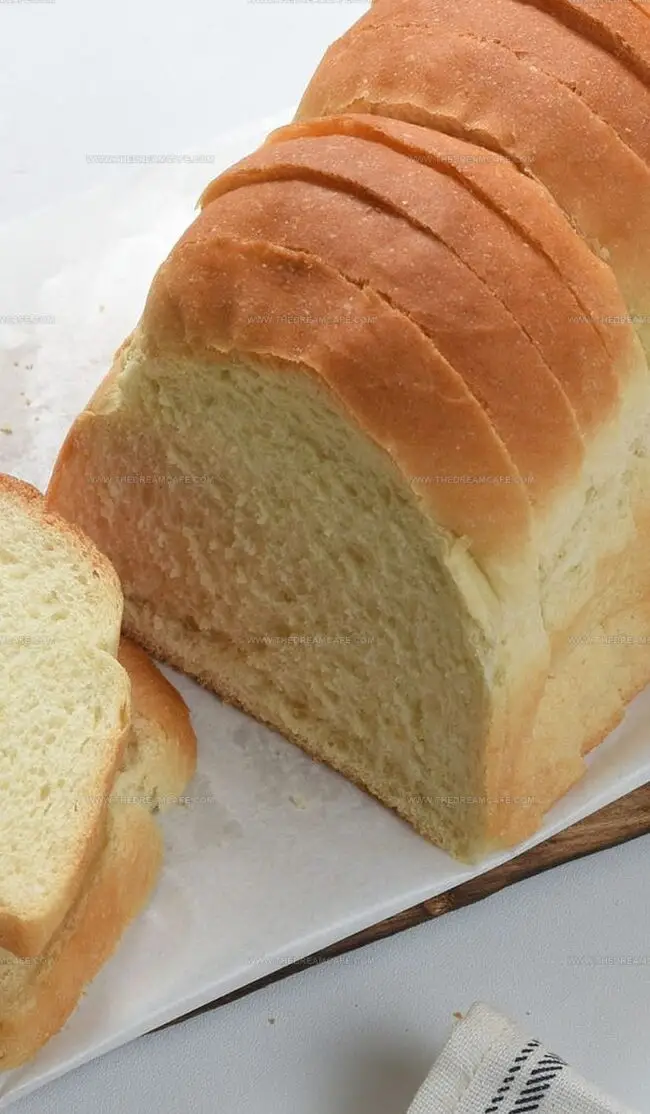
Step 7: Cool and Slice
Remove bread from pans immediately after baking. Transfer to a wire rack and allow to cool completely before slicing. Enjoy the fresh, warm aroma of homemade bread!
Pro Tips for Tender, Sweet Slices
Keeping Honey Bread Fresh and Fluffy

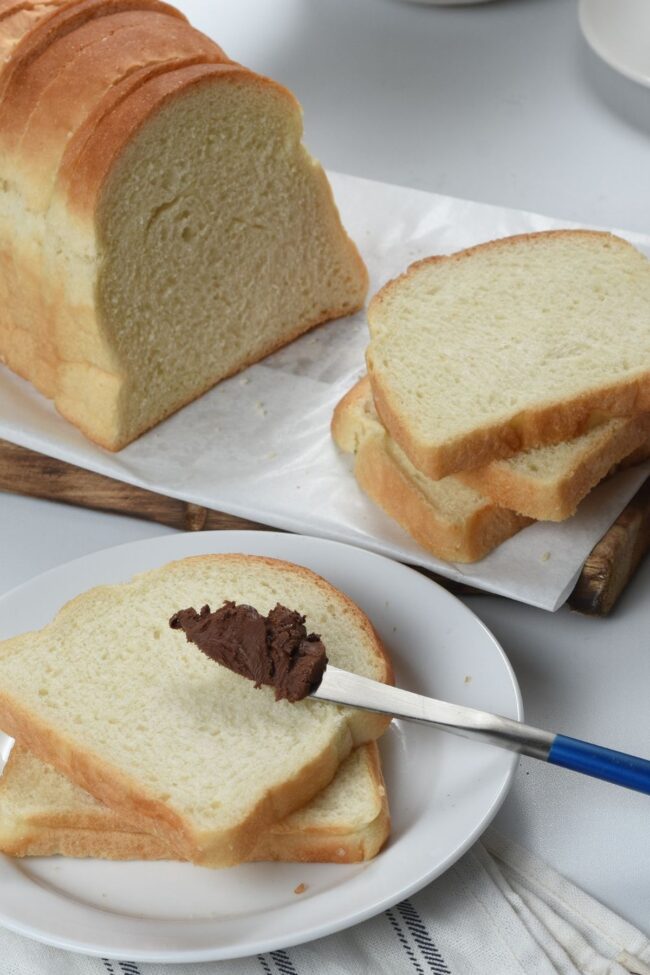
Bake It Your Way—Fun Add-Ins to Try
The Honey Bread Farewell Bite
Golden loaves of Ina Garten’s honey white bread promise comforting kitchen magic straight from her signature collection.
Classic Americana wafts through home kitchens with this simple yet elegant recipe.
Warm honey and butter create deep connections between ingredients and memories.
Home bakers discover pure satisfaction through carefully crafted techniques.
Southern charm meets professional precision in each carefully kneaded batch.
Slice, share, savor – reach out to fellow bread enthusiasts with comments, likes, and recipe passion that celebrates culinary traditions.
Print
Ina Garten Honey White Bread Recipe
- Total Time: 1 hour 10 minutes
- Yield: 16 1x
Description
Ina Garten’s honey white bread delivers pure comfort from her Barefoot Contessa kitchen, blending sweet honey notes with classic homemade warmth. Comfort seekers will savor each slice of this golden, tender loaf that promises memories of freshly baked perfection.
Ingredients
Main Ingredients:
- 5 to 6 cups all-purpose flour
- 1 ½ cups warm whole milk (110 degrees F / 43 degrees C)
- 2 extra-large egg yolks
Liquid and Leavening Ingredients:
- ½ cup warm water (110 degrees F / 43 degrees C)
- 2 packages dry yeast
- 6 tablespoons (¾ stick / 85 grams) unsalted butter, melted and cooled
- 1 ½ tablespoons honey
Seasoning and Finishing Ingredients:
- 1 teaspoon sugar
- 1 tablespoon kosher salt
- 1 egg white, lightly beaten
Instructions
- Activate the yeast by combining warm water (110°F / 43°C), active dry yeast, and granulated sugar in an electric mixer bowl. Allow the mixture to bloom and become frothy for approximately 5-7 minutes.
- Incorporate whole milk, unsalted butter (melted), and pure honey into the activated yeast mixture. Blend thoroughly using the mixer’s medium speed setting.
- Introduce egg yolks, of all-purpose flour, and kosher salt to the liquid ingredients. Mix on low speed for 5 minutes, ensuring all components are well integrated.
- Gradually incorporate the remaining of flour while mixing on low speed. Increase the mixer speed to medium and continue adding flour until the dough cleanly pulls away from the bowl’s sides without sticking.
- Transfer the dough to a lightly floured surface and knead manually for 3-4 minutes, creating a smooth and elastic texture.
- Place the kneaded dough in a generously buttered large bowl, rotating to ensure complete surface coverage. Drape a slightly damp kitchen towel over the bowl and allow the dough to rise in a warm, draft-free environment for 60-75 minutes.
- Prepare two 9×5-inch (23×13-centimeter) loaf pans by lightly greasing with butter or cooking spray.
- Gently punch down the risen dough and divide it into two equal portions. Shape each portion into a smooth loaf and carefully place them into the prepared pans.
- Cover the loaf pans with a damp towel and permit a second rise for approximately 45-60 minutes, or until the dough has doubled in volume.
- Preheat the oven to 350°F (175°C). Delicately brush the loaf surfaces with beaten egg white for a glossy finish.
- Bake the loaves for 40-45 minutes, rotating the pans halfway through cooking. The bread is ready when it produces a hollow sound when tapped and achieves a golden-brown exterior.
- Remove the pans from the oven and let the loaves rest for 5 minutes. Carefully transfer the bread to a wire cooling rack and allow complete cooling before slicing.
Notes
- Warm environments help yeast work magic, transforming simple ingredients into a fluffy, golden masterpiece.
- Gentle kneading develops gluten strands, creating a soft, pillowy texture that melts in your mouth.
- Precise temperature matters – lukewarm liquids wake up yeast without killing its powerful rising potential.
- Tapping the bread’s bottom reveals its secret – a hollow sound means you’ve baked perfection.
- Patient rising allows dough to expand and develop deep, rich flavors that’ll make your kitchen smell incredible.
- Prep Time: 25 minutes
- Cook Time: 45 minutes
- Category: Breakfast, Snacks, Dinner
- Method: Baking
- Cuisine: American
Nutrition
- Serving Size: 16
- Calories: 210
- Sugar: 1 g
- Sodium: 200 mg
- Fat: 8 g
- Saturated Fat: 4 g
- Unsaturated Fat: 3 g
- Trans Fat: 0 g
- Carbohydrates: 30 g
- Fiber: 1 g
- Protein: 6 g
- Cholesterol: 50 mg
Julian Park
Co-Founder, Cuisine Researcher & Food Culture Writer
Expertise
Education
The Institute of Culinary Education (ICE), Los Angeles, CA
Julian Park is a natural storyteller at The Dream Café who blends hands-on culinary experience with a passion for exploring global food traditions. A graduate of The Institute of Culinary Education in Los Angeles, Julian combines professional technique with a love for cultural discovery, diving into how dishes reflect heritage, migration, and identity.
His work spans everything from in-depth cuisine guides to reflections on everyday meals around the world. With a curious palate and a journal always close by, Julian helps readers connect with food in a way that feels so insightful and personal.