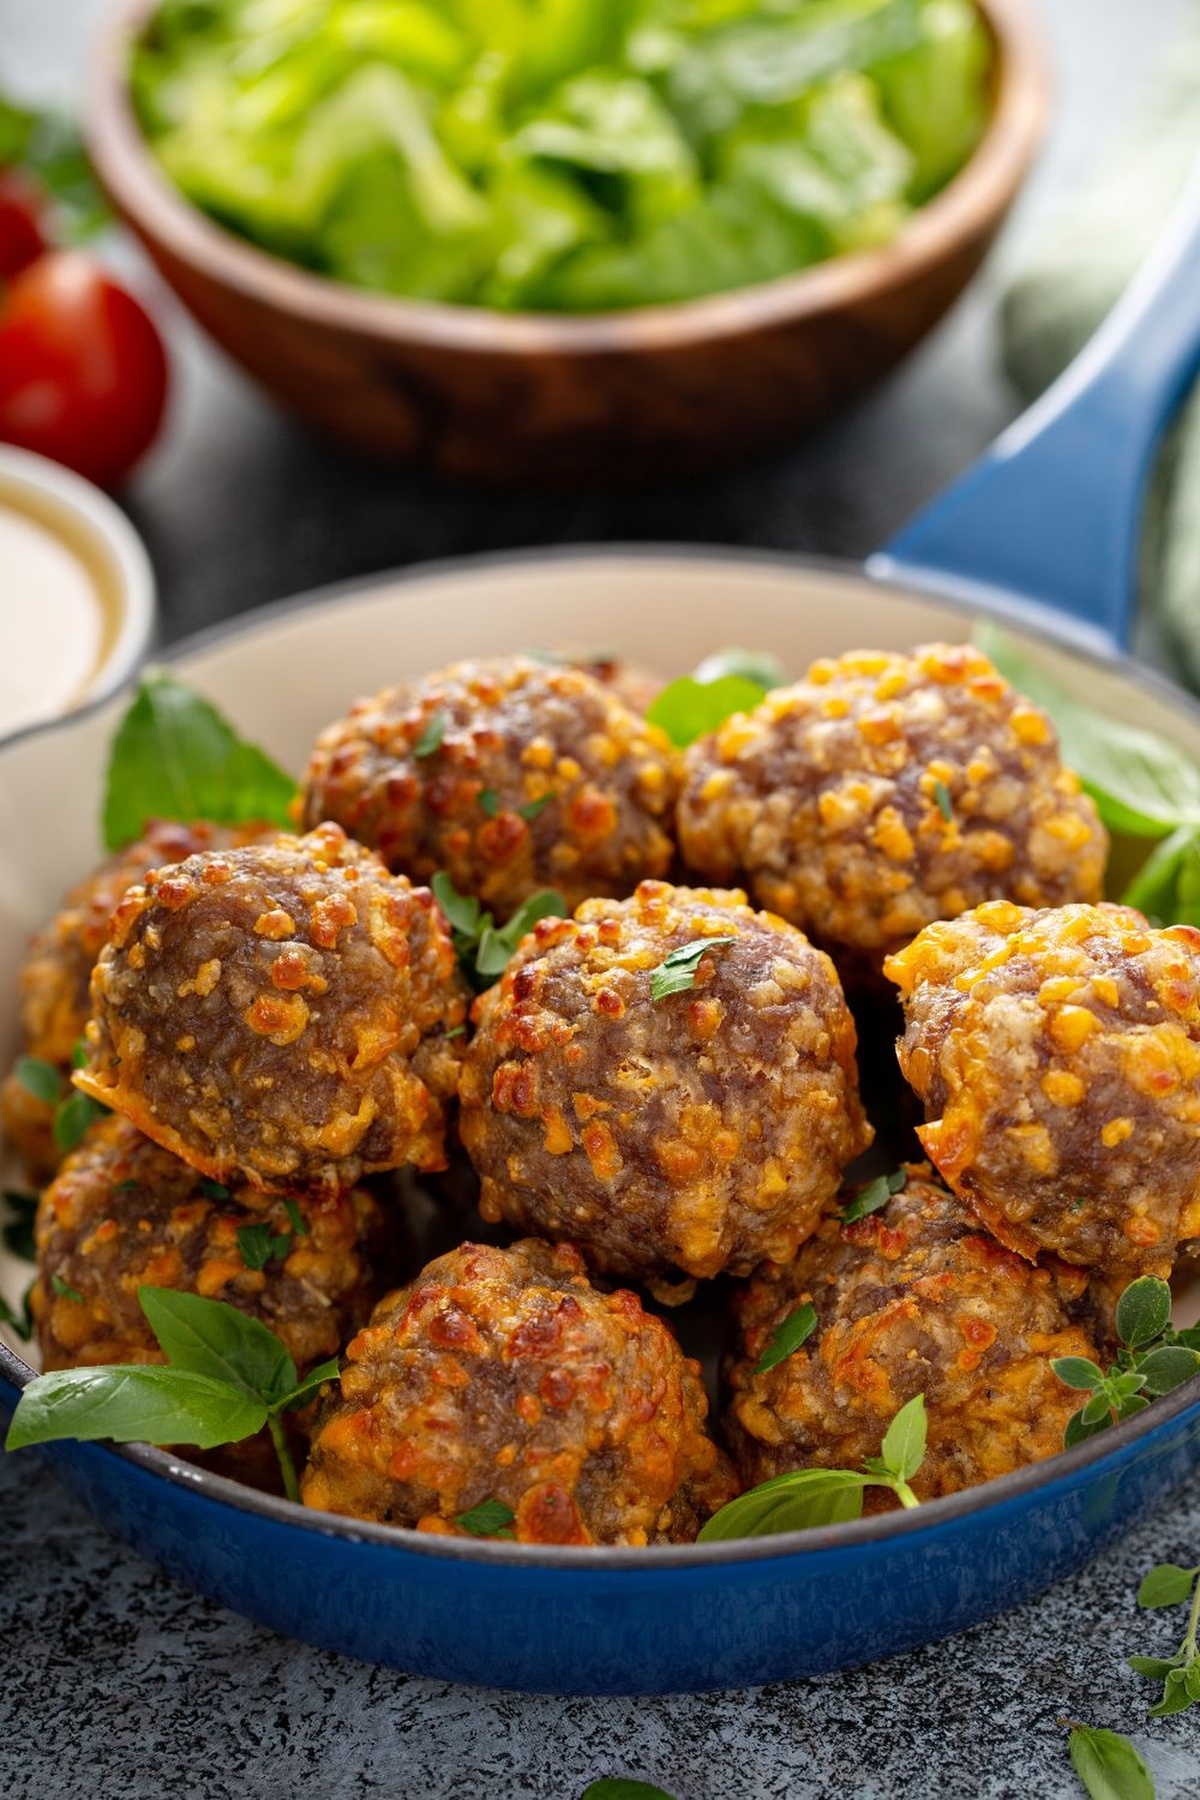
Ina Garten’s Irresistibly Tasty Sausage Balls Recipe
Ina Garten Sausage Balls spark culinary excitement in party appetizers that promise irresistible flavor and crowd-pleasing potential.
These savory morsels blend rich, hearty ingredients into bite-sized delights that tempt every palate.
Robust and satisfying, the recipe combines classic comfort with sophisticated taste profiles that elevate simple gathering snacks.
Meaty textures and melted cheese create an indulgent experience that transforms ordinary entertaining into memorable moments.
Perfect for game days, holiday parties, or casual get-togethers, these sausage balls deliver maximum satisfaction with minimal preparation effort.
The simple yet strategic combination of ingredients guarantees a delectable result that keeps guests returning for more.
Prepare to wow your friends with this foolproof appetizer that promises delicious success:
Why Ina Garten Sausage Balls Are a Party Must
What to Gather for Ina Garten Sausage Balls
Main Ingredients:
Ground Pork and Sausage:Dry Ingredients:Optional Serving Components:How to Roll and Bake Ina Garten Sausage Balls

Step 1: Gather Your Goodies
Collect all ingredients:Step 2: Warm Up the Kitchen
Set oven to 350°F. Line baking sheet with parchment paper. Ensure oven rack is centered.
Step 3: Create the Base Mix
In a large mixing bowl, combine sausage and biscuit mix. Use hands to blend ingredients thoroughly. Work the mixture until it feels smooth and consistent.
Step 4: Cheese It Up
Sprinkle shredded sharp Cheddar cheese into the sausage mixture. Gently fold and knead cheese throughout the blend. Ensure even distribution for maximum flavor.
Step 5: Shape Your Treats
Roll mixture into small balls, each about walnut-sized. Aim for consistent sizing to guarantee even cooking. You should create approximately 30 sausage balls.
Step 6: Arrange for Perfection
Place sausage balls on prepared baking sheet. Space them slightly apart to allow heat circulation and prevent sticking.
Step 7: Bake to Golden Deliciousness
Slide baking sheet into preheated oven. Bake for 20-25 minutes. Halfway through cooking, rotate sheet for uniform browning. Balls should look golden and crispy.
Step 8: Temperature Check
Use meat thermometer to confirm internal temperature reaches 160°F. This ensures safe and delicious sausage balls.
Step 9: Rest and Settle
Remove from oven. Let sausage balls rest on baking sheet for 10 minutes. This helps them firm up and retain their shape.
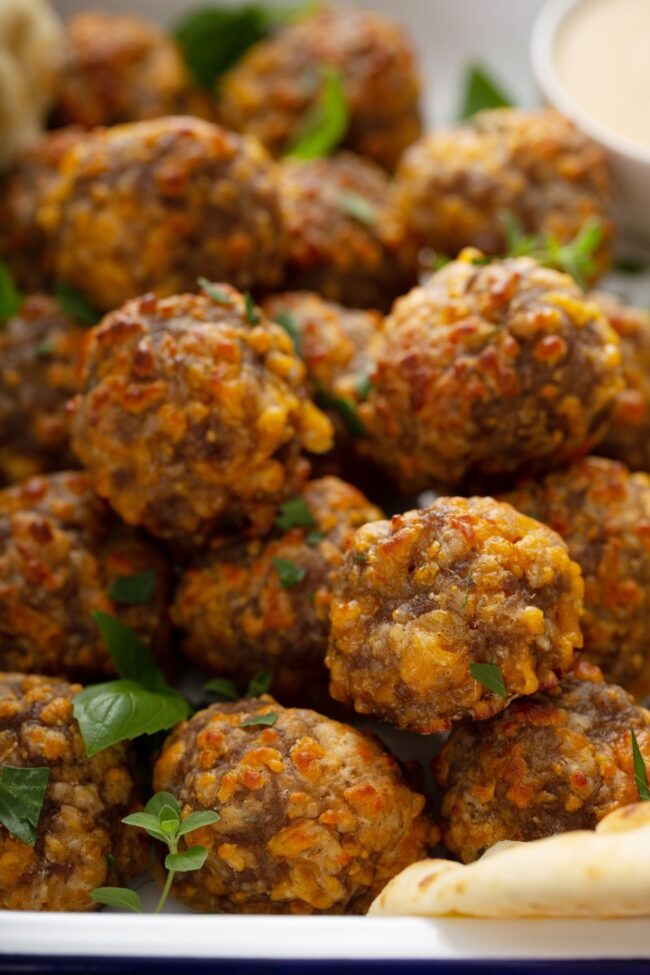
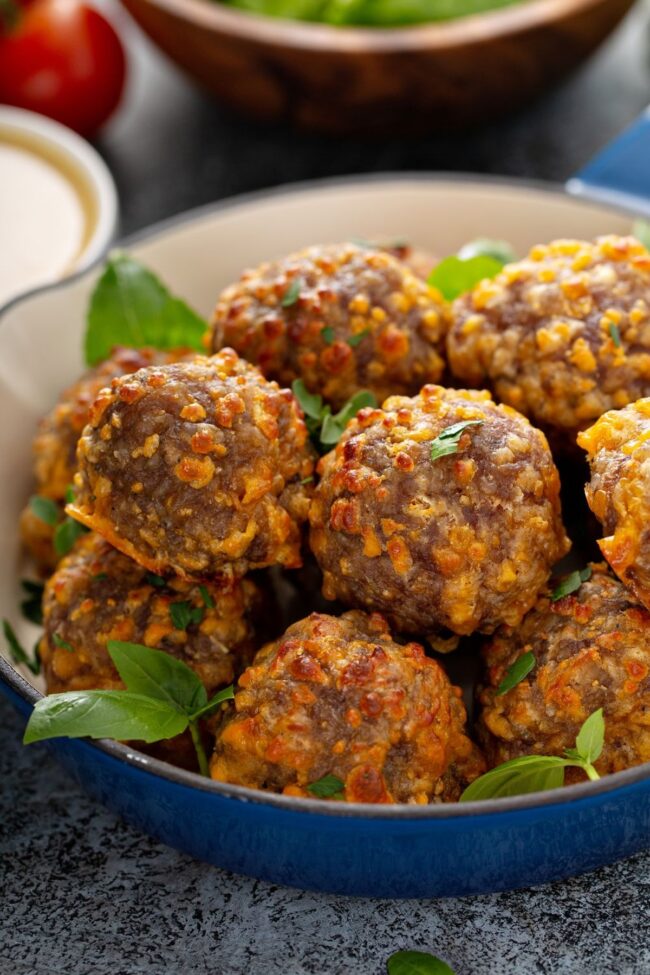
Step 10: Serve and Enjoy
Transfer to serving platter. Pair with your favorite dipping sauce like ranch, honey mustard, or spicy marinara. Perfect for parties, game day, or snack time!
Savvy Tips for Sausage Ball Perfection
Storage Guide for Ina Garten Sausage Balls
Ways to Customize Ina Garten Sausage Balls
Final Bite of Ina Garten Sausage Balls
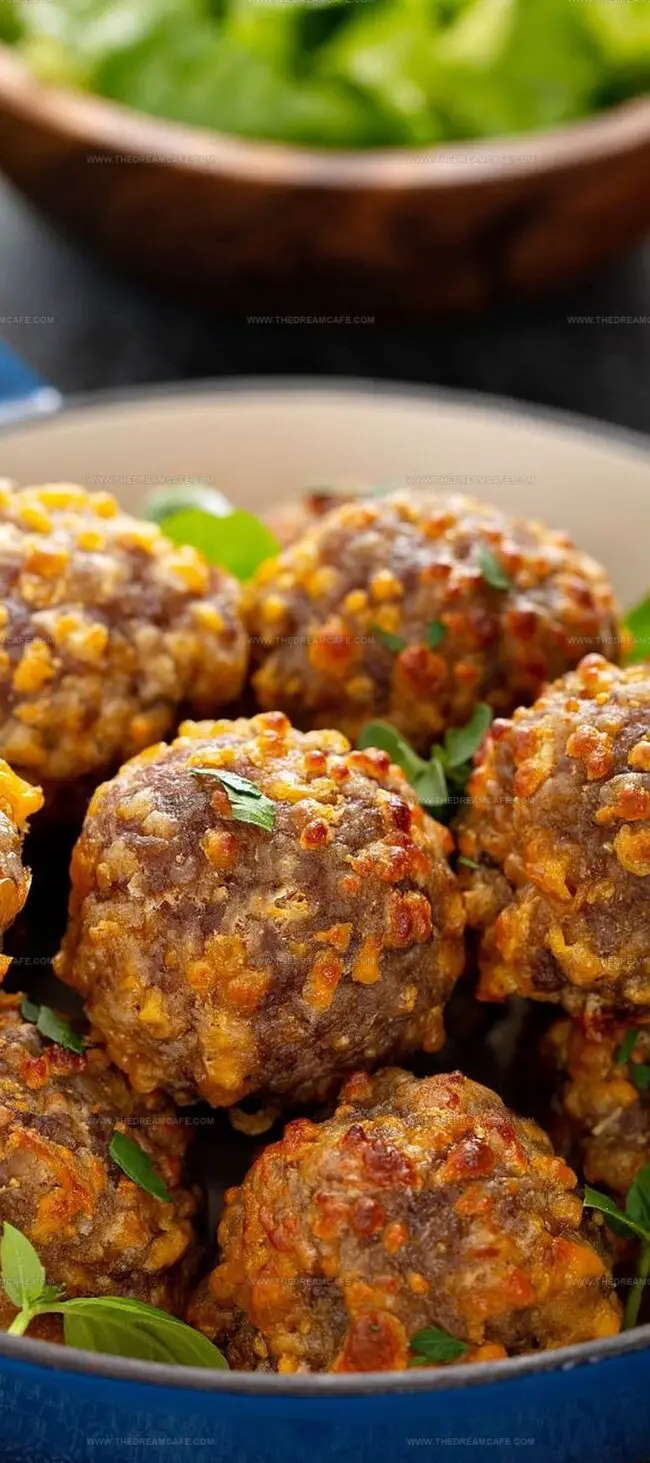
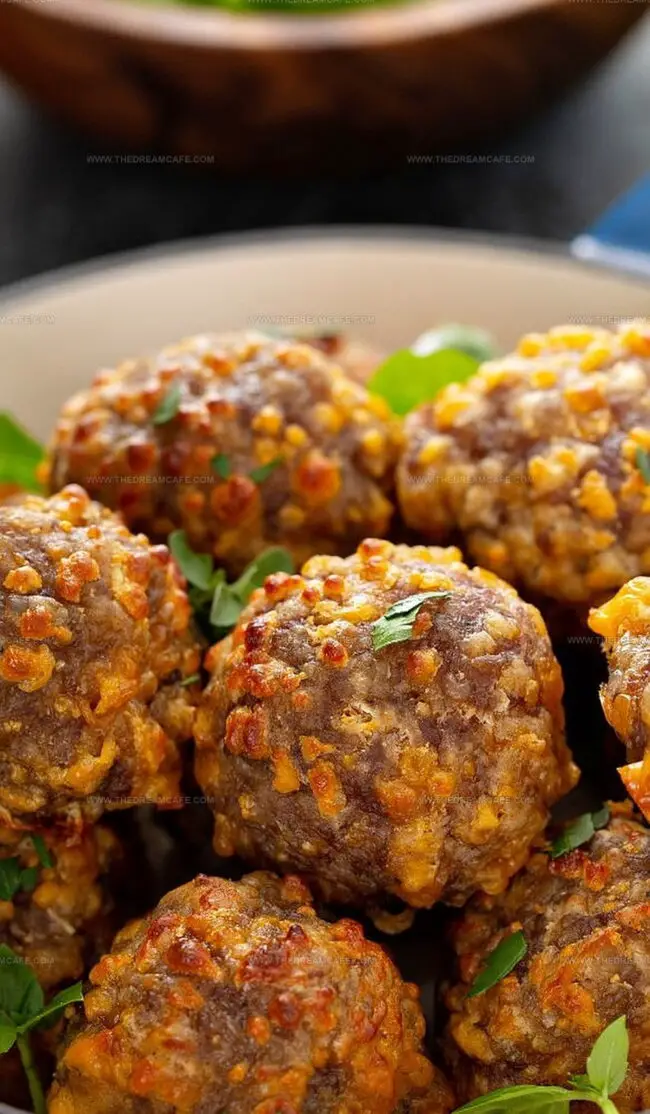
Sausage balls emerge as pure Southern comfort, blending hearty pork, sharp cheddar, and biscuit mix into irresistible bite-sized morsels.
Ina Garten’s recipe celebrates simplicity with maximum flavor potential.
Classic gatherings sparkle when these golden treasures arrive at parties, game days, or casual family meals.
Savory aromas promise delightful experiences that connect people through shared culinary joy.
Crisp exteriors give way to rich, cheesy interiors that tantalize taste buds with each bite.
Readers who craft these sausage balls will discover delicious memories waiting to be created – so snap that perfect photo, share this recipe with friends, and let deliciousness spread like wildfire across social networks.
Print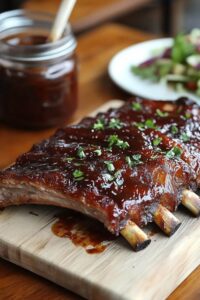
Slow Cooker Root Beef Bbq Pork Ribs Recipe
- Total Time: 6 hours 10 minutes
- Yield: 4 1x
Description
Slow cooker root beer BBQ pork ribs bring Southern comfort straight to your kitchen with minimal effort. Tender meat falls off the bone, glazed in a sweet and tangy sauce that promises a mouthwatering meal perfect for family gatherings or weekend barbecues.
Ingredients
Meats:
- 3 pounds (1.36 kilograms) pork side ribs (approximately 2 racks)
Liquids:
- 24 ounces (710 milliliters) root beer (equivalent to 2 cans of 12 ounces each)
- 2 cups (480 milliliters) barbecue sauce, prepared
Seasonings:
- 1 teaspoon salt
- 1 teaspoon pepper
Instructions
- Prepare the pork ribs by placing them on a clean cutting board. Carefully remove the tough silver membrane from the back of the rack using a spoon or butter knife, gripping and peeling it off completely to ensure tender meat.
- Generously season both sides of the ribs with salt and black pepper, ensuring an even coating that will enhance the overall flavor profile.
- Arrange the seasoned ribs carefully inside a 6-quart (5.7 liters) slow cooker, positioning them to fit snugly without excessive overlapping.
- Pour root beer over the ribs until they are completely covered with liquid, which will help tenderize the meat and infuse a subtle sweetness during cooking.
- Cover the slow cooker and set it to low temperature for 5 hours or high temperature for 3 hours, allowing the meat to become incredibly tender and flavorful.
- Once cooking is complete, gently remove the ribs from the slow cooker and discard the root beer liquid. Return the ribs to the cooking vessel.
- Liberally brush each rib with barbecue sauce, ensuring complete and even coverage for maximum flavor penetration.
- Increase the slow cooker temperature to high and continue cooking for an additional 60 minutes, allowing the sauce to caramelize and thicken around the ribs.
- For enhanced caramelization, transfer the sauced ribs to a broiler-safe pan and apply an extra layer of barbecue sauce. Broil for 3-5 minutes, watching carefully to prevent burning.
- Remove the ribs from the broiler, letting them rest for a few minutes to allow the juices to redistribute and the sauce to set.
- Serve the succulent ribs immediately alongside classic accompaniments like coleslaw, baked beans, cornbread, or roasted vegetables for a complete meal.
Notes
- Tackle tough silver skin removal using a spoon or butter knife for clean, tender ribs.
- Submerge seasoned ribs completely in root beer, transforming tough meat into melt-in-your-mouth delicacy.
- Boost flavor intensity by generously coating ribs with barbecue sauce during final slow cooking hour.
- Create irresistible caramelized exterior through quick broiling, adding crispy texture and rich color.
- Pair succulent ribs with classic Southern sides like tangy coleslaw or hearty baked beans for complete meal experience.
- Prep Time: 10 minutes
- Cook Time: 6 hours
- Category: Dinner, Snacks
- Method: Slow Cooking, Broiling
- Cuisine: American
Nutrition
- Serving Size: 4
- Calories: 700 kcal
- Sugar: 25g
- Sodium: 800mg
- Fat: 40g
- Saturated Fat: 15g
- Unsaturated Fat: 20g
- Trans Fat: 0g
- Carbohydrates: 50g
- Fiber: 1g
- Protein: 45g
- Cholesterol: 150mg
Julian Park
Co-Founder, Cuisine Researcher & Food Culture Writer
Expertise
Education
The Institute of Culinary Education (ICE), Los Angeles, CA
Julian Park is a natural storyteller at The Dream Café who blends hands-on culinary experience with a passion for exploring global food traditions. A graduate of The Institute of Culinary Education in Los Angeles, Julian combines professional technique with a love for cultural discovery, diving into how dishes reflect heritage, migration, and identity.
His work spans everything from in-depth cuisine guides to reflections on everyday meals around the world. With a curious palate and a journal always close by, Julian helps readers connect with food in a way that feels so insightful and personal.