Sweet Countryside Apple Slab Pie Recipe: Homemade Joy
When summer’s bounty meets a classic apple slab pie recipe, magic happens in the kitchen.
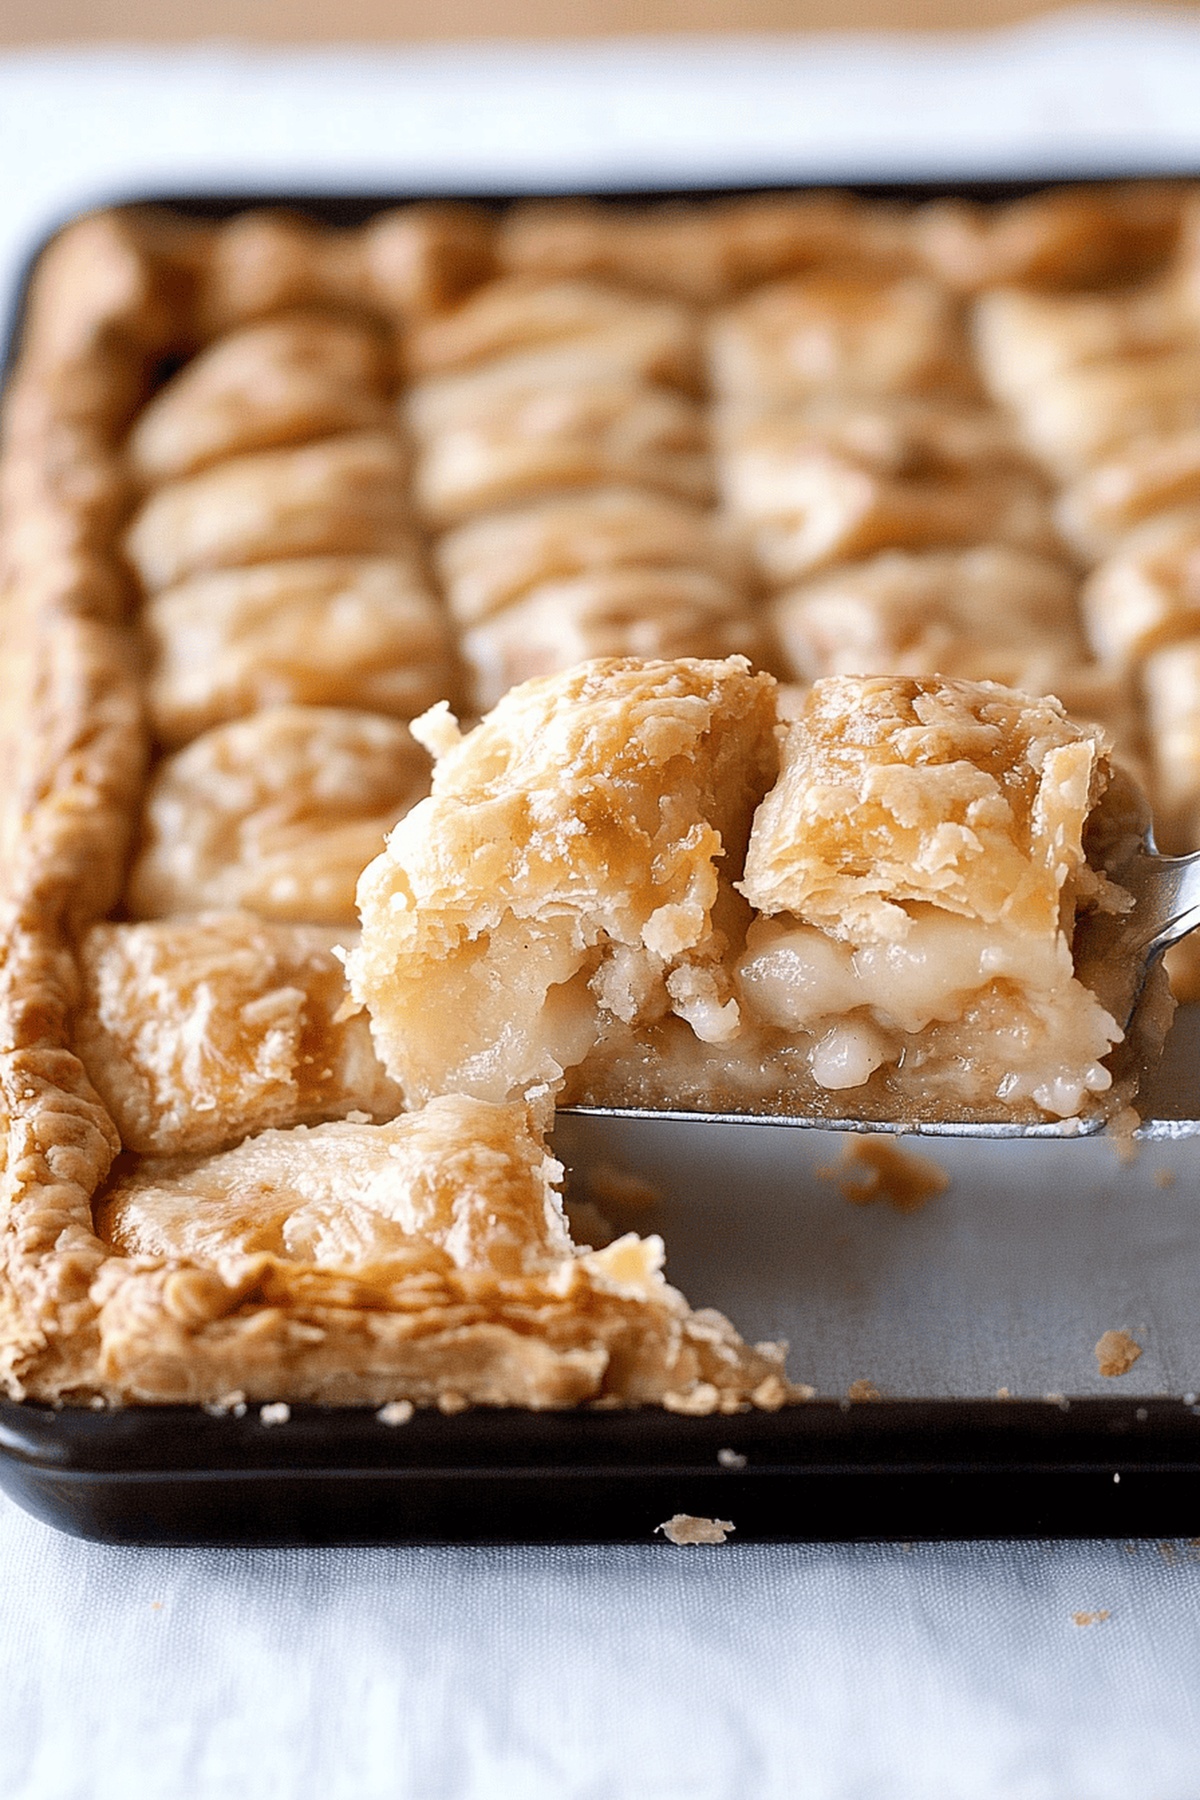
Sweet, juicy apples nestled between flaky, buttery pastry create a dessert that sings of comfort and tradition.
Generous slices of ripe fruit mingle with warm spices, promising a delightful treat for any gathering.
The rustic charm of this pie makes it perfect for potlucks, picnics, or lazy weekend afternoons.
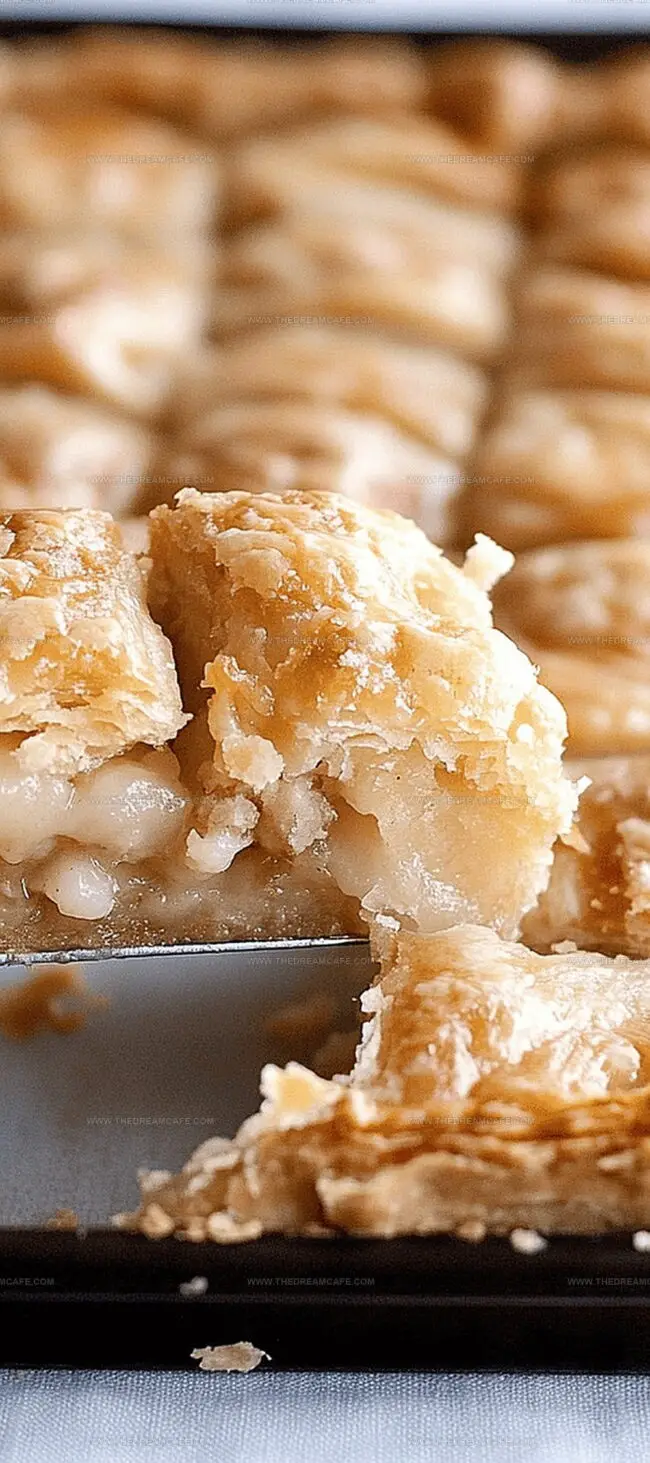
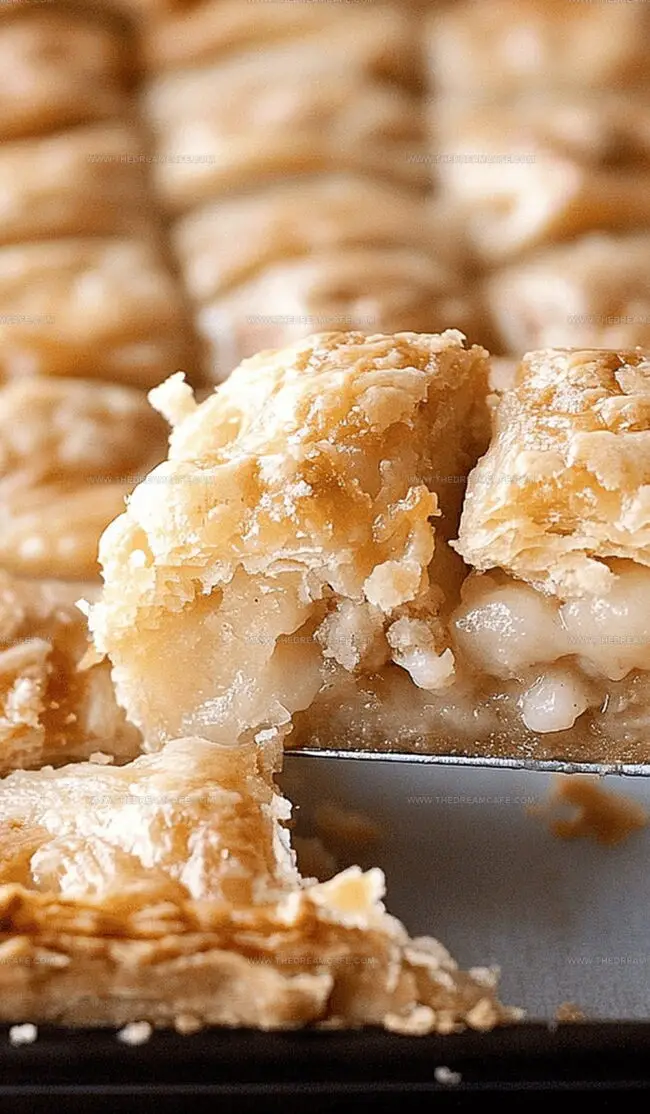
Each bite delivers a perfect balance of tender apples and crisp crust that melts in your mouth.
Serve this crowd-pleasing dessert warm with a scoop of vanilla ice cream for an irresistible finale that will have everyone asking for seconds.
Quick Recipe Overview
Ingredients That Go Into Apple Slab Pie
For the Crust Foundation:For the Apple Filling Flavor:For the Finishing Touch:Baking Tools for Apple Slab Pie Success
How to Assemble a Golden Apple Slab Pie
Blend dry ingredients with chilled butter until crumbly, creating a delicate texture. Add just enough cold water to help the mixture come together. Separate the dough into two portions and let them rest in the refrigerator to develop flavor and prevent shrinking.
Select ripe, crisp apples and slice them into delicate wedges. Toss with a splash of citrus and warm spices, allowing the flavors to mingle and develop a rich, aromatic character. The cornstarch will help create a luxurious, glossy sauce that binds the fruit together.
Roll out the chilled dough and drape it into a large baking sheet. Spread the spiced apple mixture across the pastry, leaving a small border. Cover with the second layer of dough, sealing the edges carefully. Bake in a hot oven until the crust turns golden brown and the filling bubbles with excitement. Let the pie cool and settle before serving, allowing the flavors to harmonize.
Tips to Get That Perfect Apple Filling
Serving Suggestions for Apple Slab Pie
Ways to Keep Your Slab Pie Tasting Fresh
Print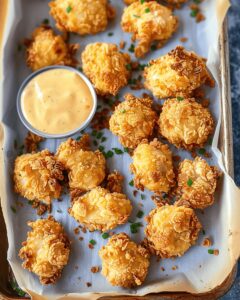
Crispy Popcorn Chicken Recipe
- Total Time: 1 hour
- Yield: 5 1x
Description
Savory popcorn chicken delights with crispy, bite-sized morsels of seasoned chicken. Crunchy exterior and juicy interior make this recipe a crowd-pleaser you’ll crave again and again.
Ingredients
- 1 ½ lbs (680 g) chicken thighs, boneless, skinless, cut into 1-inch chunks
- 2 cups (480 ml) buttermilk, reduced fat
- 3 cloves garlic, smashed
- 3 cups (270 g) potato chips, Kettle Brand® Sour Cream and Onion, crushed
- ¼ cup (60 ml) butter, unsalted, melted
- 1 tsp dried basil
- 1 tsp dried oregano
- ½ tsp dried thyme
- ¼ tsp cayenne pepper (optional)
- Kosher salt, to taste
- Black pepper, freshly ground, to taste
- 2 tbsps parsley leaves, fresh, chopped
Instructions
- Marination Preparation: Whisk buttermilk, garlic, basil, oregano, thyme, cayenne, kosher salt, and black pepper in a large bowl to create a vibrant flavor infusion.
- Chicken Immersion: Submerge chicken chunks completely in the marinade, refrigerating for 30 minutes to allow deep flavor penetration and meat tenderization.
- Coating Creation: Pulverize potato chips into fine, uniform crumbs using a rolling pin or food processor, preparing a crispy exterior medium.
- Breading Process: Drain chicken pieces on paper towels, then meticulously coat each chunk in crushed potato chip crumbs, pressing firmly to ensure complete coverage.
- Oven Preparation: Preheat oven to 400°F (200°C), positioning a wire rack sprayed with nonstick cooking spray over a rimmed baking sheet for optimal air circulation.
- Strategic Arrangement: Distribute breaded chicken pieces on the rack, maintaining spacing to promote even cooking and maximum crispiness.
- Flavor Enhancement: Drizzle melted unsalted butter over the coated chicken to promote golden browning and add rich depth of flavor.
- Baking Technique: Roast for 20-25 minutes, rotating the baking sheet midway to ensure uniform cooking and consistent crisp texture.
- Doneness Verification: Confirm chicken reaches an internal temperature of 165°F (74°C) with a golden, crunchy exterior.
- Serving Finale: Rest chicken for 2-3 minutes, allowing juice redistribution, then garnish with fresh parsley and serve immediately with preferred dipping sauce.
Notes
- Marinate Strategically: Refrigerate chicken in buttermilk mixture exactly 30 minutes to maximize flavor absorption and meat tenderness without making texture mushy.
- Crush Chips Carefully: Use consistent, fine crumb size when crushing potato chips to ensure even, crispy coating that adheres perfectly to chicken pieces.
- Butter Boosts Browning: Drizzling melted butter before baking guarantees golden, extra-crispy exterior with rich, enhanced flavor profile.
- Temperature Check Matters: Always confirm chicken reaches 165°F internal temperature to ensure safe consumption while maintaining juicy, tender meat texture.
- Prep Time: 35 minutes
- Cook Time: 25 minutes
- Category: Lunch, Dinner
- Method: Baking
- Cuisine: American
Nutrition
- Serving Size: 5
- Calories: 415
- Sugar: 1 g
- Sodium: 850 mg
- Fat: 22 g
- Saturated Fat: 10 g
- Unsaturated Fat: 11 g
- Trans Fat: 0 g
- Carbohydrates: 37 g
- Fiber: 2 g
- Protein: 24 g
- Cholesterol: 85 mg
Sophie Reynolds
Co-Founder, Recipe Curator & Culinary Educator
Expertise
Education
Auguste Escoffier School of Culinary Arts, Boulder, CO
Oregon State University
Sophie Reynolds is the recipe developer and culinary voice behind many of the approachable, flavor-focused creations at The Dream Café.
Sophie’s style leans into comfort food made simple: wholesome, satisfying meals anyone can make with confidence. Her passion lies in helping home cooks feel at ease in the kitchen while finding joy in the everyday act of cooking.