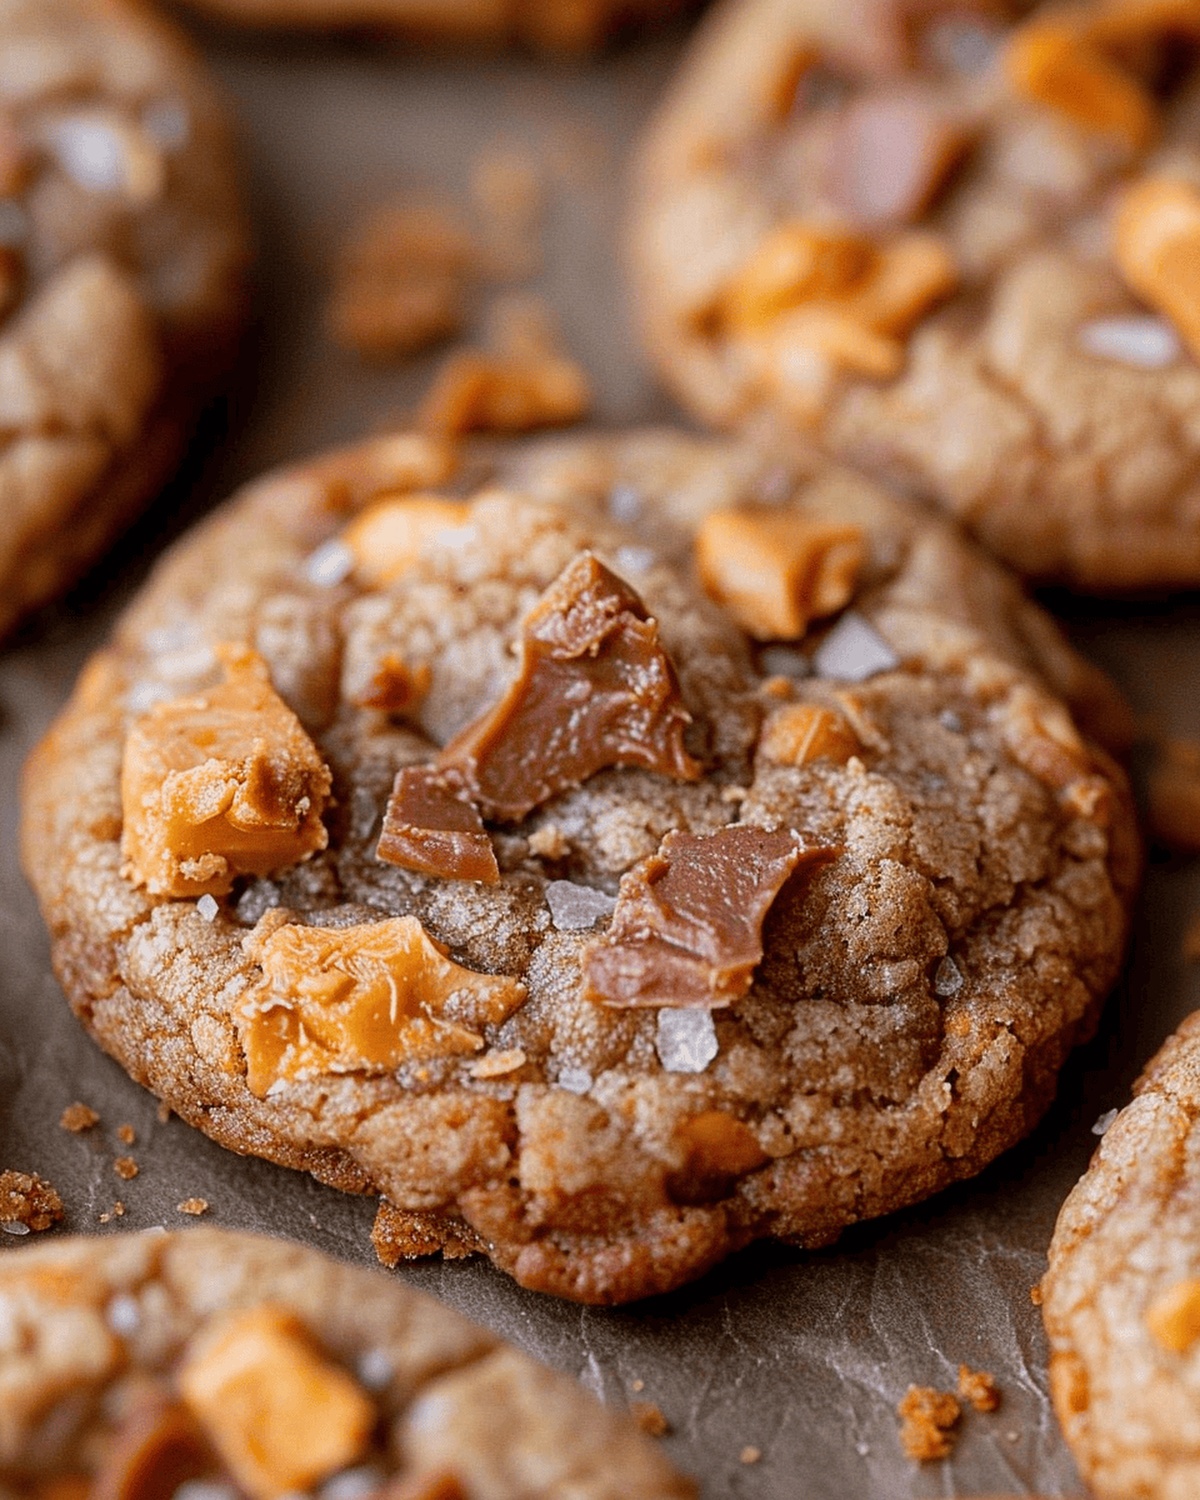
Sweet, gooey, and loaded with butterfinger candy pieces, this butterfinger cookies recipe delivers the ultimate dessert experience for chocolate and peanut butter lovers.
Crisp edges and soft centers make these cookies irresistibly delicious.
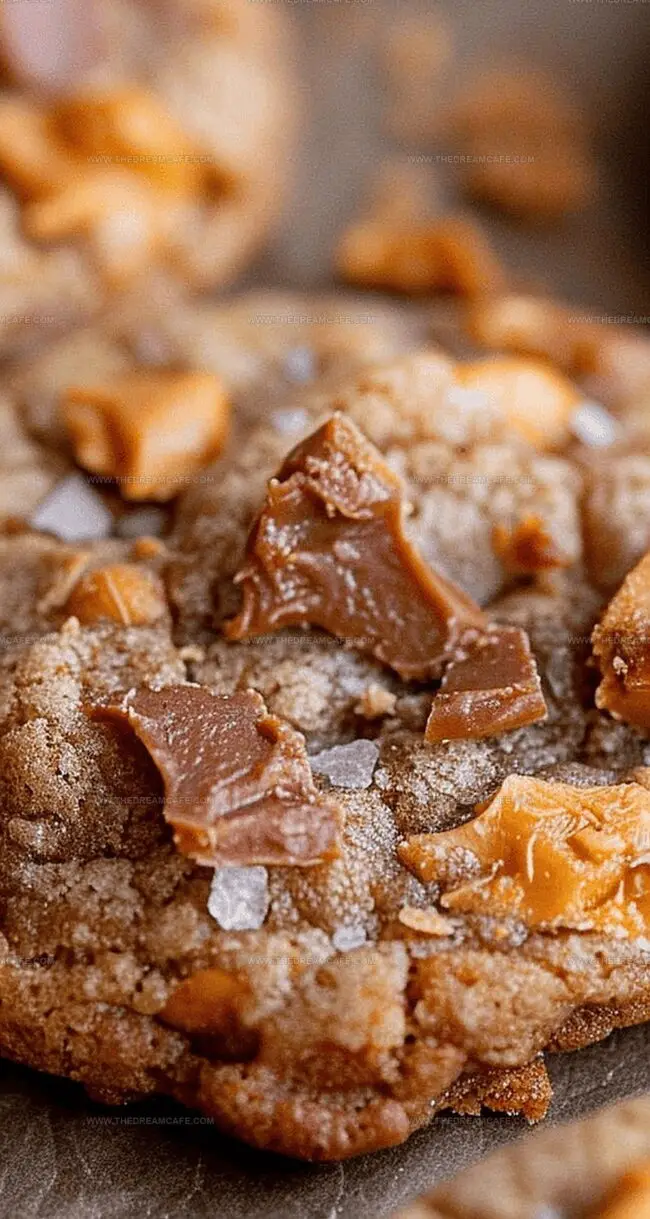
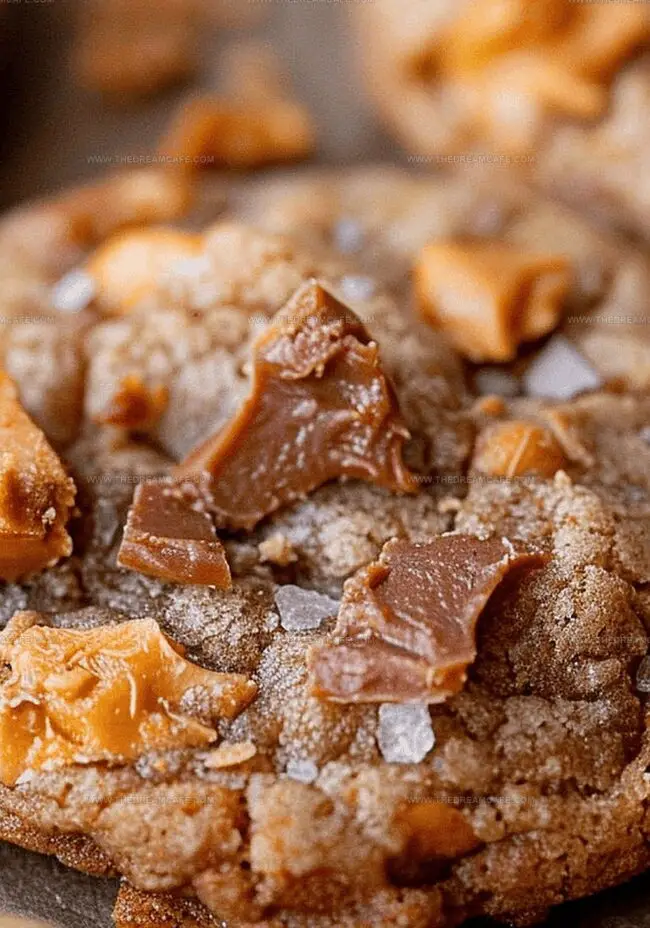
Each bite bursts with rich, crunchy butterfinger chunks that melt perfectly into the dough.
The combination of classic chocolate chip cookie base and beloved candy bar creates a nostalgic treat that sparks joy.
Baking these cookies fills your kitchen with an incredible aroma that draws everyone to the counter.
Chocolate enthusiasts and cookie fanatics won’t be able to resist these decadent delights that come together in just minutes.
Grab your mixing bowl and let’s bake something phenomenal.
Quick Recipe Overview
Prep Time: 15 minutes
Cook Time: 10 minutes
Total Time: 25 minutes
Calories: 196 kcal
Servings: 26
Ingredients for Peanut Butter Butterfinger Cookies
For Fat and Flavor Base:
Butter: Provides rich, creamy foundation for cookie texture and deepens overall taste.
Peanut Butter: Delivers intense nutty flavor and helps create soft, tender cookie consistency (avoid natural varieties for best results).
For Sweeteners and Binding:
Granulated Sugar, Brown Sugar: Create balanced sweetness with caramel undertones and help cookies spread perfectly.
Egg: Acts as crucial binding agent, ensuring cookies hold together and maintain smooth structure.
For Texture and Structure:
All-Purpose Flour: Creates foundational cookie structure with perfect crumbly texture.
Baking Soda, Baking Powder: Provide essential lift and help cookies achieve light, delicate crumb.
Kosher Salt: Enhances and balances all flavor profiles, preventing overwhelming sweetness.
Vanilla Extract: Rounds out flavors and adds subtle aromatic depth to entire recipe.
Equipment That Makes Butterfinger Cookies Easy
Electric mixer: Essential for creaming butter and sugar to fluffy perfection.
Large mixing bowl: Perfect for combining all ingredients smoothly.
Measuring cups and spoons: Precise measurements guarantee delicious cookies.
Baking sheets: Needed for baking cookies evenly and creating golden edges.
Wire cooling rack: Helps cookies cool without getting soggy on the bottom.
Spatula: Great for folding Butterfingers into cookie dough.
Parchment paper (optional): Makes cleanup easier and prevents sticking.
How to Make These Peanut Butter Cookie Favorites
Butter Bliss Creamy butter gets whipped into clouds of softness, with sugars dancing in until the mixture becomes light and airy.
Flavor Fusion Peanut butter joins the party, bringing its rich essence along with a cracked egg and vanilla’s sweet whisper to create a harmonious blend.
Dry Ingredient Magic Flour, baking soda, baking powder, and salt swirl together, transforming the wet mixture into a promising cookie base.
Butterfinger Surprise Crushed candy bars tumble into the dough, adding crunchy golden excitement to every potential bite.
Chill Time Cookie dough takes a quick rest in the refrigerator while the oven warms up to a cozy 350°F, preparing for baking magic.
Cookie Crafting Gentle hands roll the dough into perfect spheres, nestling them comfortably on baking sheets with just enough breathing room.
Golden Perfection Cookies bake until their edges turn a delicate golden brown, then rest momentarily before finding their way to cooling racks, ready to be devoured.
Tips That Boost Peanut Butter Cookie Texture
Chop Butterfingers into different sizes for varied texture in every bite, creating surprise pockets of crispy caramel.
Freeze raw cookie dough balls up to 3 months in an airtight container, baking directly from frozen state with extra 1-2 minutes of baking time.
Experiment with different nut butters like almond or cashew instead of traditional peanut butter for unique flavor profiles that complement the Butterfinger chunks.
Allow cookies to cool completely before storing to maintain their crisp exterior and prevent unwanted sogginess, keeping that delightful crackly texture intact.
Substitute all-purpose flour with a gluten-free blend, ensuring those with dietary restrictions can still enjoy these decadent chocolate-peanut butter treats.
Presenting Your Butterfinger Cookies Just Right
Sweet Treat Platter: Create a stunning dessert display by arranging cookies on a rustic wooden board with extra Butterfinger pieces scattered around for a tempting presentation.
Party Dessert Bar: Pair these cookies with cold milk, vanilla ice cream, or chocolate sauce for a decadent cookie experience that will wow guests at gatherings and celebrations.
Gift-Worthy Packaging: Wrap cookies in clear cellophane with a cute ribbon, making them a perfect homemade gift for friends, teachers, or neighbors who love sweet surprises.
Afternoon Snack Companion: Enjoy these cookies with a hot cup of coffee or tea, letting the rich peanut butter and crunchy Butterfinger flavors complement your relaxing break.
Tips to Store These Cookies for Longer Enjoyment
Smart Storage Solutions: Keep cookies in an airtight container at room temperature for 5-7 days, separating layers with parchment paper to prevent sticking.
Freezing Magic: Wrap cookie dough balls or baked cookies tightly in plastic wrap, then place in freezer bags. Frozen dough stays fresh for 3 months, while baked cookies maintain quality for 2 months.
Freshness Hack: Add a slice of bread to your cookie container to maintain softness and prevent cookies from becoming dry or crumbly.
Make-Ahead Magic: Prepare cookie dough up to 3 days in advance, storing it covered in the refrigerator. This allows flavors to develop and makes baking even easier when you’re ready to enjoy these delicious treats.
Butterfinger cookies blend classic chocolate chip goodness with crushed Butterfinger candy bars for an irresistible sweet treat. Crumbled candy pieces create crunchy, rich texture that elevates this delightful dessert you’ll crave again and again.
Ingredients
Scale
1 ½ cups (340 g) butter, softened
1 cup (250 g) peanut butter
16 oz (454 g) Butterfinger, chopped
½ cup (100 g) granulated sugar
½ cup (110 g) packed brown sugar
1 ½ cups (180 g) all-purpose flour
1 large egg
1 ½ tsps vanilla extract
½ tsp baking soda
½ tsp baking powder
¼ tsp kosher salt
Instructions
Prepare Dough Base: Cream butter until silky, gradually mixing in granulated and brown sugars until light and fluffy. Whip for about 2 minutes to develop a smooth, aerated consistency.
Incorporate Wet Ingredients: Add peanut butter, egg, and vanilla extract, blending thoroughly until the mixture becomes uniform and well-integrated.
Combine Dry Components: Gently fold in flour, baking soda, baking powder, and salt, mixing delicately to avoid overmixing while ensuring even distribution of dry ingredients.
Add Candy Texture: Fold crushed Butterfinger pieces throughout the dough, creating pockets of crunchy caramel-like flavor within the cookie mixture.
Chill and Preheat: Refrigerate dough for 15-60 minutes to intensify flavors and prevent excessive spreading. Simultaneously, heat oven to 350°F (175°C), positioning racks in the center.
Shape and Arrange: Form chilled dough into uniform 2-inch balls, placing them 1-2 inches apart on prepared baking sheets lined with parchment paper or lightly greased.
Bake and Cool: Bake for 10-12 minutes until edges turn golden and centers appear slightly set. Allow cookies to rest on baking sheet for 5 minutes, then transfer to wire racks for complete cooling and final texture development.
Notes
Chill Dough Strategically: Refrigerating the dough helps prevent cookie spread and concentrates rich flavor profiles, creating a more complex taste experience.
Handle Butterfinger Carefully: Crush candy bars into small, consistent pieces to ensure even distribution and prevent large chunks from overwhelming the cookie’s texture.
Monitor Baking Precisely: Watch cookies closely during the 10-12 minute window; golden edges indicate perfect doneness without risking burnt or dry results.
Room Temperature Matters: Ensure butter and eggs are at room temperature for smoother mixing and better cookie consistency, helping ingredients blend more seamlessly.
Auguste Escoffier School of Culinary Arts, Boulder, CO
Degree: Diploma in Culinary Arts
Focus: Hands-on training in classic and modern culinary techniques, emphasizing sustainable cooking practices, kitchen professionalism, and real-world restaurant experience through externships.
Oregon State University
Degree: B.S. in Nutrition and Food Management
Focus: In-depth study of human nutrition, food safety, meal planning, and food-service operations, with a strong foundation in public health, dietetics, and community-based nutrition programs.
Sophie Reynolds is the recipe developer and culinary voice behind many of the approachable, flavor-focused creations at The Dream Café.
Sophie’s style leans into comfort food made simple: wholesome, satisfying meals anyone can make with confidence. Her passion lies in helping home cooks feel at ease in the kitchen while finding joy in the everyday act of cooking.

Sophie Reynolds
Co-Founder, Recipe Curator & Culinary Educator
Expertise
Education
Auguste Escoffier School of Culinary Arts, Boulder, CO
Oregon State University
Sophie Reynolds is the recipe developer and culinary voice behind many of the approachable, flavor-focused creations at The Dream Café.
Sophie’s style leans into comfort food made simple: wholesome, satisfying meals anyone can make with confidence. Her passion lies in helping home cooks feel at ease in the kitchen while finding joy in the everyday act of cooking.