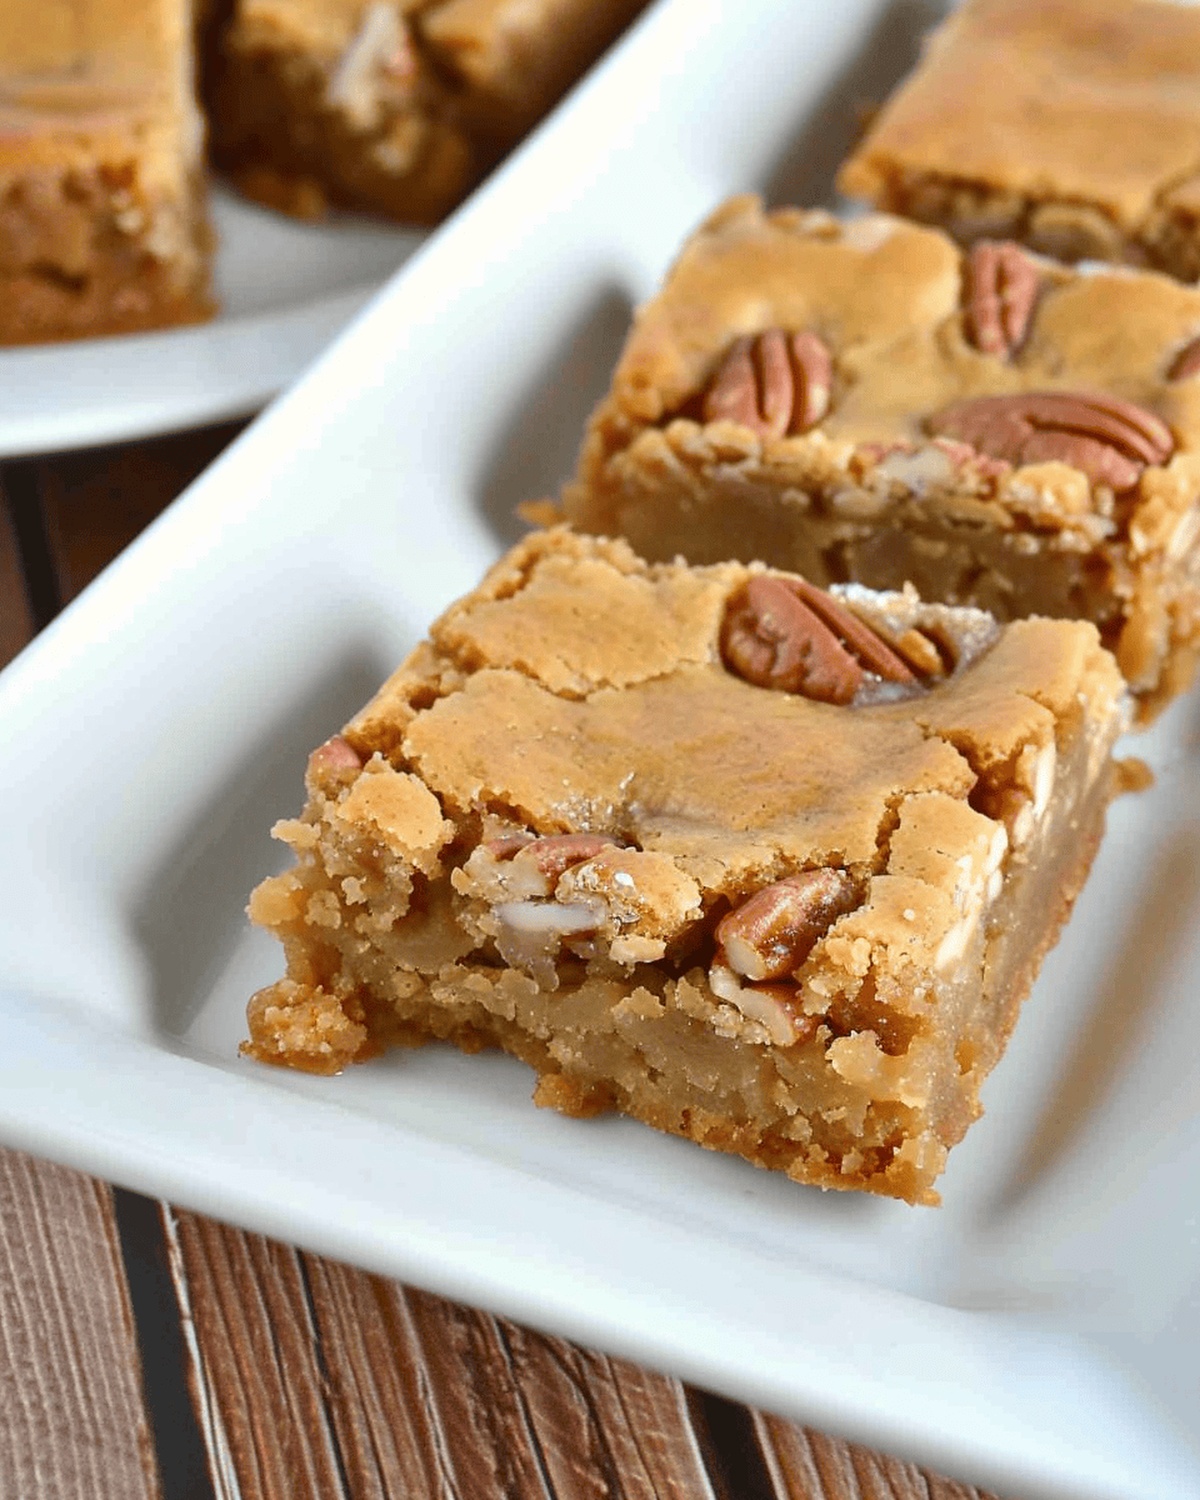
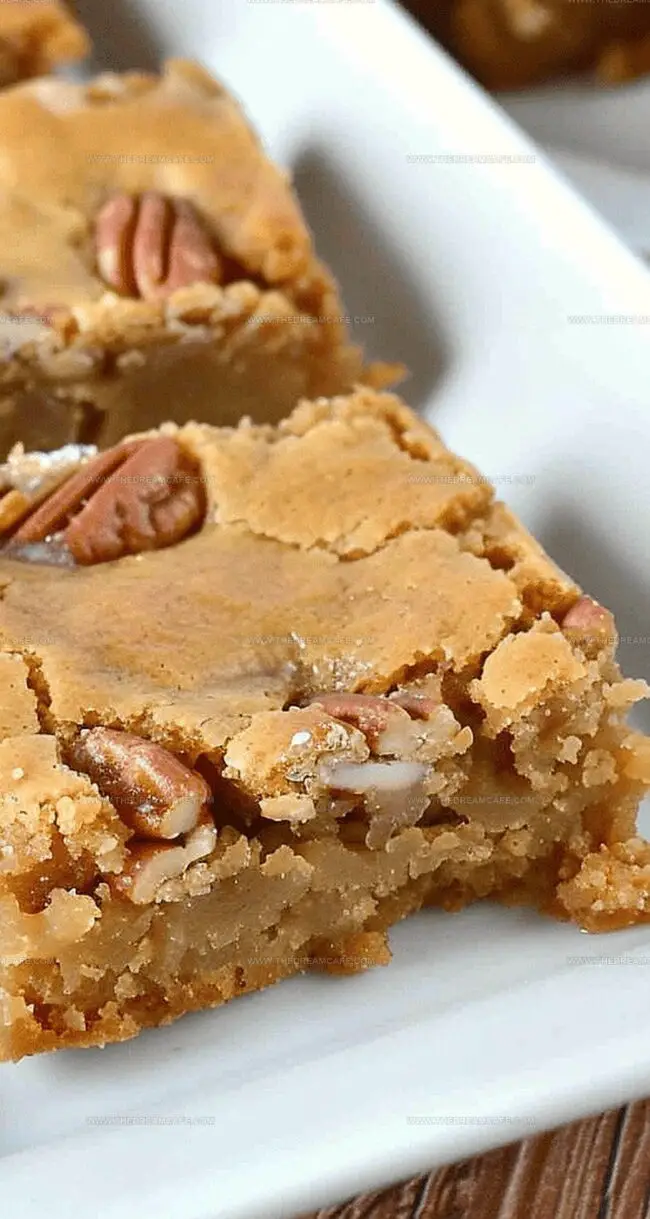
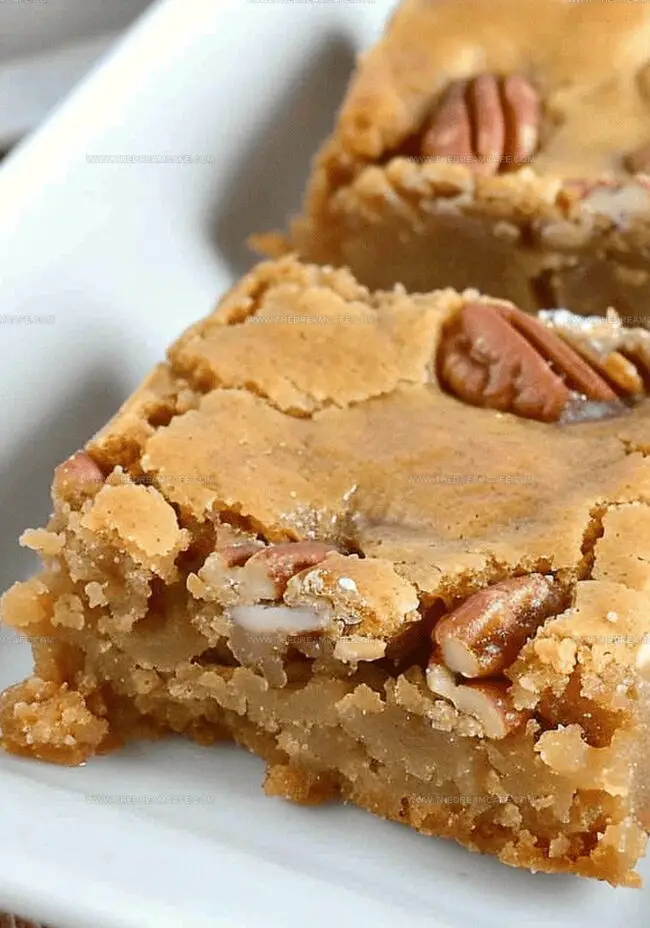
Sweet lovers always search for that perfect butterscotch bars recipe that delivers rich, melt-in-your-mouth goodness.
These golden-brown delights combine a buttery base with deep caramel notes that dance across your palate.
Every bite promises a decadent experience with layers of sweet complexity.
The balance of smooth butterscotch and tender texture makes these bars irresistible.
Crisp edges and a soft center create a delightful contrast that keeps you reaching for another piece.
Baking these bars fills your kitchen with an intoxicating aroma of brown sugar and warm comfort.
Serve them at your next gathering, and watch as friends savor each delectable morsel.
Quick Recipe Overview
Prep Time: 10 minutes
Cook Time: 30 minutes
Total Time: 40 minutes
Calories: 220 kcal
Servings: 17
What’s Inside Rich and Chewy Butterscotch Bars
For Sweet Base and Flavor:
Brown Sugar: Adds deep caramel-like sweetness and creates rich, moist texture.
Melted Butter: Provides silky richness and helps bind ingredients smoothly.
Maple Flavoring: Introduces warm, woodsy undertone that enhances butterscotch profile.
For Structure and Lift:
All-Purpose Flour: Creates sturdy foundation and ensures proper bar consistency.
Baking Powder: Helps bars rise and become light, preventing dense texture.
Salt: Balances sweetness and intensifies overall flavor complexity.
For Texture and Crunch:
Pecans or Walnuts: Delivers delightful nutty crunch and earthy undertones.
Eggs: Binds ingredients together and contributes to tender, soft bar texture.
Tools That Help Bake Butterscotch Bars Easily
Mixing Bowls: Two medium-sized bowls for separating wet and dry ingredients.
Electric Mixer or Whisk: Essential for creaming sugar and butter smoothly.
9-inch Square Baking Pan: Crucial for baking and shaping the bars perfectly.
Measuring Cups and Spoons: Precise measurements ensure consistent results.
Toothpick: Helps check if bars are fully baked.
Wire Rack: Allows bars to cool evenly after baking.
Spatula: Helps fold nuts and smooth batter in the pan.
How to Make Rich and Chewy Butterscotch Bars
Oven Preparation Cozy kitchen setup with preheated oven creates the perfect baking environment. Warm your baking pan with a light butter coating, preparing for delicious magic.
Sugar Symphony Blend rich brown sugar with silky melted butter, creating a golden base that whispers sweet promises. Gently fold in eggs, bringing creamy texture to life.
Flour Foundation Combine dry ingredients with gentle precision, transforming simple powders into a smooth, promising mixture. Softly merge wet and dry components, creating a harmonious batter.
Nutty Surprise Sprinkle in crunchy chopped nuts, adding delightful texture that surprises and delights with every bite. These little nuggets bring warmth and character to the bars.
Baking Adventure Pour batter into waiting pan, spreading evenly like a delicate landscape. Slide into warm oven, letting golden aromas fill your kitchen with anticipation.
Cooling Moment After 30 minutes of careful baking, remove when toothpick emerges clean. Let bars rest and settle, developing deeper flavors and perfect chewy consistency.
Serving Joy Cut into inviting squares, revealing layers of butterscotch richness. Share with friends or savor as a personal treat that celebrates simple culinary happiness.
Tips for Richer Butterscotch Bar Flavor
Toasting nuts before adding them to the batter intensifies their flavor and creates a deeper, crunchier profile for your butterscotch bars.
These bars can be prepared up to 3 days in advance and stored in an airtight container at room temperature, making them perfect for advance party planning or unexpected guests.
Experiment with different extracts like vanilla or almond instead of maple to create unique variations that complement the rich butterscotch base.
Swap traditional flour with a gluten-free all-purpose blend to make these bars accessible for people with wheat sensitivities without compromising the delicious texture.
Enhance the bars with a quick brown butter glaze or sprinkle of sea salt on top just before serving to elevate the butterscotch’s caramel-like depth and add a gourmet touch.
Serve Butterscotch Bars Anytime, Anywhere
Sweet Afternoon Tea Pairing: Serve these butterscotch bars alongside a warm cup of Earl Grey tea or vanilla chai for a delightful midday treat that complements the rich, nutty flavors.
Dessert Platter Showcase: Create an elegant dessert platter by arranging these bars with fresh berries, a dollop of whipped cream, and a light dusting of powdered sugar for a stunning presentation.
Ice Cream Companion: Top a warm butterscotch bar with a scoop of vanilla bean or caramel ice cream for an indulgent dessert that blends warm and cold textures perfectly.
Gifting Delights: Package these bars in cute cellophane bags tied with rustic twine as a homemade gift for friends, adding a personal touch to your delicious baking creation.
Store Rich Butterscotch Bars Without Drying Out
Smart Batch Preparation: Make double the recipe and freeze half the bars in airtight freezer containers. Wrap individual portions in plastic wrap for quick grab-and-go snacks during busy weeks.
Refrigeration Wisdom: Store bars in sealed containers in the refrigerator for up to 5 days. Keep layers separated with parchment paper to prevent sticking and maintain original texture.
Counter Storage Strategy: When serving same-day, place bars on a covered plate at room temperature. Cover loosely with plastic wrap or aluminum foil to prevent drying out or absorbing other kitchen odors.
Moisture Management Tip: Place a small piece of bread in the storage container to help maintain softness and prevent bars from becoming too dry or crumbly during storage.
Homemade butterscotch bars showcase pure comfort with deep caramel notes and buttery richness. Crumbly edges and dense center promise sweet satisfaction for dessert enthusiasts craving nostalgic Southern baking traditions.
Ingredients
Scale
1 ¼ cups (296 ml) brown sugar
2 large eggs
½ cup (113 grams) melted butter
1 ½ cups (180 grams) all-purpose flour
¾ cup (85 grams) chopped pecans or walnuts
1 ½ tsp maple flavoring
1 tsp baking powder
¼ tsp salt
Instructions
Preparation: Preheat the oven to 350°F (175°C) and grease a 9-inch square baking pan with butter or cooking spray to prevent sticking.
Mixing Base: In a large bowl, cream together brown sugar, melted unsalted butter, and maple flavoring until smooth and well-combined.
Incorporating Eggs: Whisk eggs into the sugar mixture thoroughly, creating a uniform and silky base.
Dry Ingredients: Sift flour, baking powder, and salt together in a separate bowl to eliminate lumps and ensure even distribution.
Batter Assembly: Fold dry ingredients into the wet mixture gently, maintaining a light texture and avoiding overmixing. Roughly chop pecans or walnuts and fold them into the batter, distributing evenly.
Baking: Pour the batter into the prepared pan, spreading it uniformly with a spatula. Bake for 25-30 minutes, checking doneness by inserting a toothpick into the center – it should come out clean and dry.
Cooling and Serving: Remove from the oven and let the bars cool completely in the pan on a wire rack. Once cooled, slice into precise square servings for an elegant presentation.
Notes
Prevent Lumpy Batter: Sift dry ingredients separately to eliminate flour clumps and guarantee a smooth, uniform texture.
Handle Nuts Carefully: Roughly chop nuts before adding to prevent overmixing and maintain the batter’s delicate consistency.
Master Baking Time: Check bars at 25 minutes with a toothpick test; avoid overbaking to preserve the rich, chewy texture.
Cool Completely: Allow bars to cool entirely in the pan for optimal setting and clean, precise cutting of squares.
Auguste Escoffier School of Culinary Arts, Boulder, CO
Degree: Diploma in Culinary Arts
Focus: Hands-on training in classic and modern culinary techniques, emphasizing sustainable cooking practices, kitchen professionalism, and real-world restaurant experience through externships.
Oregon State University
Degree: B.S. in Nutrition and Food Management
Focus: In-depth study of human nutrition, food safety, meal planning, and food-service operations, with a strong foundation in public health, dietetics, and community-based nutrition programs.
Sophie Reynolds is the recipe developer and culinary voice behind many of the approachable, flavor-focused creations at The Dream Café.
Sophie’s style leans into comfort food made simple: wholesome, satisfying meals anyone can make with confidence. Her passion lies in helping home cooks feel at ease in the kitchen while finding joy in the everyday act of cooking.

Sophie Reynolds
Co-Founder, Recipe Curator & Culinary Educator
Expertise
Education
Auguste Escoffier School of Culinary Arts, Boulder, CO
Oregon State University
Sophie Reynolds is the recipe developer and culinary voice behind many of the approachable, flavor-focused creations at The Dream Café.
Sophie’s style leans into comfort food made simple: wholesome, satisfying meals anyone can make with confidence. Her passion lies in helping home cooks feel at ease in the kitchen while finding joy in the everyday act of cooking.