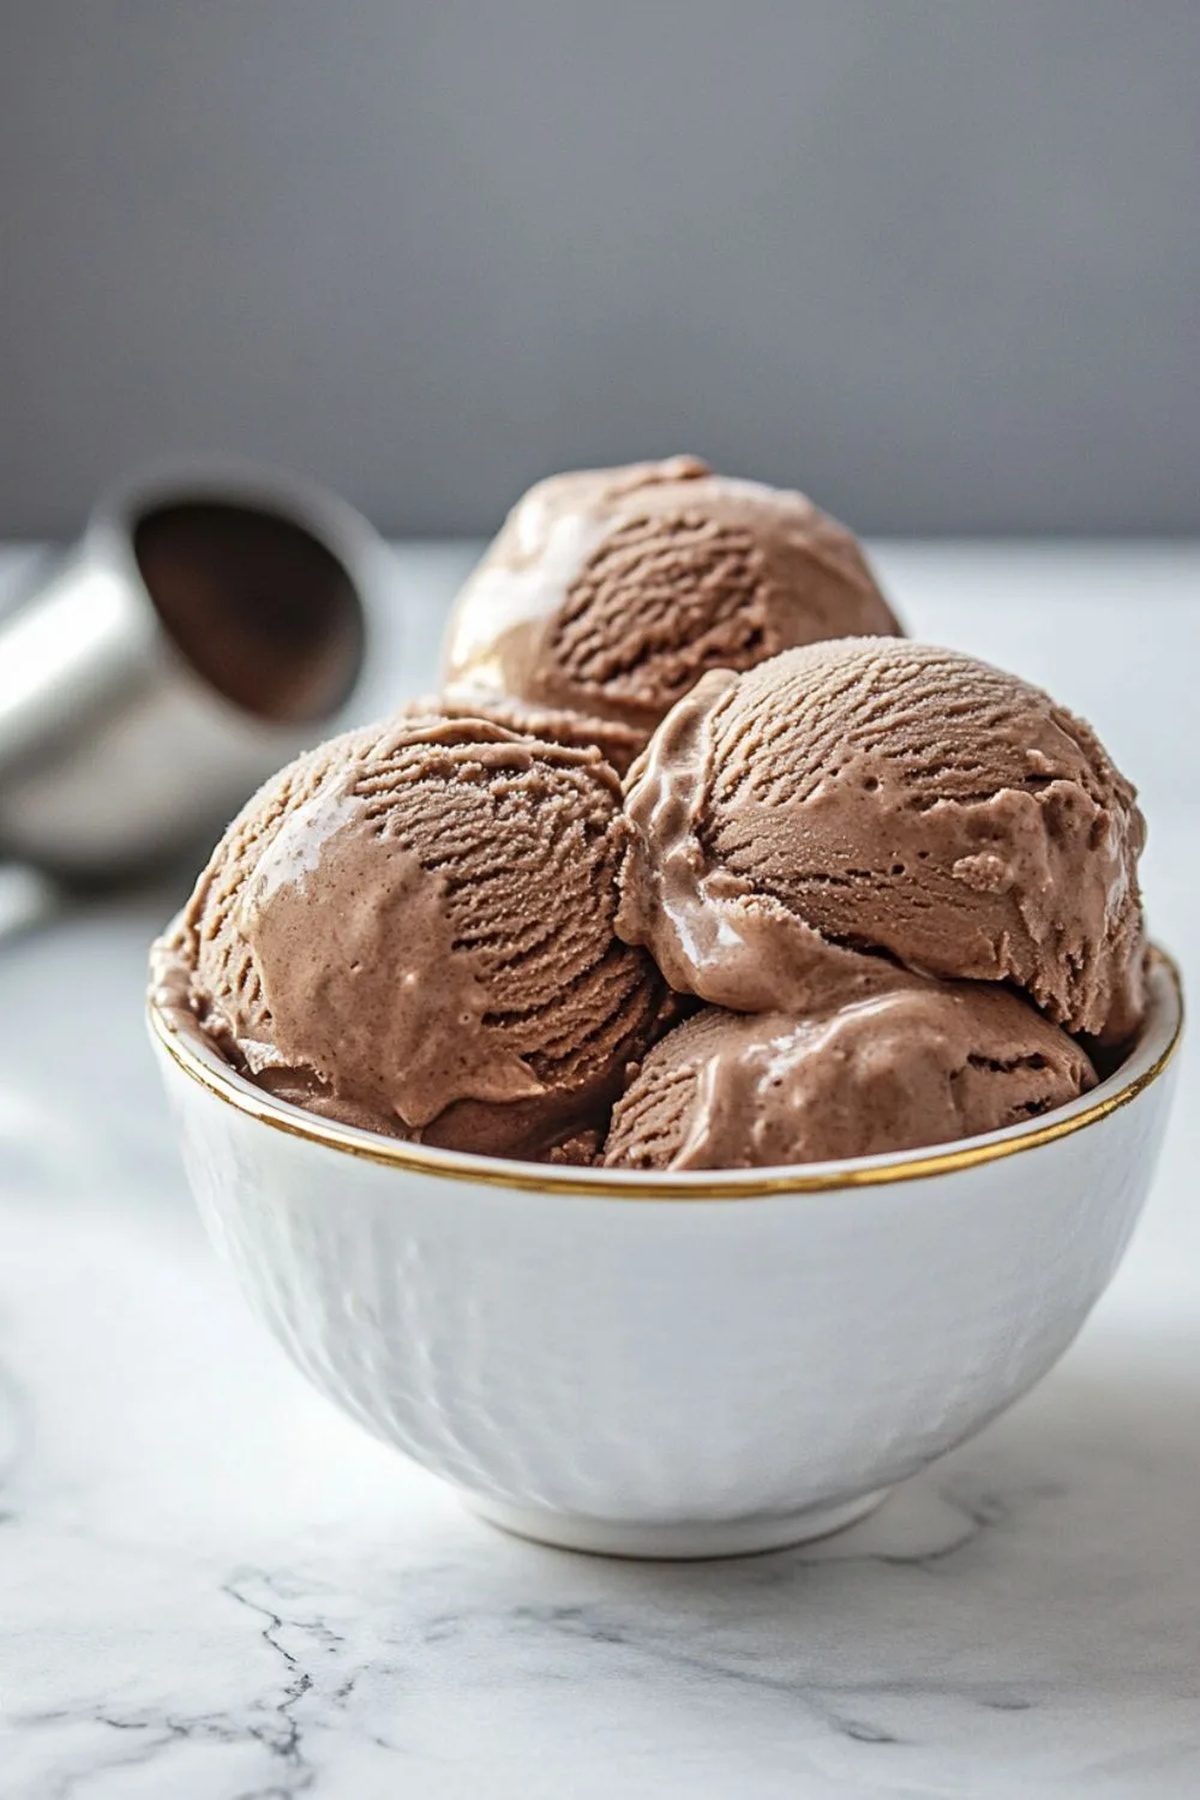
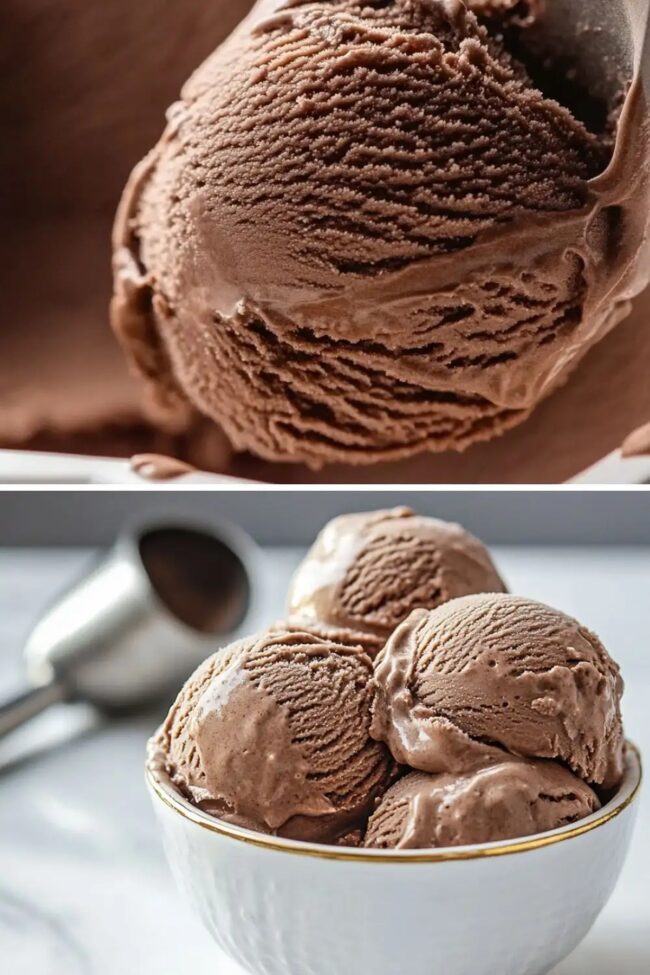
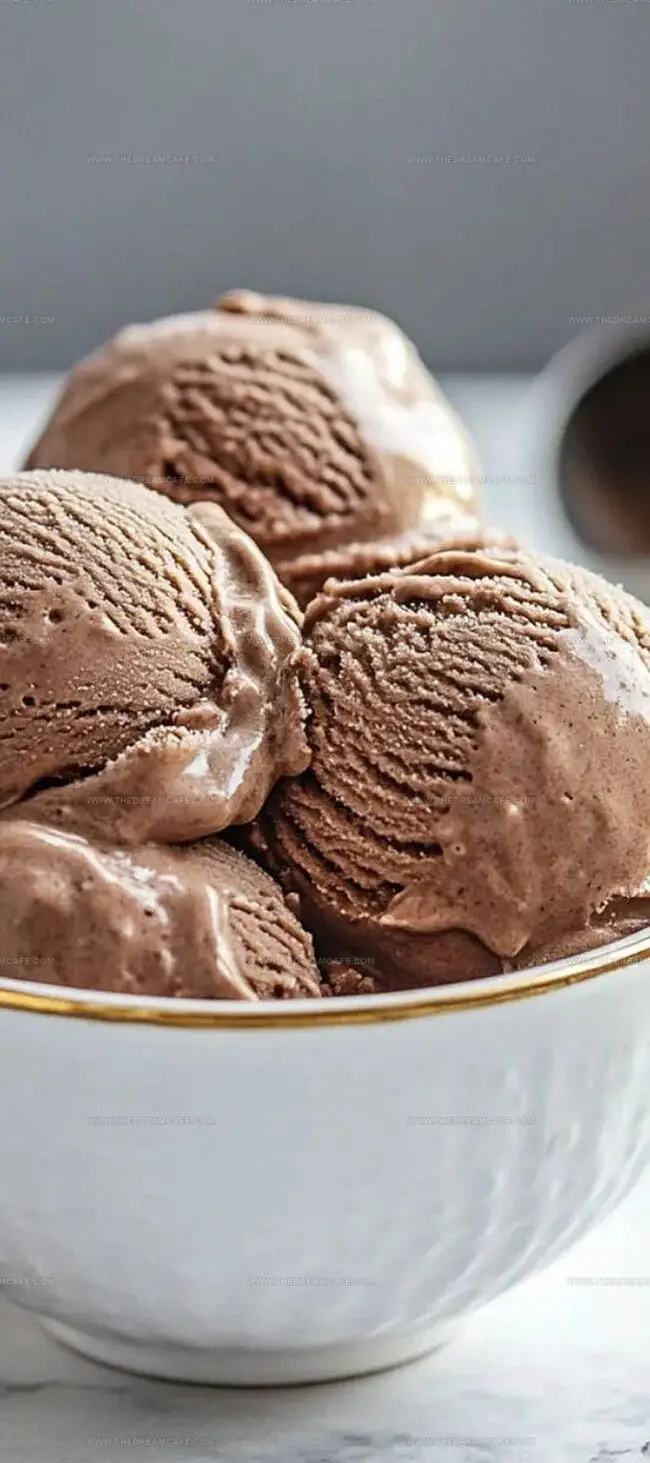
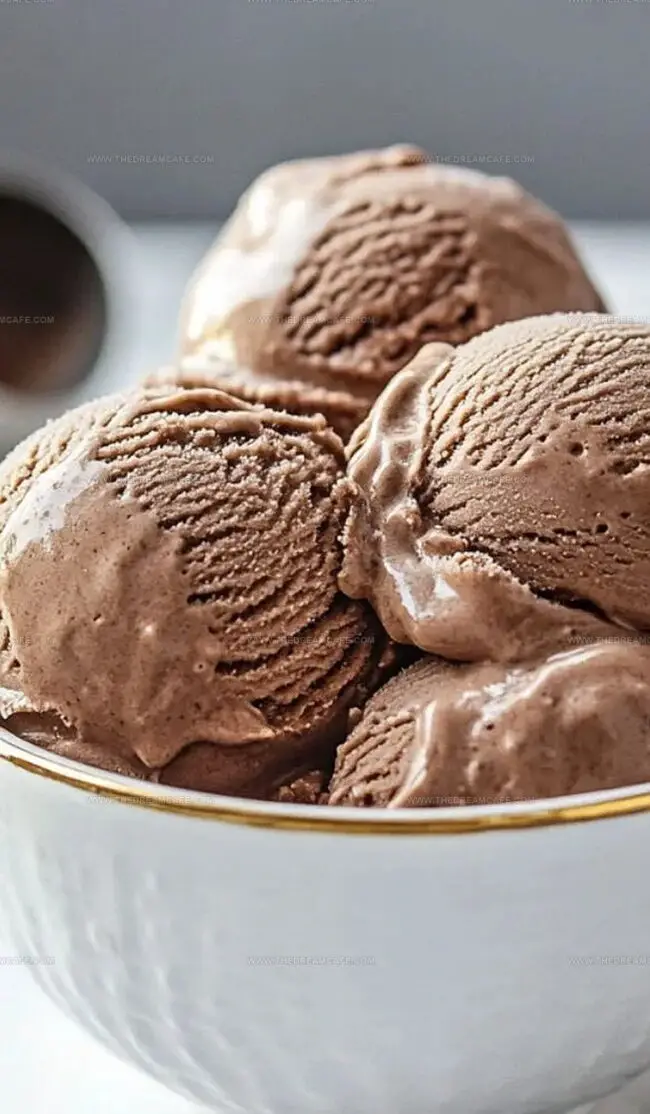
Creamy Low Carb Keto Chocolate Ice Cream Recipe
Low carb keto chocolate ice cream transforms ordinary dessert expectations with its decadent, silky-smooth profile.
Indulgent chocolate notes dance across your palate, promising a guilt-free experience that satisfies deep cravings.
Crafted for health-conscious sweet lovers, this frozen delight defies traditional dietary restrictions.
Its luxurious texture emerges from carefully selected ingredients that minimize carbohydrate impact.
Nutrition-minded individuals will appreciate how this treat maintains rich, classic ice cream sensations.
Complex flavor profiles emerge without compromising metabolic goals or taste preferences.
Each spoonful delivers intense chocolate essence that feels remarkably authentic and completely irresistible: prepare to revolutionize your dessert expectations.
Why This Chocolate Ice Cream Is Low-Carb Heaven
All the Ingredients for Rich, Cocoa Flavor
Base Ingredients:Dairy and Liquid Components:Flavor Enhancers:Easy Steps to Make It Extra Creamy

Step 1: Gather Delightful Ingredients
Collect all ingredients and bring them to room temperature for smooth blending.
Step 2: Create Silky Egg Base
In a medium bowl, whisk egg yolks, powdered sweetener, and sea salt until mixture turns light yellow and becomes creamy and smooth.
Step 3: Warm Creamy Chocolate Mixture
In a saucepan, combine coconut milk, heavy cream, and cocoa powder. Heat gently over medium temperature, stirring occasionally until mixture starts to steam and show tiny bubbles around edges.
Step 4: Blend Egg and Cream Carefully
Slowly stream hot cream mixture into egg mixture while whisking constantly. This prevents egg scrambling and creates a smooth chocolate custard base.
Step 5: Cook Custard Perfectly
Return entire mixture to saucepan. Cook on low heat, stirring continuously until mixture reaches 170°F. Use a kitchen thermometer for precise temperature tracking.
Step 6: Chill Chocolate Mixture
Transfer custard to a container and refrigerate for minimum 4 hours. Ensure mixture is completely cold before churning.
Step 7: Transform Into Creamy Ice Cream
Pour chilled mixture into pre-frozen ice cream maker. Churn for 20-25 minutes until texture becomes soft and fluffy like soft-serve.
Step 8: Achieve Perfect Scooping Texture
Transfer churned ice cream to freezer-safe container. Freeze for 2-3 hours until firm and easily scoopable. Enjoy your homemade keto chocolate delight!
Tips for Better Texture and Balanced Sweetness
How to Store Chocolate Ice Cream Like a Pro
Variants to Keep Chocolate Lovers Happy
The Final Bite of Chocolate Indulgence
Low-carb chocolate dreams meet keto magic in this luxurious ice cream recipe.
Silky smooth textures blend with rich chocolate notes, creating an indulgent dessert that satisfies without guilt.
Home kitchens can easily craft this creamy delight using simple ingredients and basic techniques.
Scientific precision meets culinary art through careful temperature control and whisking techniques.
Keto dieters and chocolate enthusiasts will adore this sophisticated frozen treat that delivers maximum flavor with minimal carbohydrates.
Passionate palates craving a healthier dessert option can now celebrate with this game-changing recipe that proves healthy eating never means sacrificing pleasure.
Snap a photo of your dish, share this recipe with fellow keto warriors, and spread the delicious low-carb love across social media platforms!
Print
Low Carb Keto Chocolate Ice Cream Recipe
- Total Time: 30 hours 10 minutes
- Yield: 4 1x
Description
Indulgent keto chocolate ice cream brings rich, creamy luxury to dessert lovers without guilt. Silky chocolate notes meld seamlessly with low-carb ingredients, creating a delightful frozen treat you’ll savor with pure pleasure.
Ingredients
Main Ingredients:
- 1½ cups (360ml) unsweetened coconut milk beverage
- 1 cup (240ml) heavy cream
- 5 large egg yolks
Sweeteners and Flavoring:
- ½ cup (80g) powdered monk fruit allulose blend
- ¼ cup (25g) Dutch processed cocoa powder
Seasoning:
- 1 pinch sea salt
Instructions
- Prepare the egg base by combining egg yolks, powdered sweetener, and sea salt in a medium mixing bowl. Whisk thoroughly until the mixture becomes pale yellow and well incorporated.
- In a medium saucepan, blend coconut milk, heavy cream (236 milliliters or 8 fluid ounces), and cocoa powder. Apply medium heat, gently whisking intermittently until the liquid approaches a gentle simmer. Immediately remove from heat source.
- Create a tempering process by gradually streaming the hot cream mixture into the egg yolk mixture, whisking continuously and vigorously to prevent egg coagulation.
- Return the combined mixture to the saucepan and cook over low heat. Stir frequently until the temperature reaches precisely 170°F (76°C), which typically requires 3-5 minutes of careful monitoring.
- Transfer the custard to a storage container, seal completely, and refrigerate for a minimum of 4 hours. Ensure the mixture drops below 40°F (4°C) for optimal texture.
- Pour the thoroughly chilled custard into a pre-frozen ice cream maker bowl. Activate the churning process according to manufacturer guidelines, which usually spans 20-25 minutes, until achieving a soft-serve consistency.
- For optimal serving, either enjoy immediately as a soft-serve dessert or transfer to a freezer-safe container and allow to solidify for a traditional ice cream texture.
Notes
- Take time to carefully mix hot cream into egg yolks, whisking continuously to create a silky smooth base without any scrambled egg bits.
- Ensure your ice cream maker’s bowl sits in the freezer for a full day before churning to guarantee optimal freezing and creamy results.
- Cool the custard mixture completely in the refrigerator for several hours, allowing flavors to develop and helping achieve a luscious, velvety texture.
- Monitor the churning process closely, stopping when the mixture reaches a soft-serve consistency to prevent a grainy, over-processed final product.
- Allow the freshly churned ice cream to rest at room temperature for a few minutes before serving, making scooping effortless and enhancing its luxurious mouthfeel.
- Prep Time: 10 minutes
- Cook Time: 30 minutes (or 4 hours)
- Category: Desserts, Snacks, Drinks
- Method: Simmering
- Cuisine: American
Nutrition
- Serving Size: 4
- Calories: 207
- Sugar: 3g
- Sodium: 490mg
- Fat: 19.6g
- Saturated Fat: 28g
- Carbohydrates: 5.5g
- Fiber: 1.6g
- Protein: 4g
- Cholesterol: 1010mg
Julian Park
Co-Founder, Cuisine Researcher & Food Culture Writer
Expertise
Education
The Institute of Culinary Education (ICE), Los Angeles, CA
Julian Park is a natural storyteller at The Dream Café who blends hands-on culinary experience with a passion for exploring global food traditions. A graduate of The Institute of Culinary Education in Los Angeles, Julian combines professional technique with a love for cultural discovery, diving into how dishes reflect heritage, migration, and identity.
His work spans everything from in-depth cuisine guides to reflections on everyday meals around the world. With a curious palate and a journal always close by, Julian helps readers connect with food in a way that feels so insightful and personal.