Crave-Worthy Low Carb Keto Coconut Flour Pie Crust Recipe
Coconut flour pie crust transforms ordinary baking into a delightful low-carb adventure for health-conscious food lovers.
Such a versatile ingredient offers incredible potential for creating delectable desserts without compromising nutritional goals.
Lightweight and subtly sweet, this innovative crust delivers a remarkable alternative to traditional wheat-based options.
Keto dieters and gluten-sensitive individuals will appreciate its nutrient-dense composition and remarkable adaptability.
The crumbly, tender texture mimics classic pastry while maintaining impressive macronutrient profiles.
Remarkably simple ingredients combine to produce a sophisticated base that elevates both sweet and savory culinary creations.
Strategic preparation ensures a foolproof foundation that complements numerous fillings with elegant simplicity: Get ready to revolutionize your pie-making experience!
Why Keto Coconut Flour Pie Crust Is a Game-Changer
What’s in a Low Carb Coconut Flour Pie Crust
Flour Base:Fat and Sweetener:Binding and Flavor Enhancers:How to Make Keto Pie Crust from Coconut Flour

Step 1: Prepare Baking Zone
Warm up your oven to 350°F. Grab a 9-inch round pie pan and line the bottom with parchment paper or generously coat with cooking spray.
Step 2: Blend Dry Ingredients
In a food processor, toss in these ingredients:Pulse everything together until the mixture looks crumbly and well combined.
Step 3: Create Dough Mixture
Add these ingredients to the processor:Blend until a smooth, soft dough forms. The texture should feel slightly sticky but manageable.
Step 4: Shape Pie Crust
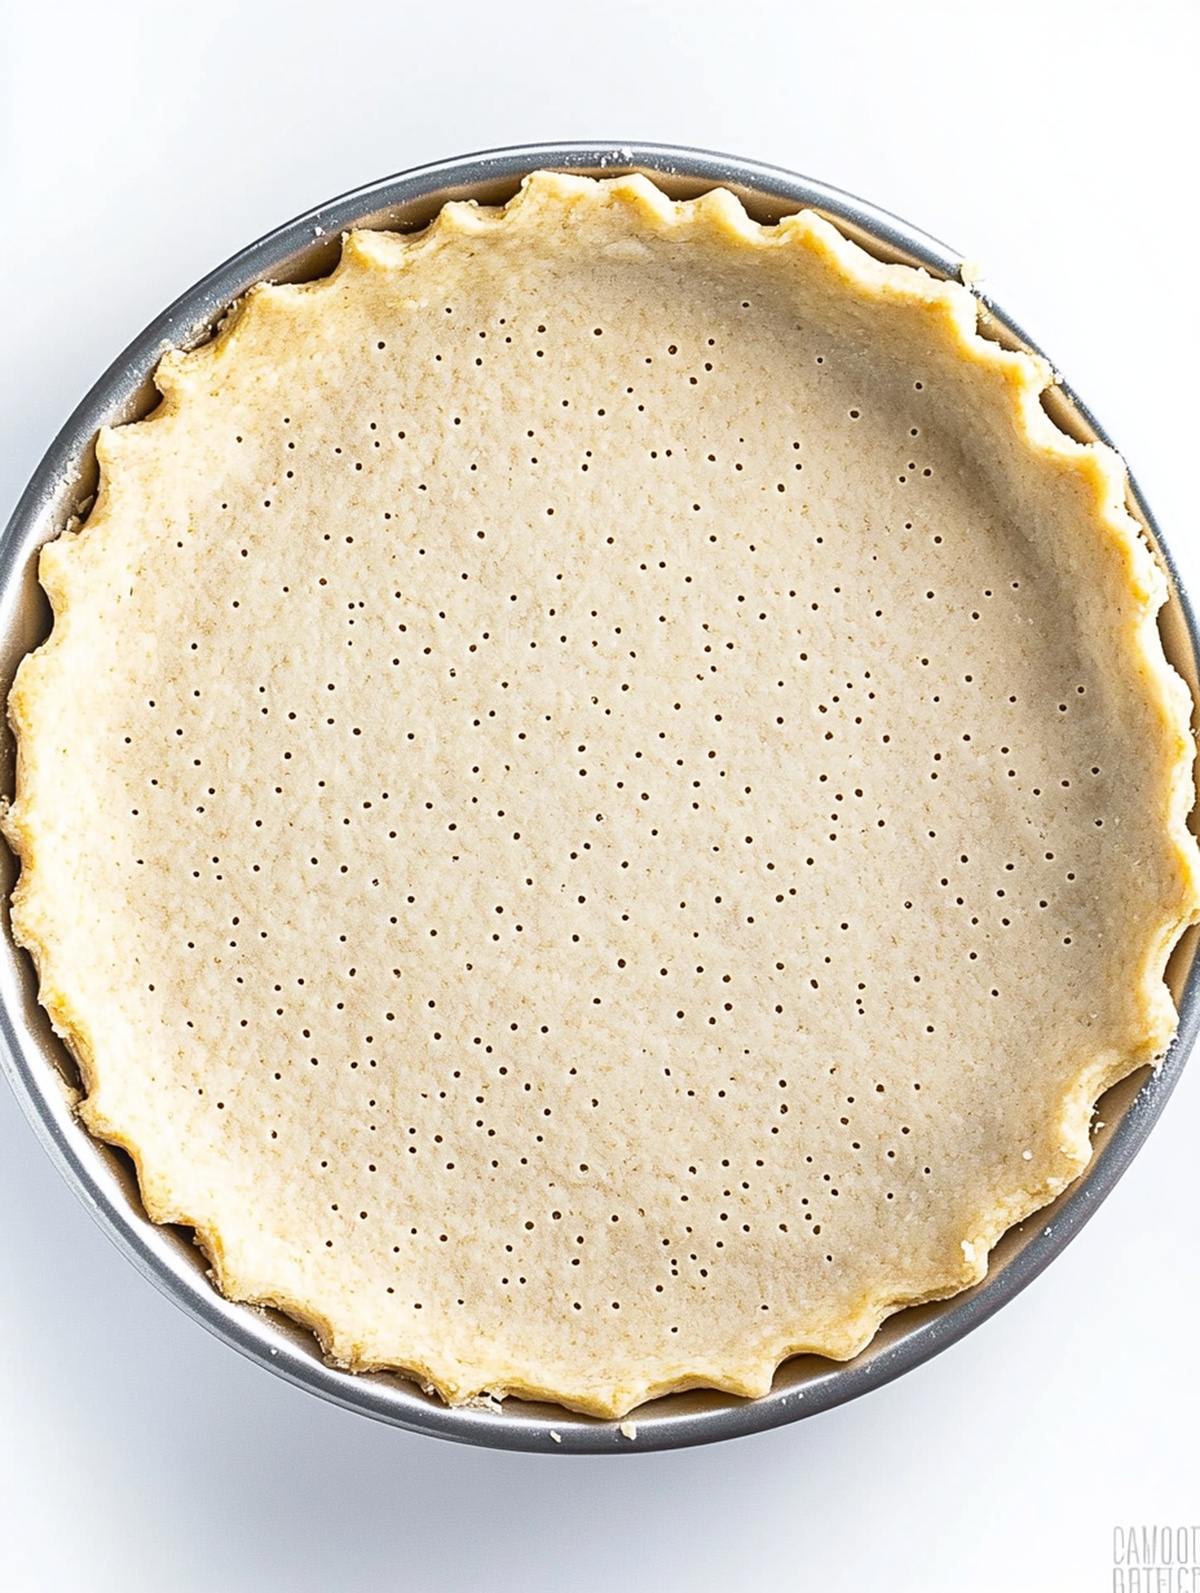
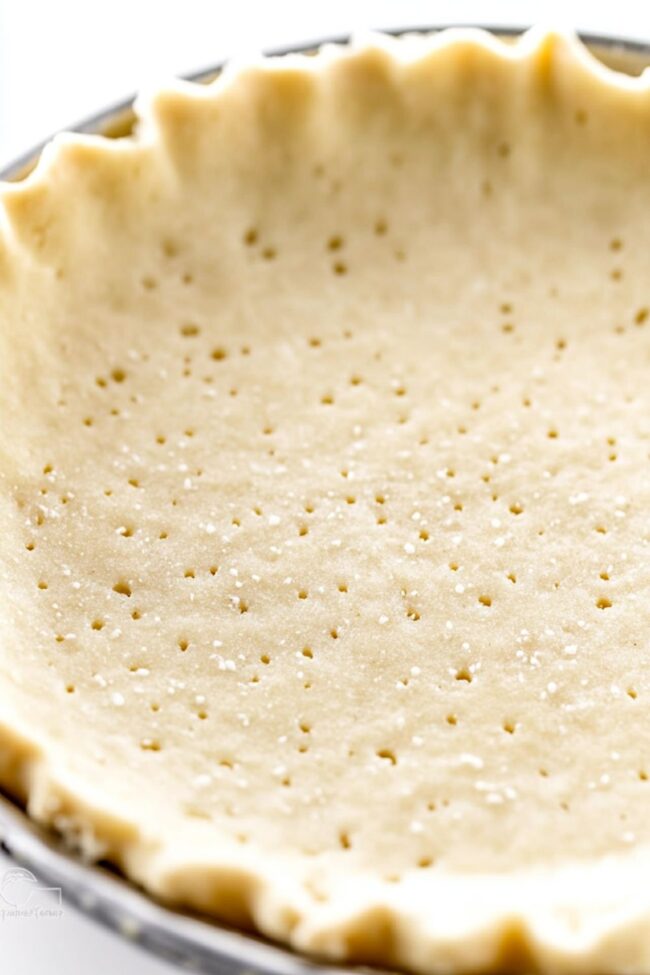
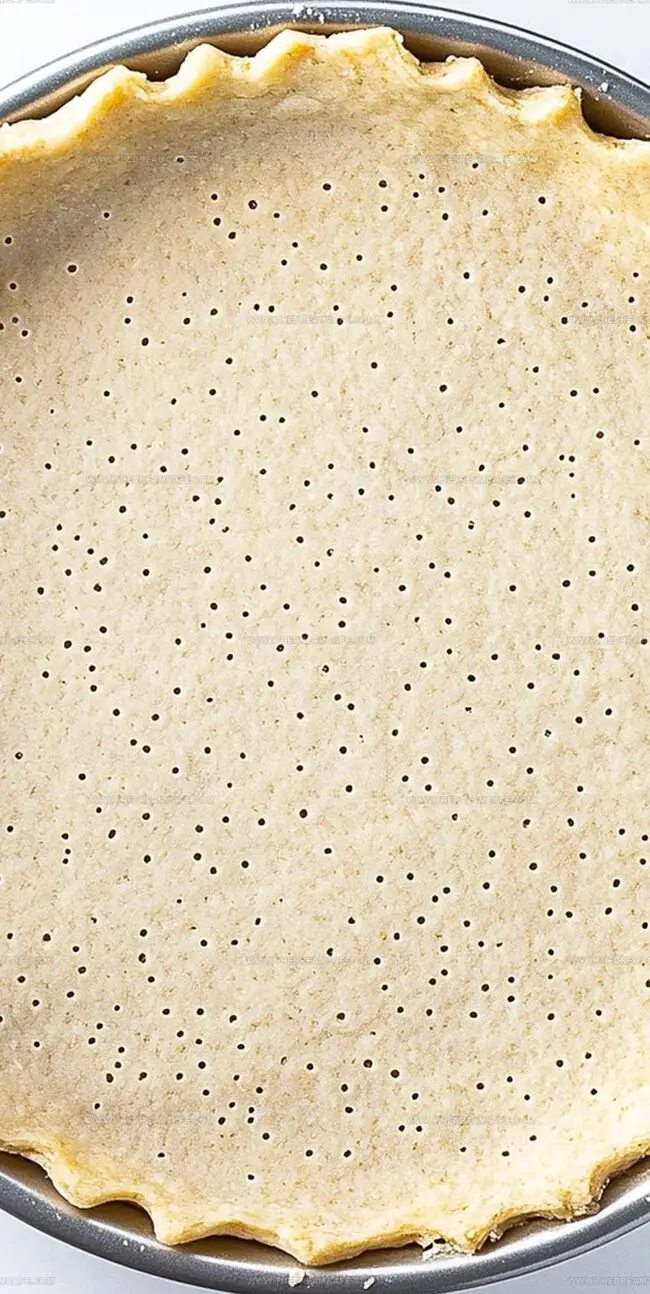
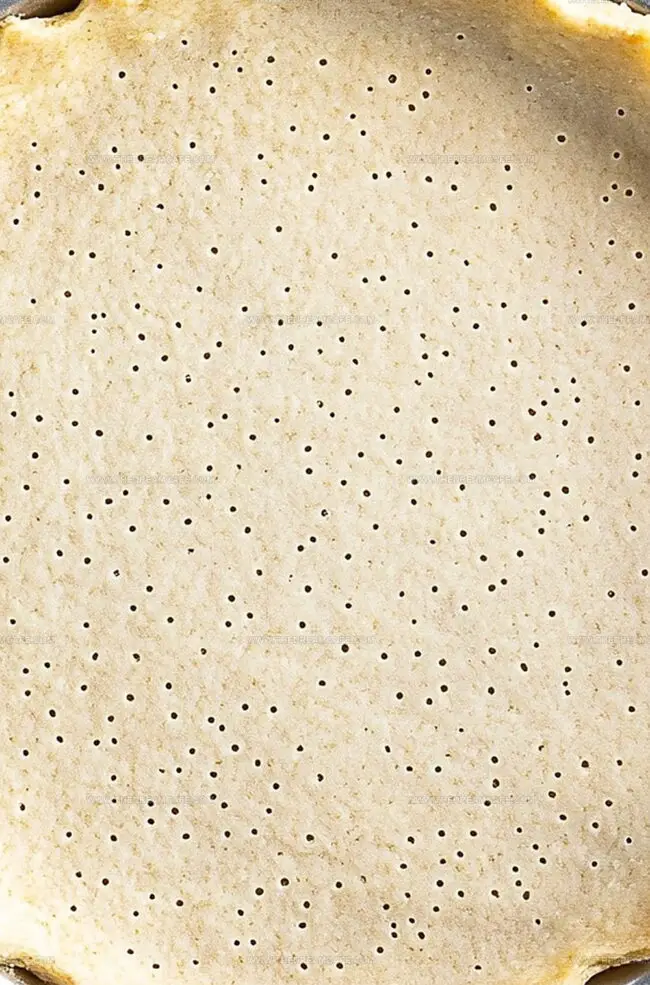
Transfer the dough into the prepared pie pan. Use your fingers to gently press and spread the mixture evenly across the bottom and sides. Create small punctures across the surface using a fork to prevent bubbling.
Step 5: Initial Baking
Slide the pan into the preheated oven. Bake for 12-15 minutes until the crust turns a light golden color around the edges and feels firm to the touch.
Step 6: Cool and Finish
Remove the crust from the oven. Let it rest at room temperature for 10-15 minutes. If the edges start browning too quickly during subsequent baking, cover them with aluminum foil. Allow the crust to cool completely before adding your preferred filling.
Expert Tips for a Flaky Keto Pie Crust
Store Your Coconut Flour Pie Crust the Right Way
Variations on the Classic Keto Pie Crust
The End Slice: Coconut Flour Pie Crust Recap
Keto bakers rejoice!
Low carb coconut flour pie crust unlocks culinary magic without compromising flavor or texture.
Delicate yet sturdy, this crust provides perfect foundation for countless pie adventures.
Health-conscious dessert enthusiasts will appreciate its simple ingredients and minimal preparation time.
Each slice promises guilt-free indulgence with maximum satisfaction.
Crisp edges and rich buttery notes elevate this recipe from ordinary to extraordinary.
Passionate bakers, snap those mouthwatering photos, tag recipe creators, share your delicious results, and spark keto community excitement!
Print
Low Carb Keto Coconut Flour Pie Crust Recipe
- Total Time: 20 minutes
- Yield: 8 1x
Description
Keto coconut flour pie crust delivers a delightful low-carb alternative to traditional pastry. Crisp, buttery layers provide perfect support for sweet or savory fillings without compromising dietary goals, making you feel satisfied and nourished.
Ingredients
Main Ingredients:
- 2 large Eggs
- ½ cup (115 grams) Unsalted butter (cold, cut into pieces)
- ¾ cup (90 grams) Coconut Flour
Sweetening and Seasoning:
- ¼ cup (50 grams) Monk Fruit Allulose Blend (skip for savoury crust)
- ¼ teaspoon (1 gram) Sea salt (or ½ teaspoon for savoury crust)
Flavor Enhancers:
- ½ teaspoon (2.5 milliliters) Vanilla extract (optional, skip for savoury crust)
Instructions
- Prepare the oven by heating to 350°F (177°C). Create a non-stick surface in a 9-inch (23 cm) round pie pan by either lining the bottom with parchment paper or thoroughly greasing the pan.
- In a food processor, combine coconut flour, softened butter, monk fruit allulose blend, and sea salt. Pulse the ingredients until they form a consistent, crumbly mixture.
- Introduce eggs and vanilla extract to the processor, blending until a cohesive dough develops. The mixture should hold together when pressed.
- Carefully transfer the prepared dough into the prepared pie pan. Use your fingers or the back of a spoon to evenly distribute and press the dough across the bottom and sides of the pan.
- Using a fork or toothpick, create multiple small punctures across the bottom of the crust to prevent air bubbles and ensure even baking.
- Place the crust in the preheated oven and bake for 10-15 minutes. Look for a firm texture and a very light golden color around the pan’s edges.
- Remove the crust from the oven and allow it to rest at room temperature for a minimum of 10 minutes. This cooling period helps the crust set and stabilize.
- If the crust edges begin to brown too quickly during subsequent baking, gently cover them with aluminum foil to prevent excessive browning.
- Ensure the crust is completely cooled before adding any filling or cutting to maintain its structural integrity.
Notes
- Cooling is crucial for a pristine pie crust. Let the baked crust rest for 10 minutes before adding any filling to maintain its crisp texture.
- Fork technique prevents puffy problems. Gently poke small holes across the bottom of the crust to stop unwanted bubbling during baking.
- Firm pressing ensures perfect results. Spread the dough evenly and smoothly into the pie pan for a consistent, professional-looking crust.
- Parchment paper saves the day. Line your pie pan with this handy kitchen helper to guarantee easy, mess-free crust removal.
- Cold butter creates magical flakiness. Keep your butter refrigerator-cold when mixing into the dough for an irresistibly tender, layered crust.
- Prep Time: 10 minutes
- Cook Time: 10 minutes
- Category: Desserts, Snacks
- Method: Baking
- Cuisine: American
Nutrition
- Serving Size: 8
- Calories: 111
- Sugar: 0g
- Sodium: 105mg
- Fat: 9g
- Saturated Fat: 6g
- Carbohydrates: 4g
- Fiber: 2g
- Protein: 2g
- Cholesterol: 31mg
Julian Park
Co-Founder, Cuisine Researcher & Food Culture Writer
Expertise
Education
The Institute of Culinary Education (ICE), Los Angeles, CA
Julian Park is a natural storyteller at The Dream Café who blends hands-on culinary experience with a passion for exploring global food traditions. A graduate of The Institute of Culinary Education in Los Angeles, Julian combines professional technique with a love for cultural discovery, diving into how dishes reflect heritage, migration, and identity.
His work spans everything from in-depth cuisine guides to reflections on everyday meals around the world. With a curious palate and a journal always close by, Julian helps readers connect with food in a way that feels so insightful and personal.