
The Ultimate Low Carb Keto Fried Pickles Recipe for Snack Lovers
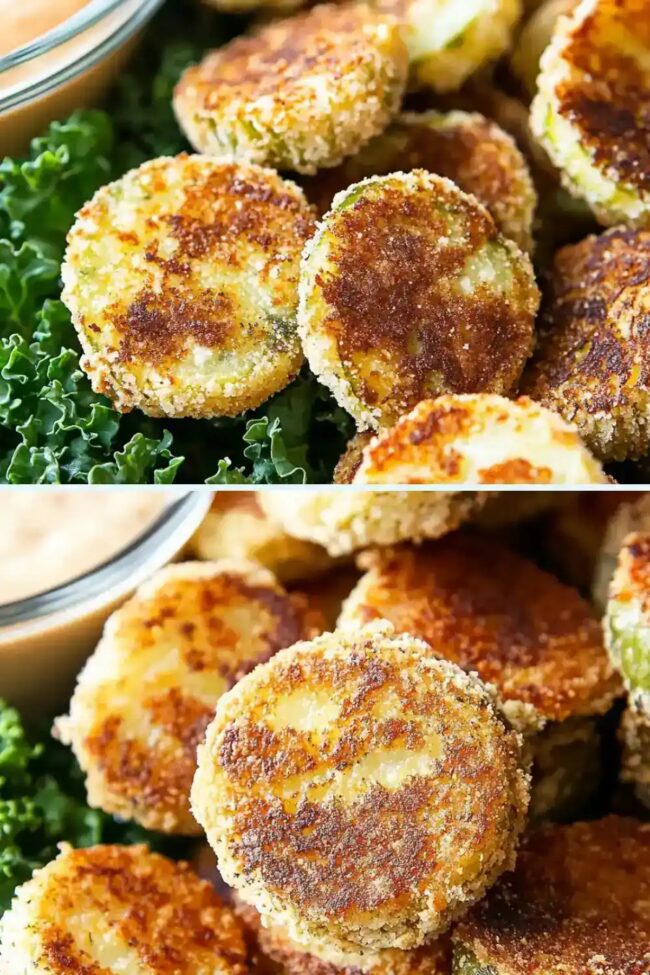
Crispy Low Carb Keto Fried Pickles transform ordinary pickles into an irresistible appetizer that satisfies serious crunch cravings.
Tangy pickle slices get an incredible makeover with a clever breading technique that keeps carbohydrates minimal.
Savory and satisfying, these golden-brown morsels deliver maximum flavor without compromising nutritional goals.
Delicate exterior crackles beautifully when bitten, revealing a zesty interior that sparks excitement on your palate.
Sophisticated yet simple, this recipe turns standard pickles into an elegant low-carb indulgence that impresses everyone.
Protein-packed ingredients ensure you feel satisfied without heavy, greasy consequences.
Zero guilt accompanies each delectable bite of these magnificently crisp pickle rounds.
Why Fried Pickles Make the Best Low-Carb Snack
Ingredients to Get That Perfect Crunch
Keto Coating Ingredients:Wet Binding Ingredients:Pickle and Frying Ingredients:Instructions for Crispy, Golden Pickle Bites
Step 1: Get the Pickles Ready
Take the pickles out of the jar and lay them flat on clean paper towels. Gently pat them dry on both sides so they’re not wet. This helps them get crispier when fried. Tip: You can save the leftover pickle juice to use later in marinades or sauces.
Step 2: Make the Crispy Coating
In a medium-sized bowl, mix together the whey protein powder and grated parmesan cheese. Stir well until everything is evenly combined. A good mix will help the pickles have a nice, crunchy texture when cooked.
Step 3: Make the Egg Wash
Crack a fresh egg into a small bowl. Whisk it until it looks smooth and the yolk and white are fully mixed. Make sure the bowl is big enough to dip the pickle slices in without spilling.
Step 4: Heat the Pan
Place a medium or large skillet on the stovetop and turn the heat to medium. Pour in enough oil to fully cover the bottom of the pan. To check if the oil is hot enough, dip in the end of a wooden spoon, if you see bubbles form around it, the oil is ready.
Step 5: Coat the Pickles
Dip each dry pickle slice into the egg wash, letting the extra egg drip off. Then roll the pickle in the protein and cheese mixture until it’s fully coated. Use a fork to help press the coating onto the pickle so it sticks well.
Step 6: Fry the Pickles
Carefully place the coated pickle slices into the hot oil. Let them fry for about one minute on the first side. Then flip them and fry the other side until they turn golden brown. Keep the oil at the same heat the whole time so they cook evenly.
Step 7: Cook in Batches
Repeat the coating and frying steps with the rest of the pickles. Only fry a few at a time so the pan isn’t too crowded. This helps each piece cook properly and keeps the oil from cooling down too much.
Step 8: Serve and Eat
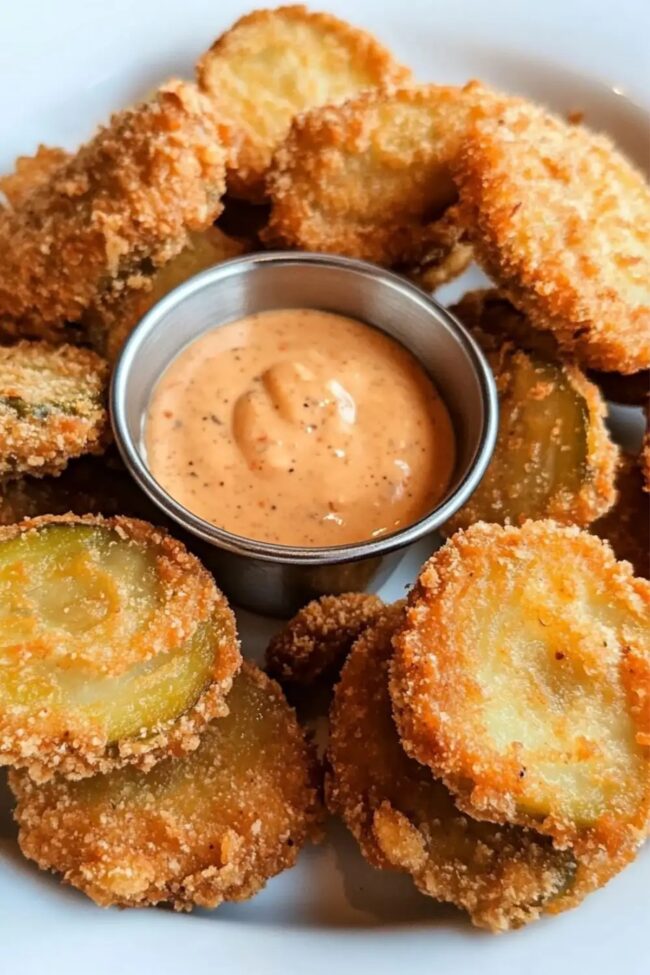
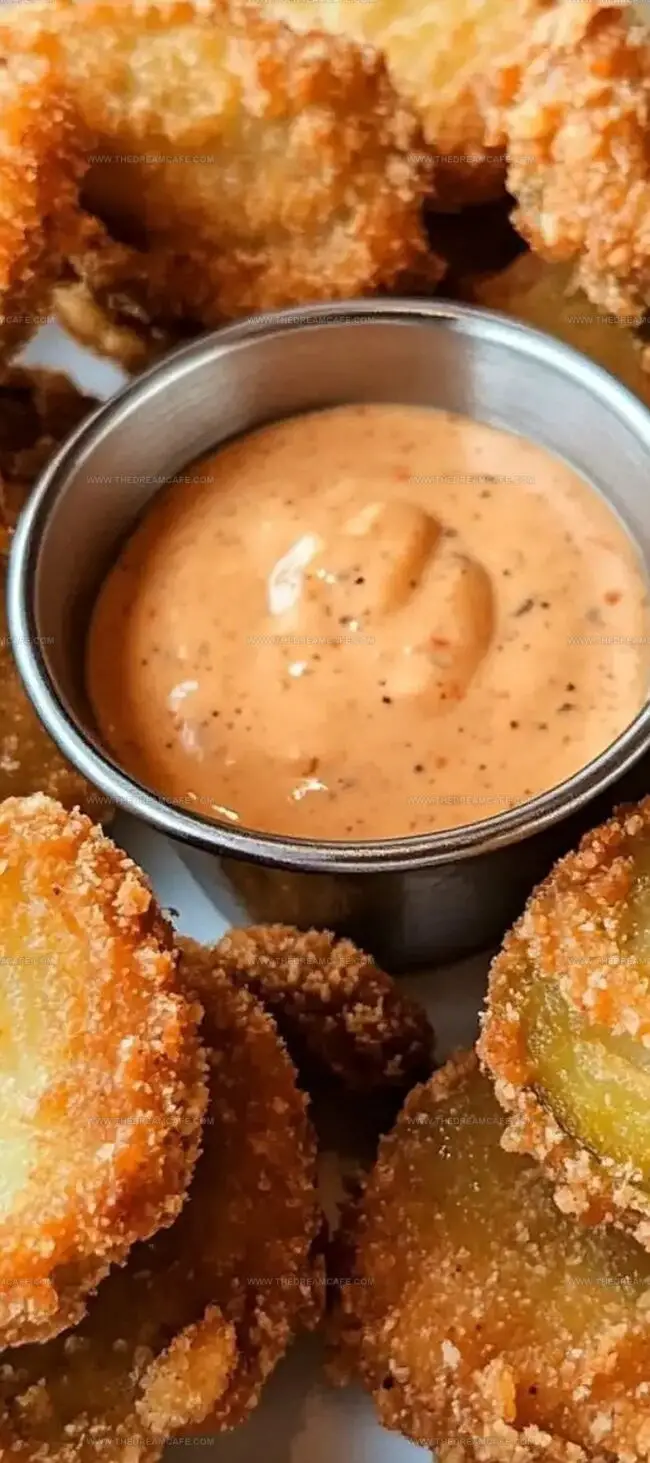
Once the pickles are fried, move them to a plate lined with paper towels. Let them sit for a minute to drain off extra oil. Serve them while they’re warm, and try dipping them in a spicy sauce for even more flavor.
Tips for Avoiding a Soggy Coating
How to Keep Fried Pickles Fresh Longer
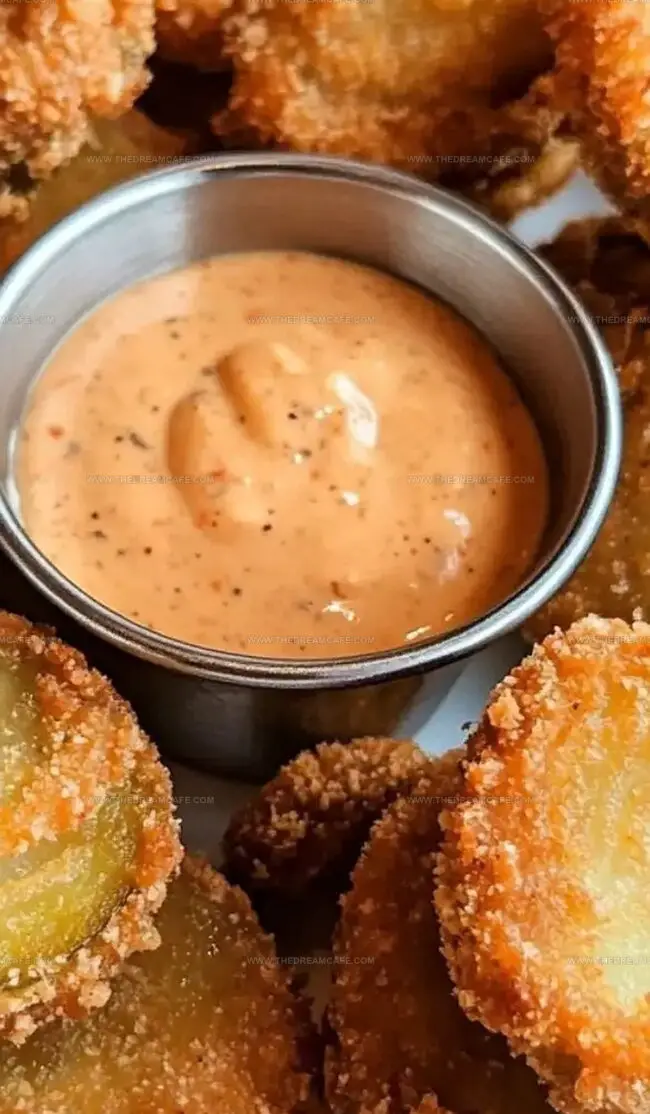
Dipping Sauce Pairings and Fun Flavors
Saying Bye with a Bite of Crispiness
Keto fried pickles offer a crispy, tangy escape from traditional snack monotony.
Low-carb enthusiasts will find this recipe a delightful culinary adventure beyond ordinary expectations.
Crunchy pickle rounds dressed in parmesan and whey protein create a guilt-free indulgence that satisfies serious cravings.
Health-conscious snackers can rejoice in these golden-brown morsels that deliver maximum flavor with minimal carbohydrate impact.
Each bite promises a perfect balance of zesty pickle essence and satisfying crunch that elevates simple ingredients into gourmet territory.
Passionate keto followers: dive into this recipe, share your crispy dish across social platforms, spark conversations with fellow low-carb adventurers, and let your culinary creativity shine through these irresistible fried pickles.
Print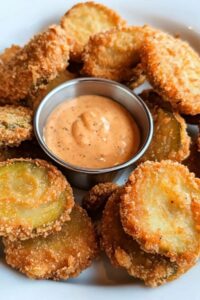
Low Carb Keto Fried Pickles Recipe
- Total Time: 20 minutes
- Yield: 4 1x
Description
Crispy keto fried pickles bring Southern comfort to your low-carb lifestyle with a crunchy almond flour coating. Zesty dill pickles get a delicious makeover that satisfies your craving for a classic appetizer without the carb guilt.
Ingredients
Main Protein Ingredients:
- 30g / ¼ cup whey protein isolate
- 1 large egg (beaten)
- 50g / ½ cup grated parmesan cheese
Coating and Binding Ingredients:
- 32 medium dill pickle rounds (drained)
Oil and Cooking Ingredients:
- 3–4 tablespoons avocado oil (or olive oil)
Instructions
- Carefully blot pickle rounds with paper towels to remove excess moisture, preserving the pickling liquid for future culinary uses.
- Create a uniform coating mixture by thoroughly whisking whey protein isolate and finely grated parmesan cheese in a medium-sized mixing bowl until completely integrated.
- Crack a fresh egg into a separate small bowl and vigorously beat until the mixture achieves a smooth, consistent texture, selecting a container spacious enough to accommodate 5–6 pickle slices simultaneously.
- Position a medium to large skillet over medium heat, adding sufficient vegetable or canola oil to generously cover the pan’s bottom. Test oil readiness by observing bubble formation around a wooden utensil’s insertion point.
- Submerge pickle rounds completely in beaten egg, allowing excess liquid to drip off. Transfer each egg-coated slice to the protein and cheese mixture, utilizing a fork to ensure thorough, even coverage.
- Gently lower breaded pickle slices into the hot oil, monitoring closely and frying approximately 60 seconds until achieving a golden-brown complexion. Carefully flip each piece and cook an additional minute to ensure uniform crispness.
- Continue the breading and frying process in systematic batches, maintaining consistent oil temperature and golden-brown coloration for each pickle slice.
- Remove fried pickles using a slotted spoon, transferring to layered paper towels to absorb excess oil. Allow brief cooling before serving alongside a zesty, spicy dipping sauce at comfortable room temperature.
Notes
- Gentle turning prevents the crispy coating from falling apart during cooking.
- Maintain oil temperature around 350-375°F for perfect golden-brown results.
- Small batch frying ensures maximum crispiness and even heating throughout.
- Finely grated parmesan creates a more uniform and adherent breading layer.
- Thoroughly dry pickles using paper towels to guarantee a crunchy exterior.
- Prep Time: 10 minutes
- Cook Time: 10 minutes
- Category: Snacks, Appetizer
- Method: Frying
- Cuisine: American
Nutrition
- Serving Size: 4
- Calories: 190 kcal
- Sugar: 0.8g
- Sodium: 263mg
- Fat: 15.2g
- Saturated Fat: 8.1g
- Carbohydrates: 2.7g
- Fiber: 0.6g
- Protein: 11.1g
- Cholesterol: 74mg
Julian Park
Co-Founder, Cuisine Researcher & Food Culture Writer
Expertise
Education
The Institute of Culinary Education (ICE), Los Angeles, CA
Julian Park is a natural storyteller at The Dream Café who blends hands-on culinary experience with a passion for exploring global food traditions. A graduate of The Institute of Culinary Education in Los Angeles, Julian combines professional technique with a love for cultural discovery, diving into how dishes reflect heritage, migration, and identity.
His work spans everything from in-depth cuisine guides to reflections on everyday meals around the world. With a curious palate and a journal always close by, Julian helps readers connect with food in a way that feels so insightful and personal.