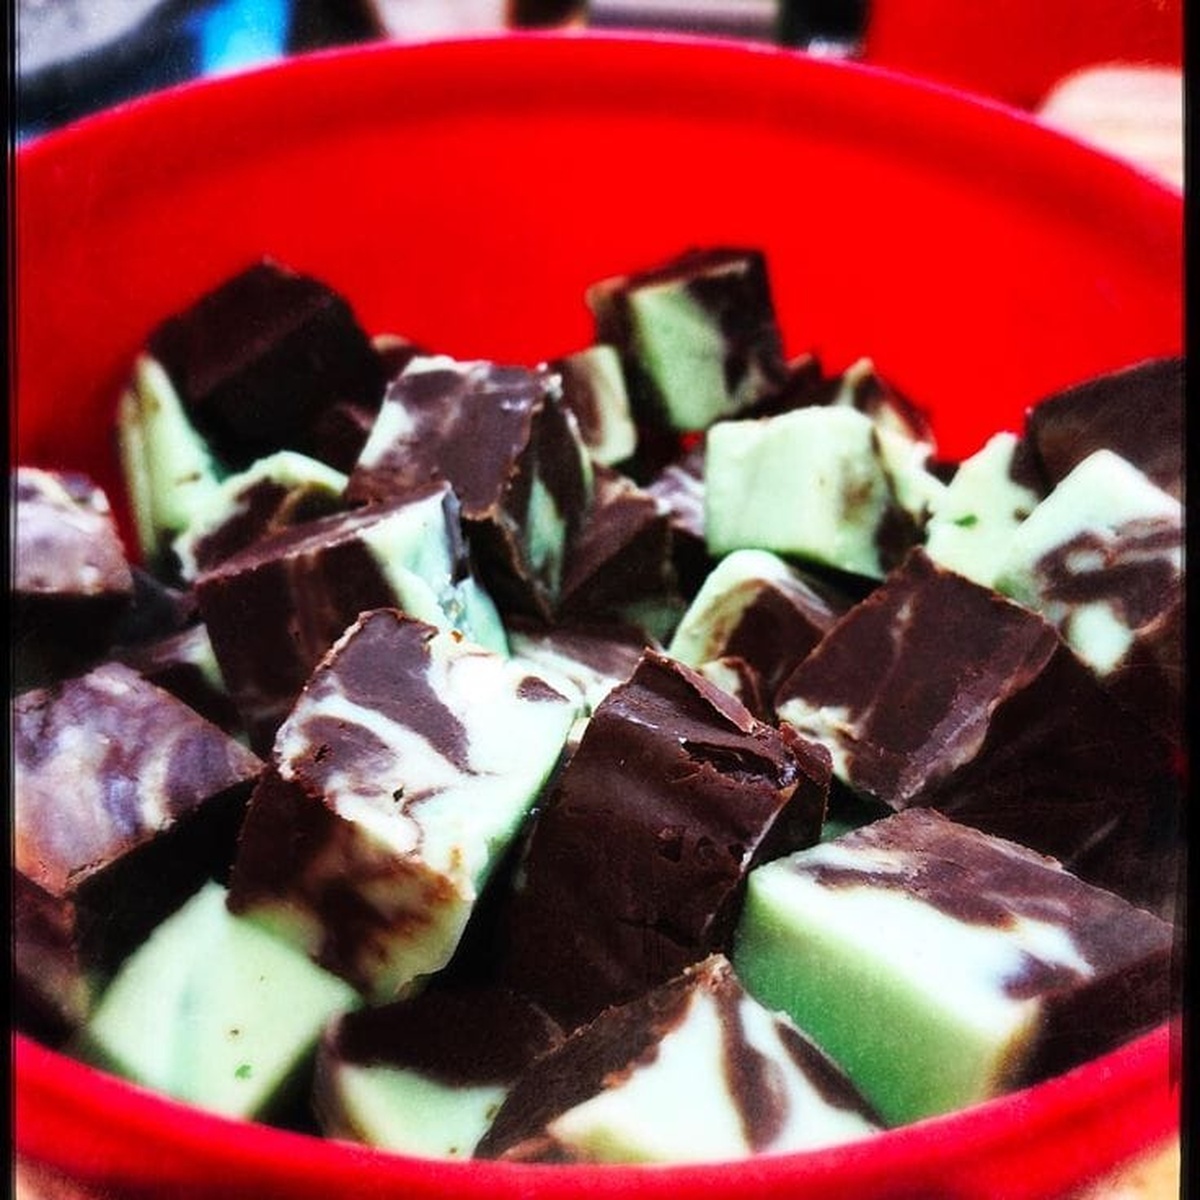
The Perfect Mint Chocolate Fudge Recipe: Sweet Bliss in Every Bite
Mint chocolate fudge redefines ordinary dessert moments into extraordinary sensory experiences with its vibrant, cool essence.
Sweet chocolate and bright Mint dance together in a luxurious confection that captivates taste buds.
Smooth, dense textures create an irresistible contrast between rich cocoa and crisp herbal notes.
Each delectable bite promises a symphony of contrasting yet complementary flavors that surprise and delight.
Velvety squares melt effortlessly, releasing waves of decadent chocolate and invigorating Mint that refresh the palate.
Sophisticated yet approachable, this fudge elevates simple ingredients into a memorable treat that feels both indulgent and elegant.
Sophisticated home bakers can craft this impressive confection with minimal effort and maximum impact.
Why Mint Chocolate Fudge Is Cool, Creamy Bliss
Everything You Need for This Rich, Pepperminty Treat
Chocolate Base:Binding and Sweetening Agents:Flavor and Color Enhancers:Preparation Accessories:How to Layer and Chill Mint Chocolate Fudge
Step 1: Prepare the Baking Dish
Line an 8×8 inch baking dish with aluminum foil, letting the edges hang over to make removing the fudge easier later.
Step 2: Melt the Chocolate
Melt the chocolate in a microwave-safe bowl, stirring every 30 seconds to prevent burning and ensure smooth consistency.
Step 3: Create Chocolate Mixtures
Divide the sweetened condensed milk between two bowls of melted chocolate:Mix in mint extract for the dark chocolate and green food coloring for the white chocolate until well blended.
Step 4: Pour and Pattern the Fudge
Randomly pour dollops of each chocolate mixture into the prepared pan, creating an artistic swirled pattern.
Step 5: Swirl the Fudge
Gently use a butter knife to lightly swirl the mixtures, adding visual depth without completely mixing them together.
Step 6: Chill and Set
Refrigerate the fudge overnight to allow it to set completely and firm up.
Step 7: Remove and Trim
Once firm, lift the fudge out of the pan using the foil edges. Trim any uneven sides to create a clean, polished appearance.
Step 8: Slice and Serve
Cut the fudge into 4 large squares, then slice each square into 9 smaller pieces, creating 36 total bite-sized fudge pieces.
Step 9: Store Properly
Keep the fudge in an airtight container to maintain freshness and prevent drying out.
Tips to Get That Smooth Finish and Balanced Flavor
Store Mint Fudge So It Doesn’t Lose Its Texture
Pairing Ideas for This Refreshing, Chocolatey Dessert
Flavor Add-Ins That Complement Mint and Chocolate
Print
Mint Chocolate Fudge Recipe
- Total Time: 8 hours 10 minutes
- Yield: 10 1x
Description
Mint chocolate fudge delivers a cool, creamy indulgence that harmonizes rich chocolate with refreshing mint. Chocolate lovers can savor this simple, elegant dessert that melts smoothly on the palate and leaves you craving another delightful square.
Ingredients
Main Ingredients:
- 14 ounces (396 grams) sweetened condensed milk
- 1 ½ cups (255 grams) white chocolate chips
- 1 ½ cups (255 grams) milk chocolate chips
Flavor and Color Enhancers:
- 1 teaspoon mint extract
- Green food coloring
Instructions
- Prepare an 8 by 8 inches (20 by 20 centimeters) baking dish by lining it with aluminum foil, allowing excess foil to hang over the sides for effortless extraction.
- Melt dark and white chocolate separately in microwave-safe bowls, pausing every 30 seconds to stir and prevent scorching.
- Divide the sweetened condensed milk equally between the two melted chocolate varieties, creating distinct flavor bases.
- Enhance the dark chocolate mixture with mint extract, stirring until thoroughly incorporated.
- Infuse the white chocolate mixture with green food coloring, blending until a uniform emerald hue is achieved.
- Artfully pour alternating dollops of dark and white chocolate mixtures into the prepared pan, creating an abstract, marbled pattern.
- Gently tap the pan against the countertop to eliminate air bubbles and help the mixtures settle evenly.
- Using a clean butter knife, delicately swirl the chocolate layers, creating subtle interconnected patterns without fully merging the colors.
- Transfer the pan to the refrigerator and allow the fudge to solidify completely overnight, ensuring a firm, smooth texture.
- Once set, carefully lift the fudge from the pan using the overhanging foil edges.
- Trim any uneven borders to create a clean, professional appearance.
- Slice the fudge block into four equal large squares, then subdivide each square into nine smaller, bite-sized pieces.
- Store the finished mint chocolate fudge in an airtight container, preserving its creamy consistency and vibrant flavors.
Notes
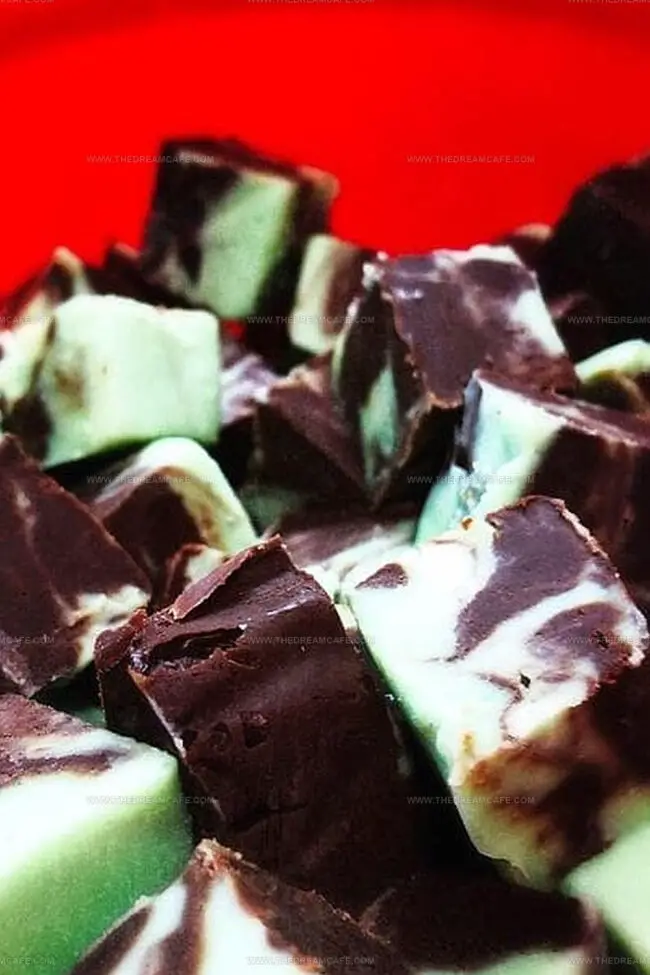
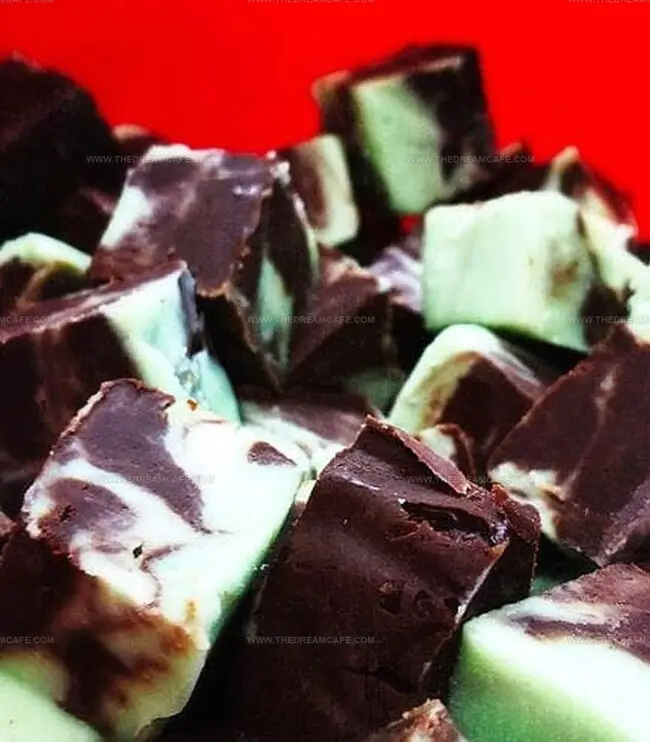
- Mixing two chocolate flavors creates a delightful marbled masterpiece that looks as good as it tastes.
- Foil lining makes removing and cutting the fudge a breeze, ensuring clean, professional-looking pieces.
- Green-tinted white chocolate and dark chocolate with mint extract combine for a festive, eye-catching dessert.
- Gentle swirling with a knife transforms simple ingredients into an artistic treat that will impress family and friends.
- Overnight chilling allows the fudge to set perfectly, developing rich flavors and a smooth, creamy texture.
- Cutting into small, bite-sized squares makes this fudge ideal for sharing at parties or enjoying as a personal indulgence.
- Prep Time: 10 minutes
- Cook Time: 8 hours
- Category: Desserts, Snacks
- Method: Blending
- Cuisine: American
Nutrition
- Serving Size: 10
- Calories: 335 kcal
- Sugar: 32g
- Sodium: 70mg
- Fat: 16g
- Saturated Fat: 9g
- Unsaturated Fat: 6g
- Trans Fat: 0g
- Carbohydrates: 46g
- Fiber: <1g
- Protein: 3g
- Cholesterol: <5mg
Julian Park
Co-Founder, Cuisine Researcher & Food Culture Writer
Expertise
Education
The Institute of Culinary Education (ICE), Los Angeles, CA
Julian Park is a natural storyteller at The Dream Café who blends hands-on culinary experience with a passion for exploring global food traditions. A graduate of The Institute of Culinary Education in Los Angeles, Julian combines professional technique with a love for cultural discovery, diving into how dishes reflect heritage, migration, and identity.
His work spans everything from in-depth cuisine guides to reflections on everyday meals around the world. With a curious palate and a journal always close by, Julian helps readers connect with food in a way that feels so insightful and personal.