No Fuss Pie Crust Recipe

Quick & Crispy No Fuss Pie Crust Recipe Everyone Can Master

No fuss pie crust revolutionizes traditional baking challenges into a delightful culinary experience.

Intimidating pastry techniques dissolve when you master this simple technique.

Smooth, buttery textures emerge without complex equipment or professional skills.

Pressing instead of rolling eliminates typical crust-making frustrations for home bakers of any experience level.

Flaky layers promise a perfect foundation for countless dessert and savory creations.

Minimal ingredients and streamlined steps make this recipe a game-changer for kitchen enthusiasts.

Tips for Getting That Golden, Tender Shell

Tips for Getting That Golden, Tender Shell
  • Chill the Mixing Bowl: Refrigerate your mixing bowl and tools beforehand to keep ingredients cold, which helps create a flakier, more tender pie crust.
  • Handle with Care: Avoid overworking the dough to prevent tough, dense results; mix just until ingredients combine for a light, delicate texture.
  • Test Dough Consistency: Squeeze a small piece of dough – it should hold together without crumbling, indicating the right moisture level.
  • Perfect Rolling Technique: Use gentle, even pressure when pressing dough into the pie dish to ensure uniform thickness and prevent tearing.
  • Prevent Soggy Bottom: Blind bake the crust for about 10 minutes before adding wet fillings to create a crisp, golden base that resists moisture.

Best Ways to Store It Before and After Baking

Best Ways to Store It Before and After Baking
  • Refrigerate: Store leftover pie crust in an airtight container for up to 3-4 days. Wrap tightly with plastic wrap or place in a sealed container to prevent moisture and odors from affecting the delicate texture.
  • Freeze: Protect unbaked pie crust by wrapping it carefully in two layers of plastic wrap, then add a layer of aluminum foil. Freeze for maximum 2 months. Label the package with the date to track freshness.
  • Reheat: Revive refrigerated pie crust by warming it in the oven at 350°F for 5-7 minutes. This method helps restore its original crispy texture and brings back the just-baked flavor. Avoid microwaving, which can make the crust soggy and compromise its delightful crumbly nature.

What Fillings Work Best With This No-Fail Crust

  • Pair with Robust Red Wine: Select a full-bodied cabernet sauvignon or merlot that complements the buttery, flaky texture of the pie crust, enhancing its rich, golden flavor profile.
  • Match with Crisp Apple Cider: Serve a chilled, locally pressed apple cider alongside the pie to bring out the subtle sweetness and provide a refreshing contrast to the dense pastry.
  • Accompany with Vanilla Bean Ice Cream: Top the pie with a scoop of creamy, smooth vanilla bean ice cream, creating a delightful temperature and texture contrast that elevates the entire dessert experience.
  • Complement with Spiced Chai Tea: Brew a warm, aromatic chai tea with hints of cinnamon and cardamom to balance the pie's richness and add a cozy, comforting dimension to your meal.

Fun Flavor Boosts for Sweet or Savory Bakes

  • Whole Wheat Wonder: Swap all-purpose flour with whole wheat flour for a nuttier, more nutritious pie crust that adds extra fiber and a hearty flavor profile.
  • Herb-Infused Crust: Mix in dried herbs like rosemary, thyme, or oregano directly into the flour mixture to create a savory base perfect for quiches and savory pies.
  • Gluten-Free Option: Replace all-purpose flour with a gluten-free flour blend, ensuring those with dietary restrictions can still enjoy a delicious homemade pie crust.
  • Coconut Oil Crunch: Substitute vegetable oil with melted coconut oil to introduce a subtle tropical hint and potentially create a slightly crispier texture.

Why This Pie Crust Keeps Things Simple—and Perfect

Why This Pie Crust Keeps Things Simple—and Perfect
  • Whip Up Effortless Pastry: This no-fuss pie crust recipe delivers maximum flavor with minimal effort, perfect for bakers who want delicious results without complex techniques.
  • Versatile Dough Delight: Adaptable to countless fillings, this crust works wonderfully for sweet pies, savory quiches, and everything in between, making it a kitchen superhero.
  • Quick and Simple Preparation: With just a few basic ingredients and straightforward mixing steps, you can create a reliable pie crust in minutes, eliminating intimidating baking barriers.
  • Healthy Fat Profile: Packed with unsaturated fats and zero trans fats, this crust offers a more nutritious alternative to traditional butter-based pastry, supporting heart-friendly eating habits.

What You’ll Need for the Easiest Dough Ever

Dry Ingredients:
  • All-Purpose Flour: Soft wheat flour with moderate protein content, perfect for creating a tender and flaky pie crust.
  • Salt: Enhances flavor and helps control the gluten development in the dough.
  • Baking Powder: Helps create a lighter, more tender crust with subtle rise and softness.
Liquid Ingredients:
  • Oil: Provides moisture and helps create a smooth, pliable dough with a tender texture.
  • Cold Water: Helps bind the ingredients together and prevents overworking the dough, ensuring a flaky crust.
Preparation Ingredients:
  • Nonstick Spray: Ensures easy release of the pie crust from the dish and prevents sticking during baking.

How to Roll Out Flaky Crusts Without the Fuss

How to Roll Out Flaky Crusts Without the Fuss

Step 1: Prepare Pie Dish

Lightly spray a 9-inch pie dish with nonstick cooking spray to prevent sticking. Set the dish aside for later use.

Step 2: Mix Dry Ingredients

In a large mixing bowl, whisk together:
  • All-purpose flour
  • Salt
  • Baking powder

Ensure ingredients are evenly distributed.

Step 3: Create Dough Base

Add to the dry ingredients:
  • Oil
  • Cold water

Stir gently until the mixture begins to come together, forming a soft dough.

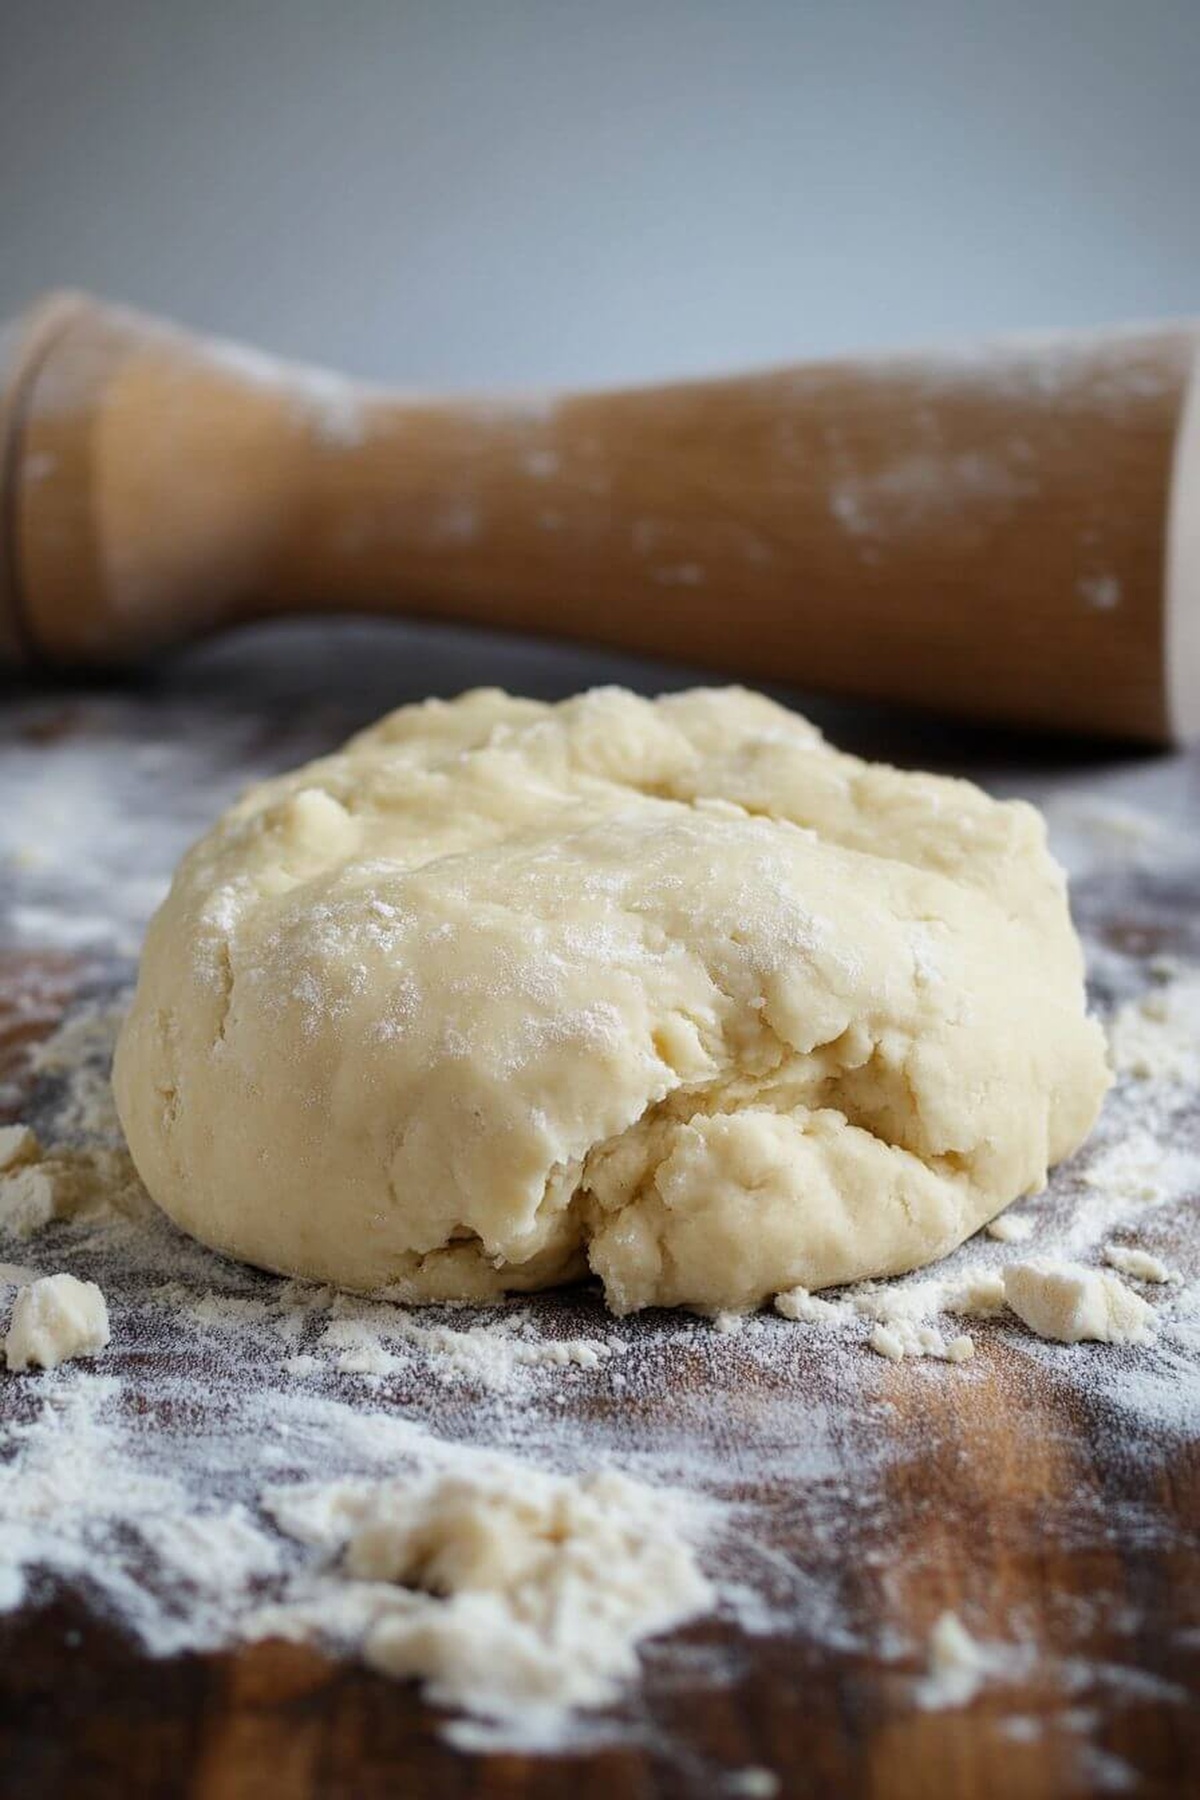
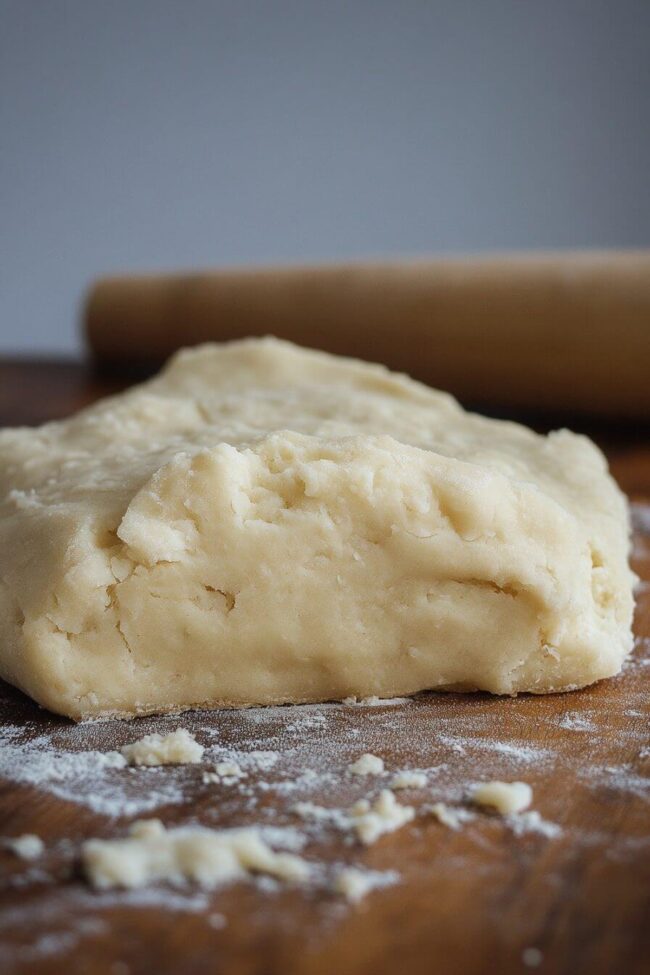
Step 4: Knead and Form Dough

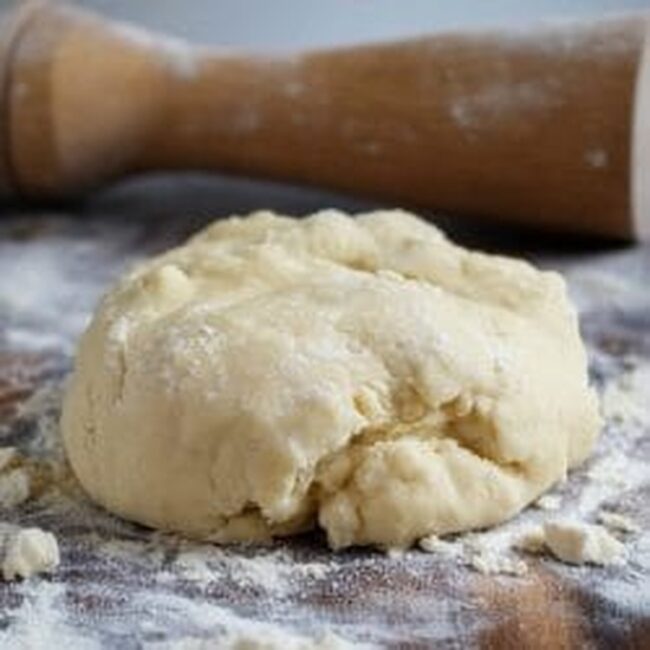
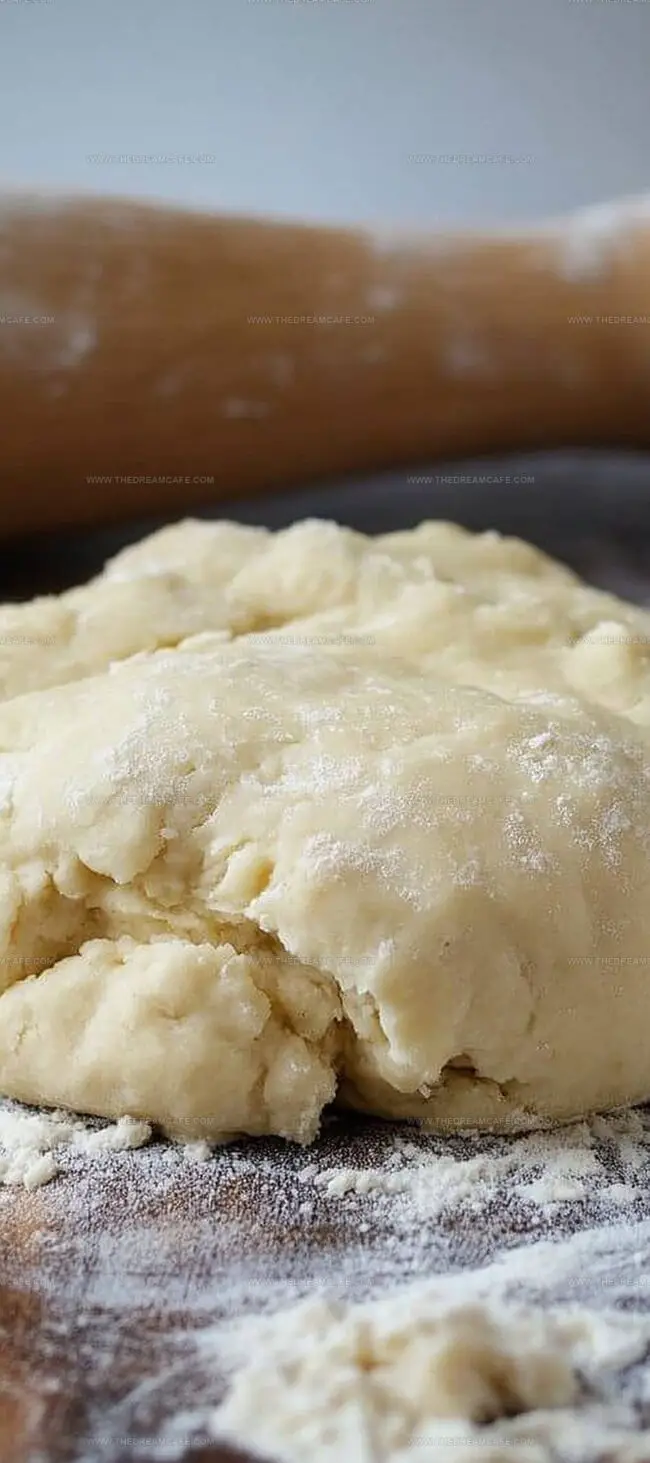
Gently work the dough with your hands, pressing and folding until it becomes smooth and holds its shape when squeezed. The dough should feel consistent and easy to manipulate.
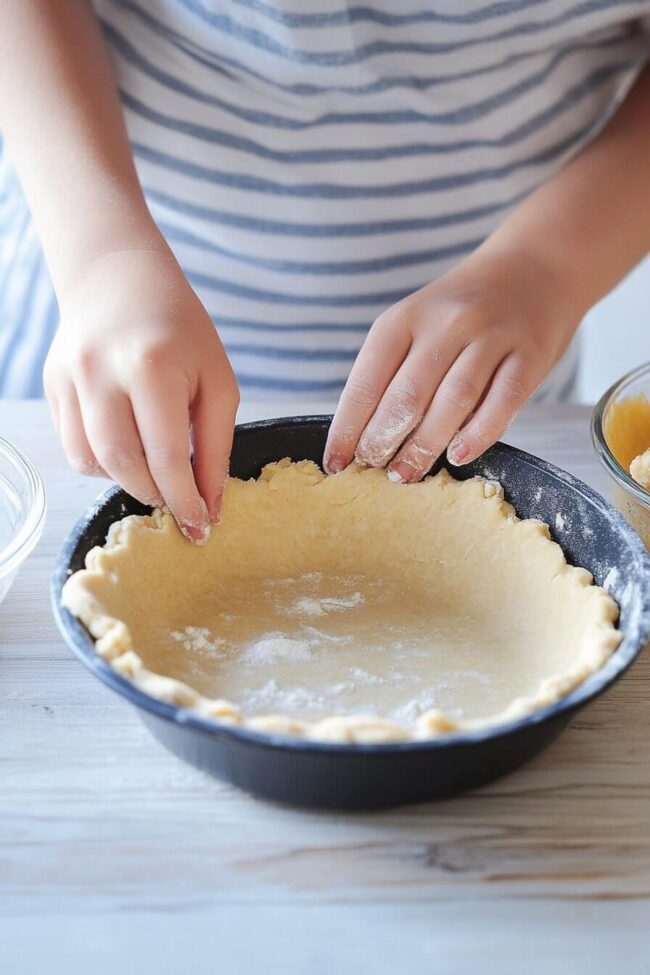
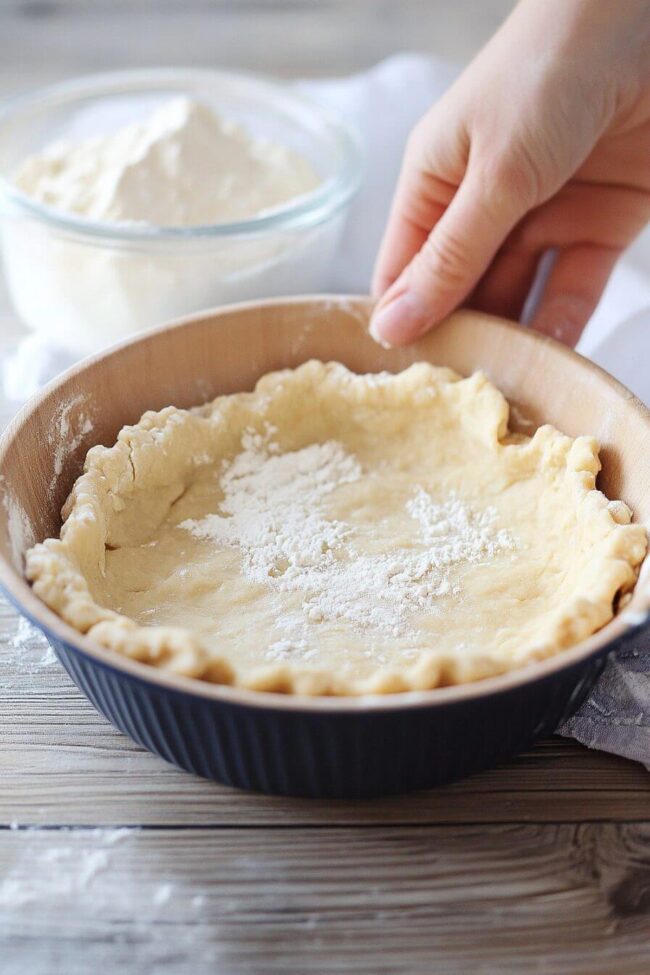
Step 5: Shape Crust

Transfer the dough to the prepared pie dish. Use your fingers to press the dough evenly across the bottom and up the sides of the dish. Create decorative edges by pinching or crimping as desired.

Step 6: Ready for Filling

Your pie crust is now prepared and ready for your favorite filling. Proceed with your specific recipe’s baking instructions, as cooking times will vary depending on the type of filling you choose.

Print
clock clock iconcutlery cutlery iconflag flag iconfolder folder iconinstagram instagram iconpinterest pinterest iconfacebook facebook iconprint print iconsquares squares iconheart heart iconheart solid heart solid icon
No Fuss Pie Crust Recipe

No Fuss Pie Crust Recipe


5 Stars 4 Stars 3 Stars 2 Stars 1 Star

4.8 from 38 reviews

  • Total Time: 10 minutes
  • Yield: 1 1x

Description

Rustic No Fuss Pie Crust delivers flaky, buttery perfection with minimal effort. Bakers can craft this simple dough quickly, ensuring delicious homemade pies without complicated techniques.


Ingredients

Scale

Main Ingredients:

  • 2 cups (480 ml) all-purpose flour
  • ¼ cup (60 ml) vegetable, canola, or olive oil
  • 3 tablespoons (45 ml) cold water

Oil and Seasonings:

  • ¼ teaspoon baking powder
  • ¼ teaspoon salt

Instructions

  1. Lightly coat a 9-inch (23-centimeter) pie dish with nonstick cooking spray to prevent potential sticking during baking.
  2. In a spacious mixing bowl, thoroughly combine all-purpose flour, salt, and baking powder using a whisk to ensure uniform distribution of dry ingredients.
  3. Create a small well in the center of the dry mixture and gradually pour cold water and oil into the flour combination.
  4. Gently fold and mix the ingredients using a fork or spatula until a soft, slightly crumbly dough begins to form.
  5. Use your hands to delicately knead the dough, pressing and compressing until it becomes a cohesive, smooth ball that holds together without crumbling.
  6. Transfer the dough ball into the prepared pie dish, using your fingertips to evenly spread and press the mixture across the bottom and up the sides of the dish.
  7. Carefully shape the edges of the crust, creating a decorative crimped or scalloped pattern using your fingers or a fork to enhance visual appeal.
  8. The pie crust is now ready for your preferred filling, and can be baked according to the specific recipe requirements for your chosen pie.

Notes

  • Customize the crust edges by pinching or using a fork for a decorative touch that adds homemade charm.
  • Work quickly when handling the dough to prevent it from becoming tough or overworked.
  • Cold ingredients help create a flakier texture, so keep water and mixing tools chilled if possible.
  • Check dough consistency by gently squeezing a small amount – it should hold together without crumbling.
  • Leftover dough can be wrapped and refrigerated for up to 3 days or frozen for future pie-making adventures.
  • Prep Time: 10 minutes
  • Category: Desserts
  • Method: Mixing
  • Cuisine: American

Nutrition

  • Serving Size: 1
  • Calories: 970 kcal
  • Sugar: 0 g
  • Sodium: 580 mg
  • Fat: 54 g
  • Saturated Fat: 6 g
  • Unsaturated Fat: 48 g
  • Trans Fat: 0 g
  • Carbohydrates: 98 g
  • Fiber: 4 g
  • Protein: 10 g
  • Cholesterol: 0 mg
Julian Park

Julian Park

Co-Founder, Cuisine Researcher & Food Culture Writer

Expertise

  • Global Food Cultures & Culinary History
  • Regional Flavor Profiles & Cooking Techniques
  • Food Anthropology & Cultural Identity
  • Culinary Research & Narrative Writing
  • Street Food Traditions & Heritage Dishes

Education

The Institute of Culinary Education (ICE), Los Angeles, CA

  • Degree: Certificate in Culinary Arts
  • Focus: Professional culinary techniques, global cuisine fundamentals, and real-world training in restaurant-style cooking and food presentation.

Julian Park is a natural storyteller at The Dream Café who blends hands-on culinary experience with a passion for exploring global food traditions. A graduate of The Institute of Culinary Education in Los Angeles, Julian combines professional technique with a love for cultural discovery, diving into how dishes reflect heritage, migration, and identity. 

His work spans everything from in-depth cuisine guides to reflections on everyday meals around the world. With a curious palate and a journal always close by, Julian helps readers connect with food in a way that feels so insightful and personal.

Leave a Reply

Your email address will not be published. Required fields are marked *

Recipe rating 5 Stars 4 Stars 3 Stars 2 Stars 1 Star