
Homemade Paw Print Peanut Butter Blossom Cookies Recipe
Soft, buttery cookies with a delightful paw print peanut butter blossom twist promise a sweet adventure for cookie lovers everywhere.
These playful treats capture the heart of any dessert enthusiast with their adorable design.
Chocolate kisses nestled perfectly atop a golden, crumbly base create an irresistible combination.
Bakers of all skill levels can easily master this delightful recipe with just a few simple ingredients.
The cookies offer a nostalgic charm that connects generations through shared love of baking.
Rich peanut butter flavor and a chocolate center make these treats impossible to resist.
You’ll fall in love with every delectable, chocolatey bite of these charming cookies.
Quick Recipe Overview
Ingredients for Paw Print Peanut Butter Blossom Cookies
For Base and Flavor:For Binding and Texture:For Decoration and Topping:What You’ll Need to Shape These Paw Print Cookies
How to Bake Peanut Butter Blossom Cookies with Fun Designs
Warm up the kitchen companion to get ready for cookie magic.
Blend creamy butter, nutty spread, and sweet crystals into a smooth dance of flavors.
Introduce eggs and vanilla essence, creating a harmonious mixture.
Gently fold flour, rising agent, and salt into the creamy base, mixing until just united.
Craft small spheres of deliciousness, rolling them in sugar for a sparkling touch.
Slide the cookie troop into the heated space, watching them transform into golden treasures.
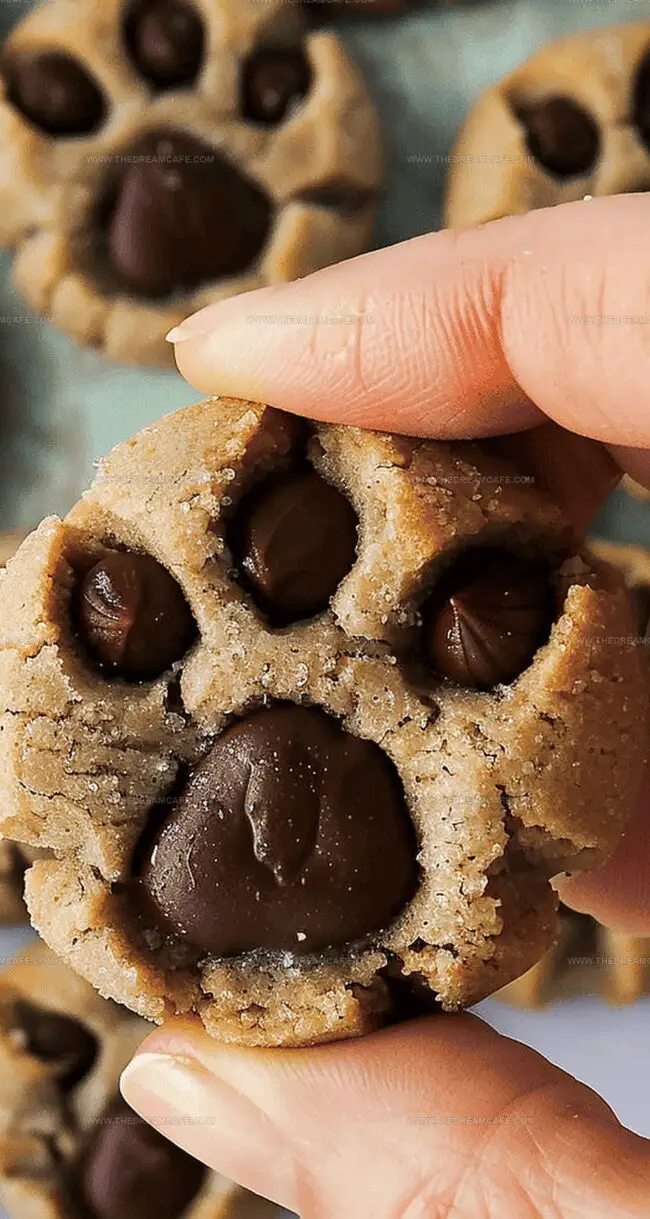
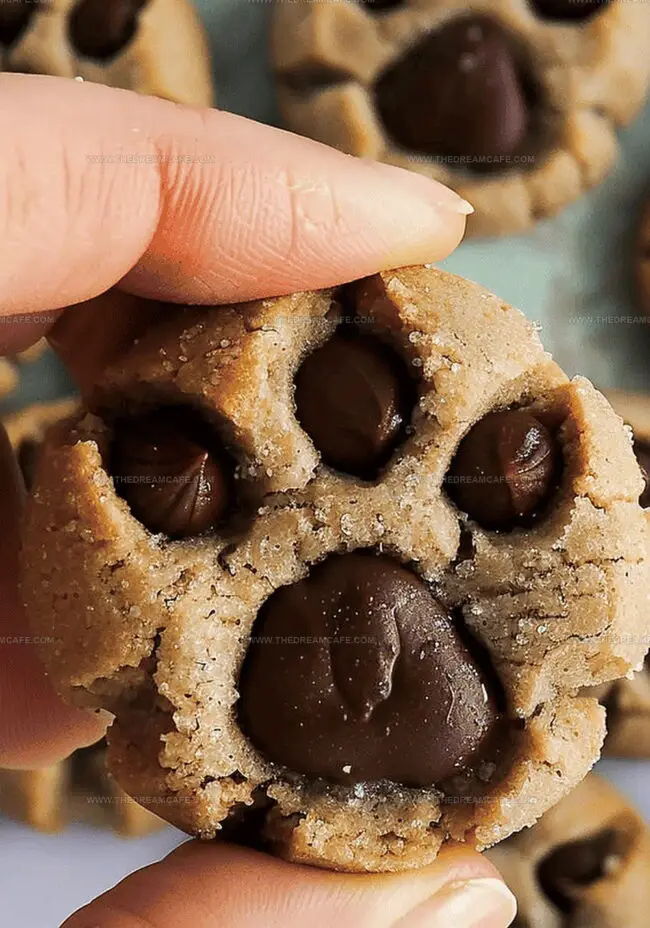
Right after emerging from the oven, crown each cookie with a chocolate disk center and chip companions, creating a playful paw print.
Let the cookies rest and settle, allowing their chocolate decorations to solidify into a delightful treat.
Custom Touches for Blossom Cookies
Serving Paw Print Cookies for Gatherings
Saving Peanut Butter Blossom Cookies
Print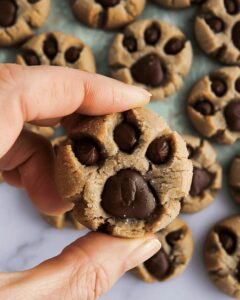
Nostalgic Paw Print Peanut Butter Blossom Cookies Recipe
- Total Time: 24 minutes
- Yield: 22 1x
Description
Paw print peanut butter blossom cookies deliver nostalgic comfort with chocolate-kissed charm. Bakers can easily create these delightful treats that bring smiles and sweet memories to family gatherings.
Ingredients
- 1 cup (240 ml) creamy peanut butter
- ½ cup (115 g) butter, softened
- 2 large eggs
- 1 cup (200 g) granulated sugar
- ½ cup (100 g) light brown sugar, packed
- 2 cups (240 g) all-purpose flour
- 2 teaspoons (10 g) baking soda
- ½ teaspoon salt
- ½ teaspoon (2.5 ml) vanilla extract
- 48 melting chocolate disks
- 144 chocolate chips
Instructions
- Preparation: Preheat oven to 350°F (175°C) with the rack centered, creating an ideal baking environment for golden, tender cookies.
- Creaming: Blend butter, peanut butter, granulated sugar, and brown sugar in a large mixing bowl until achieving a smooth, luxurious texture that forms the foundation of the cookie’s rich flavor profile.
- Binding: Integrate eggs and vanilla extract, whisking until the mixture becomes uniform and glossy, ensuring even distribution of moisture and flavor throughout the dough.
- Dry Ingredients: Combine flour, baking soda, and kosher salt in a separate bowl, creating a light, aerated dry mixture that will provide structure to the cookies.
- Dough Formation: Gently fold dry ingredients into the wet mixture, mixing just until incorporated to maintain a delicate, tender cookie consistency.
- Shaping: Craft uniform dough balls, rolling between palms and optionally coating in granulated sugar for a sparkling, crystalline exterior.
- Baking: Arrange cookies on a parchment-lined baking sheet, spacing them generously to allow for graceful spreading, and bake for 8-10 minutes until edges turn a delicate golden brown and centers appear softly set.
- Decorating: Immediately after removing from the oven, press a chocolate disk into the cookie’s center and strategically place 3-4 chocolate chips around it to create a playful paw print design.
- Cooling: Transfer cookies to a wire rack, allowing them to cool completely and enabling the chocolate to set into a perfectly glossy finish.
Notes
- Butter Temperature Matters: Ensure butter is softened at room temperature for smooth, even mixing and optimal cookie texture.
- Gentle Mixing Technique: Avoid overmixing the dough to prevent tough, dense cookies; stir just until ingredients are combined.
- Sugar Coating Tip: Rolling dough balls in sugar creates a delightful crackly exterior and adds extra sweetness and sparkle.
- Chocolate Placement Precision: Press chocolate immediately after baking while cookies are warm to help chips melt slightly and adhere perfectly to create adorable paw print design.
- Prep Time: 15 minutes
- Cook Time: 9 minutes
- Category: Desserts, Snacks
- Method: Baking
- Cuisine: American
Nutrition
- Serving Size: 22
- Calories: 189
- Sugar: 17 g
- Sodium: 94 mg
- Fat: 9 g
- Saturated Fat: 4 g
- Unsaturated Fat: 4 g
- Trans Fat: 0 g
- Carbohydrates: 25 g
- Fiber: 1 g
- Protein: 4 g
- Cholesterol: 24 mg
Sophie Reynolds
Co-Founder, Recipe Curator & Culinary Educator
Expertise
Education
Auguste Escoffier School of Culinary Arts, Boulder, CO
Oregon State University
Sophie Reynolds is the recipe developer and culinary voice behind many of the approachable, flavor-focused creations at The Dream Café.
Sophie’s style leans into comfort food made simple: wholesome, satisfying meals anyone can make with confidence. Her passion lies in helping home cooks feel at ease in the kitchen while finding joy in the everyday act of cooking.