
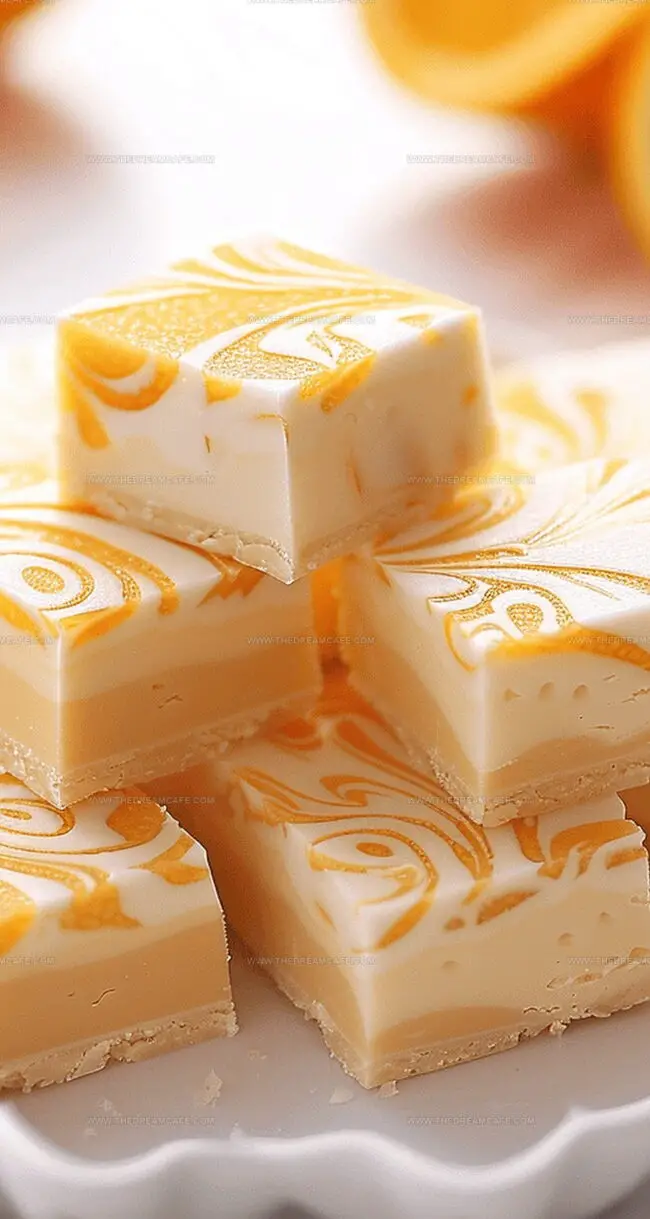
Sweet & Creamy Orange Dreamsicle Fudge Recipe – A Nostalgic Treat
Orange dreamsicle fudge whisks you back to carefree childhood memories with its playful charm.
Sweet memories melt together like creamy confectionery magic in this nostalgic dessert.
Cool citrus notes dance through rich, silky textures that convert ordinary ingredients into an extraordinary treat.
The delicate balance between tangy brightness and smooth creaminess creates an irresistible sensation that dazzles taste buds.
Vibrant colors and luxurious texture make this fudge a stunning centerpiece for any gathering or quiet moment of indulgence.
Minimal effort yields maximum deliciousness, promising a simple yet spectacular culinary adventure that sparks joy and wonder.
Prepare to fall in love with a dessert that celebrates summer’s most cherished flavors.
Why Orange Dreamsicle Fudge Is a Citrus Candy Dream
What Goes Into This Creamy Orange Confection
How to Make Silky, Sweet Dreamsicle Fudge
Step 1: Prepare Baking Pan
Grab a 9×13 inch pan and coat it with cooking spray. Line the pan with parchment paper, allowing some overhang for easy fudge removal.
Step 2: Create Sweet Mixture
In a heavy saucepan, combine:Stir ingredients over medium heat until butter melts completely and mixture becomes smooth.
Step 3: Reach Perfect Temperature
Continue heating the mixture, stirring constantly, until it reaches exactly 235°F. This process takes about 3 minutes and requires careful monitoring.
Step 4: Blend Creamy Ingredients
Remove pan from heat. Quickly mix in:Stir until the mixture becomes completely smooth and glossy.
Step 5: Separate Mixtures
Set aside of the white mixture in a separate bowl for later use.
Step 6: Add Orange Flavor
To the remaining mixture, blend in:Mix thoroughly until you achieve a vibrant orange color.
Step 7: Create Swirled Design
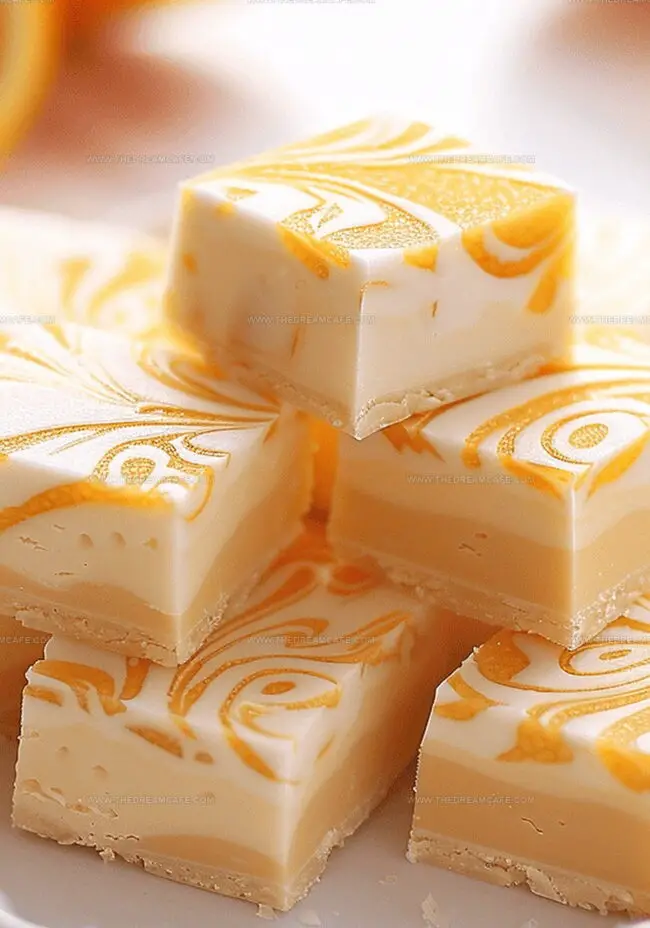
Pour the orange layer into the prepared pan. Add dollops of the reserved white mixture on top. Use a knife to create gentle swirling patterns across the surface.
Step 8: Chill and Set
Refrigerate the fudge for at least 2 hours until it becomes firm. Once set, lift out using parchment paper and cut into delightful squares.
Tips for the Perfect Fudge Texture and Set
How to Store and Slice Orange Dreamsicle Fudge
Pair It with These Treats for Maximum Joy
Dreamy Flavor Twists for Fudge Lovers
Print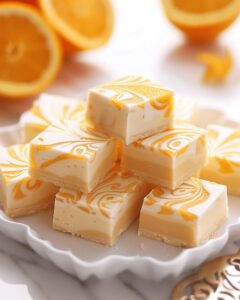
Orange Dreamsicle Fudge Recipe
- Total Time: 25 minutes
- Yield: 24 1x
Description
Creamy Orange Dreamsicle Fudge brings nostalgic summer memories with its tangy citrus swirl and sweet vanilla base. Smooth white chocolate and zesty orange extract create a delightful dessert you won’t be able to resist.
Ingredients
Main Ingredients:
- 3 cups granulated sugar
- 2 cups white chocolate chips
- 7 ounces marshmallow cream
Dairy Components:
- ¾ cup (170 grams) unsalted butter
- ⅔ cup (160 milliliters) heavy cream
Flavor and Color Enhancers:
- 3 teaspoons orange extract
- Orange food coloring (up to 10 drops)
Instructions
- Prepare the baking vessel by coating a 9 x 13 inch (22.86 x 33.02 centimeters) pan with butter and lining it with parchment paper to facilitate effortless removal of the fudge.
- Combine unsalted butter, heavy cream, and granulated sugar in a heavy-bottomed saucepan, heating gently over medium flame while continuously stirring until the butter completely dissolves.
- Continue heating the mixture, monitoring the temperature carefully with a candy thermometer until it reaches precisely 235°F (113°C), which represents the soft ball stage, stirring constantly for approximately 3-4 minutes to prevent scorching.
- Immediately remove the saucepan from the heat source and swiftly incorporate marshmallow cream and white chocolate chips, whisking vigorously until the mixture transforms into a silky, homogeneous consistency.
- Carefully separate and reserve one cup of the white fudge base in a separate mixing bowl for later layering.
- Infuse the remaining fudge mixture with orange extract and vibrant orange food coloring, mixing thoroughly to create a uniform tangerine-hued confection.
- Gently pour the orange-tinted fudge into the prepared pan, creating an even layer, then strategically drop spoonfuls of the reserved white fudge across the surface.
- Using a knife or offset spatula, create delicate swirling patterns by dragging the white and orange layers together, generating an artistic marbled effect.
- Transfer the pan to the refrigerator and allow the fudge to solidify completely for a minimum of 2 hours or until it reaches a firm, slice-able consistency.
- Once set, lift the fudge from the pan using the parchment paper edges, place on a cutting board, and slice into approximately 1-inch (2.54 centimeters) square pieces for serving.
Notes
- Prep like a pro by ensuring all ingredients are measured and ready before starting the fudge-making process.
- Create a non-stick surface using parchment paper, allowing effortless removal and clean cutting of fudge squares.
- Temperature control is crucial when cooking sugar syrup, so invest in a reliable candy thermometer for perfect consistency.
- Marshmallow cream acts as a secret weapon, delivering incredible smoothness and preventing sugar crystallization.
- Work quickly when mixing and swirling colors to maintain the dreamy, marbled orange and white aesthetic.
- Chilling is mandatory for developing rich flavor and achieving that melt-in-your-mouth fudge texture that everyone craves.
- Prep Time: 15 minutes
- Cook Time: 10 minutes
- Category: Desserts, Snacks
- Method: Simmering
- Cuisine: American
Nutrition
- Serving Size: 24
- Calories: 198
- Sugar: 17 g
- Sodium: 3 mg
- Fat: 9 g
- Saturated Fat: 5 g
- Unsaturated Fat: 4 g
- Trans Fat: 0 g
- Carbohydrates: 30 g
- Fiber: 0 g
- Protein: <1 g
- Cholesterol: 31 mg
Julian Park
Co-Founder, Cuisine Researcher & Food Culture Writer
Expertise
Education
The Institute of Culinary Education (ICE), Los Angeles, CA
Julian Park is a natural storyteller at The Dream Café who blends hands-on culinary experience with a passion for exploring global food traditions. A graduate of The Institute of Culinary Education in Los Angeles, Julian combines professional technique with a love for cultural discovery, diving into how dishes reflect heritage, migration, and identity.
His work spans everything from in-depth cuisine guides to reflections on everyday meals around the world. With a curious palate and a journal always close by, Julian helps readers connect with food in a way that feels so insightful and personal.