
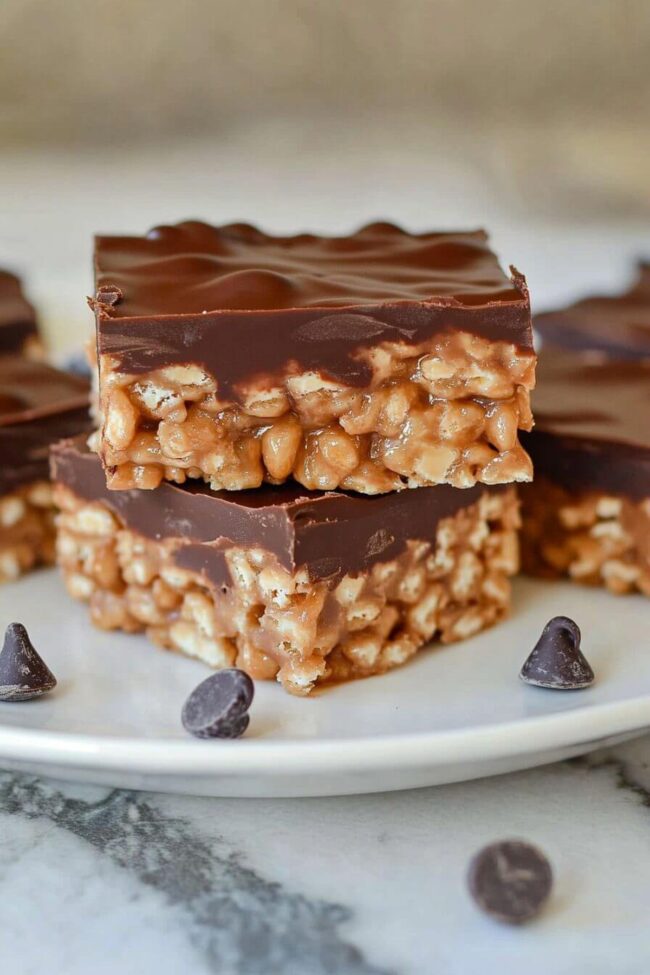
Irresistible Peanut Butter and Chocolate Rice Krispie Treats Recipe
Peanut butter and chocolate rice krispie treats spark nostalgia with their decadent blend of sweet and salty flavors.
Sweet marshmallow goodness melts perfectly into crispy cereal, elevateing an ordinary snack into a remarkable indulgence.
Smooth peanut butter weaves magical texture through each delightful bite, creating complex layers of comfort and excitement.
Childhood memories dance across your palate with every rich, gooey morsel.
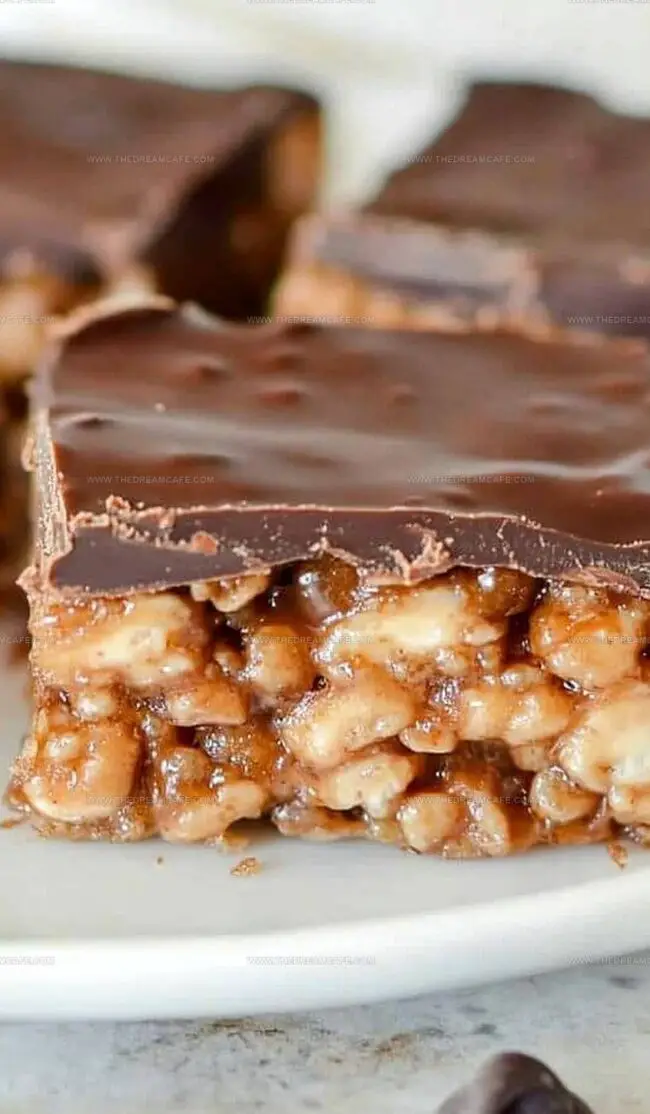
chocolate drizzles add sophisticated depth to this beloved classic treat.
Playful yet elegant, these morsels promise pure sensory delight.
Grab a batch and prepare for irresistible temptation.
Reasons People Can’t Stop Making These Krispie Treats
Everything You’ll Need for These Chocolatey Treats
Base Ingredients:Flavor Enhancers:Chocolate Topping:Quick Guide to Making These Peanut Butter Krispies
Step 1: Prepare the Baking Pan
Line a 9×9-inch or 9×13-inch pan with foil, letting edges hang over for easy removal. Grease the foil with of butter using a pastry brush or paper towel.
Step 2: Create Marshmallow Base
Melt of butter in a large pot over medium-low heat. Stir in marshmallows continuously until they’re almost completely melted. Remove from heat.
Step 3: Mix Flavor Enhancers
Stir in the following ingredients until smooth:Step 4: Combine Cereal and Mix-Ins
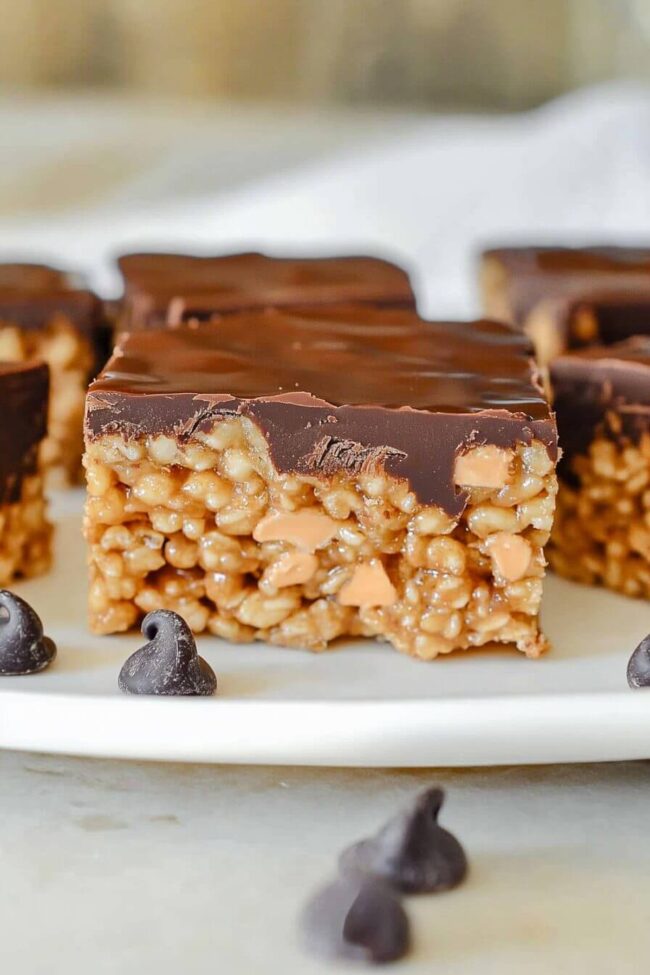
Gently fold Rice Krispies cereal into the marshmallow mixture, ensuring complete coating. Carefully mix in mini peanut butter cups.
Step 5: Press Into Pan
Transfer the mixture to the prepared pan. Use a spatula or slightly buttered hands to spread evenly, avoiding pressing too firmly.
Step 6: Prepare Chocolate Topping
In a microwave-safe bowl, combine:Microwave in 20-30 second intervals, stirring between each session until mixture becomes completely smooth.
Step 7: Add Chocolate Layer
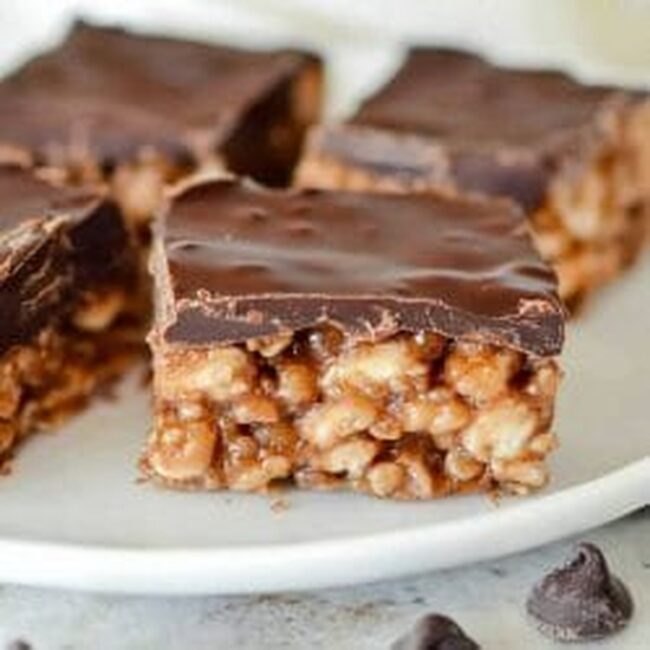
Pour the chocolate-peanut butter mixture over the Rice Krispie base. Use a spatula to spread evenly across the entire surface.
Step 8: Cool and Serve
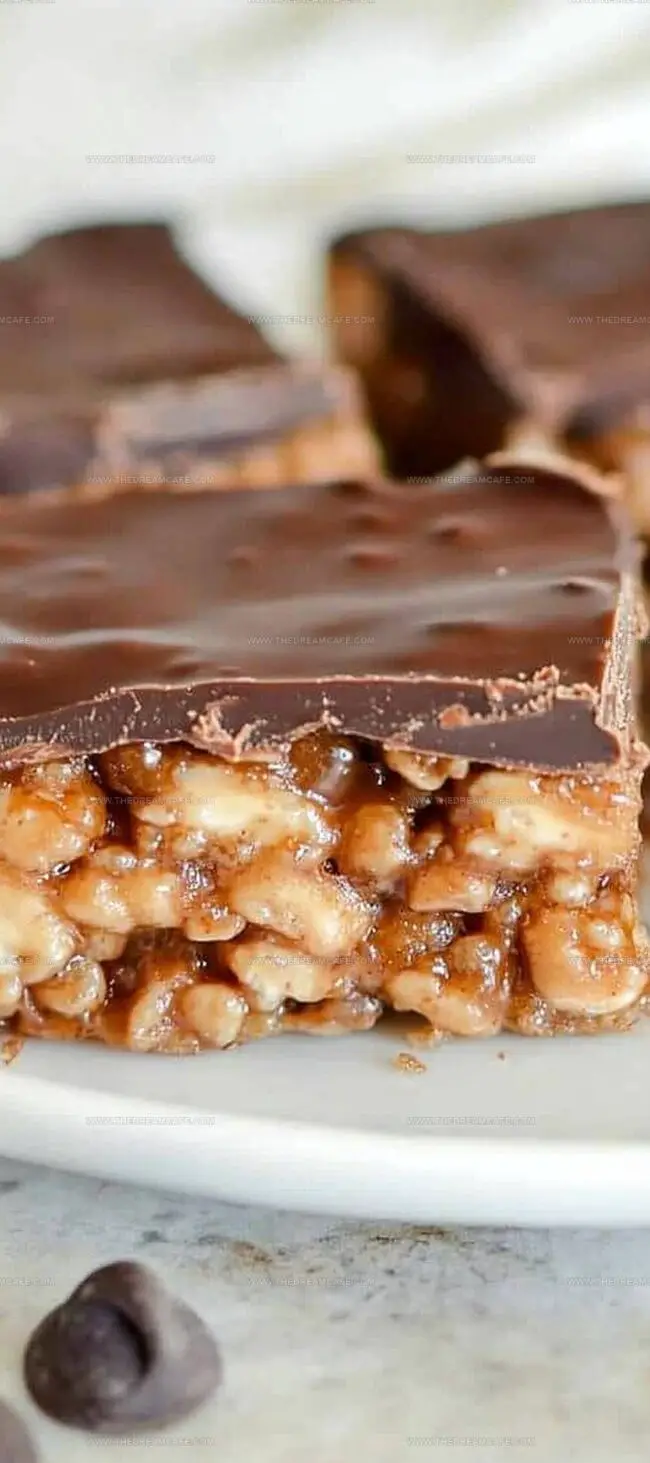
Allow treats to set at room temperature or speed up the process by chilling in the refrigerator. Once firm, lift out using foil handles and slice into squares.
Clever Tips for Peanut Butter Chocolate Perfection
Best Ways to Save and Warm Up Your Krispie Squares
What to Serve with These Sweet Crunchy Bars
Exciting Ways to Remix These Classic Krispie Treats
Print
Peanut Butter And Chocolate Rice Krispie Treats Recipe
- Total Time: 25 minutes
- Yield: 24 1x
Description
Peanut butter and chocolate Rice Krispie treats deliver a nostalgic dessert with a gourmet twist. Crispy rice, melted marshmallows, and rich chocolate create an irresistible snack you’ll crave again and again.
Ingredients
Main Ingredients:
- 10 cups miniature marshmallows
- 6 cups Rice Krispies cereal
- 1 and ½ cups (255 grams) semi-sweet chocolate chips
- 8 ounces (226 grams) mini peanut butter cups
Peanut Butter Ingredients:
- ½ cup (128 grams) creamy peanut butter
- ½ cup (128 grams) creamy peanut butter (for topping)
Finishing Ingredients:
- 6 tablespoons (85 grams) butter
- 1 teaspoon (5 milliliters) vanilla extract
Instructions
- Prepare a 9×9-inch (23×23 centimeters) or 9×13-inch (23×33 centimeters) baking pan by completely lining it with aluminum foil, allowing extra overhang for effortless removal. Generously coat the foil with of unsalted butter.
- In a large heavy-bottomed pot, melt the remaining of butter over medium-low heat. Add marshmallows and continuously stir until they are almost completely dissolved, creating a smooth, glossy mixture.
- Remove the pot from heat and incorporate of creamy peanut butter and of pure vanilla extract, whisking until the ingredients form a homogeneous blend.
- Gently fold the Rice Krispies cereal into the marshmallow mixture, ensuring each crisp is thoroughly coated. Delicately fold in the mini peanut butter cups to distribute them evenly throughout the mixture.
- Transfer the mixture to the prepared pan, using a spatula or lightly buttered hands to spread it into an even layer. Press gently to create a uniform surface without compacting the treats too densely.
- For the chocolate topping, combine chocolate chips and an additional of peanut butter in a microwave-safe bowl. Heat in 20-30 second intervals, stirring between each session, until the mixture becomes completely smooth and glossy.
- Carefully pour the chocolate-peanut butter mixture over the Rice Krispie base, using an offset spatula to ensure complete and even coverage from edge to edge.
- Allow the treats to set at room temperature for approximately 1 hour, or expedite the process by chilling in the refrigerator for 30 minutes. Once set, lift the treats out using the foil handles and slice into square portions using a sharp knife.
Notes
- Customize your pan size based on desired thickness, knowing a 9×13-inch pan creates thinner treats while a 9×9-inch produces more substantial squares.
- Gentle stirring prevents marshmallows from burning and ensures a smooth, creamy base for your delightful treats.
- Microwaving chocolate and peanut butter requires patience, with short intervals preventing potential scorching and maintaining a silky texture.
- Mini peanut butter cups add delightful bursts of flavor and unexpected texture throughout each bite-sized treat.
- Chilling helps set the chocolate topping quickly and creates cleaner cut lines when slicing into squares.
- Prep Time: 15 minutes
- Cook Time: 10 minutes
- Category: Desserts, Snacks
- Method: Blending
- Cuisine: American
Nutrition
- Serving Size: 24
- Calories: 245 kcal
- Sugar: 15g
- Sodium: 165mg
- Fat: 12g
- Saturated Fat: 5g
- Unsaturated Fat: 6g
- Trans Fat: 0g
- Carbohydrates: 31g
- Fiber: 1g
- Protein: 4g
- Cholesterol: 10mg
Julian Park
Co-Founder, Cuisine Researcher & Food Culture Writer
Expertise
Education
The Institute of Culinary Education (ICE), Los Angeles, CA
Julian Park is a natural storyteller at The Dream Café who blends hands-on culinary experience with a passion for exploring global food traditions. A graduate of The Institute of Culinary Education in Los Angeles, Julian combines professional technique with a love for cultural discovery, diving into how dishes reflect heritage, migration, and identity.
His work spans everything from in-depth cuisine guides to reflections on everyday meals around the world. With a curious palate and a journal always close by, Julian helps readers connect with food in a way that feels so insightful and personal.