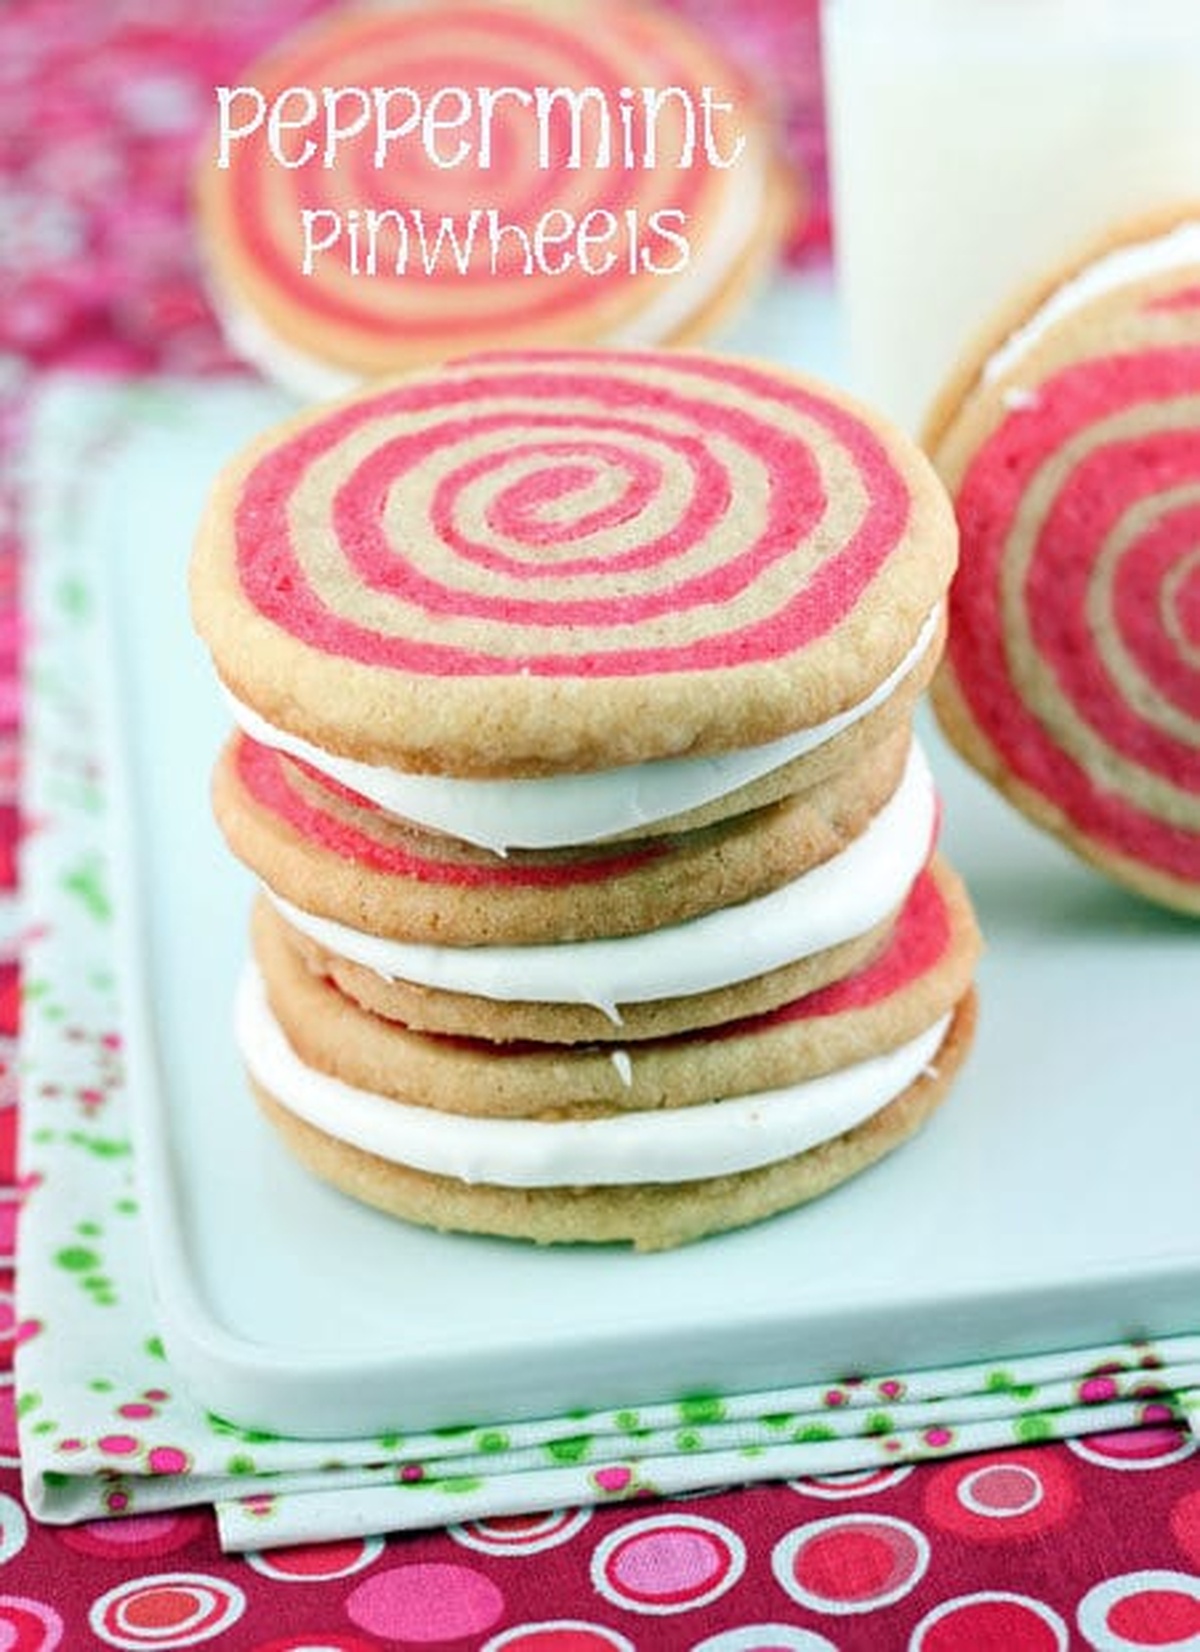
Magical Peppermint Pinwheel Cookie Pies Recipe for Sweet Smiles
Peppermint pinwheel cookie pies dance with whimsical charm across festive dessert plates.
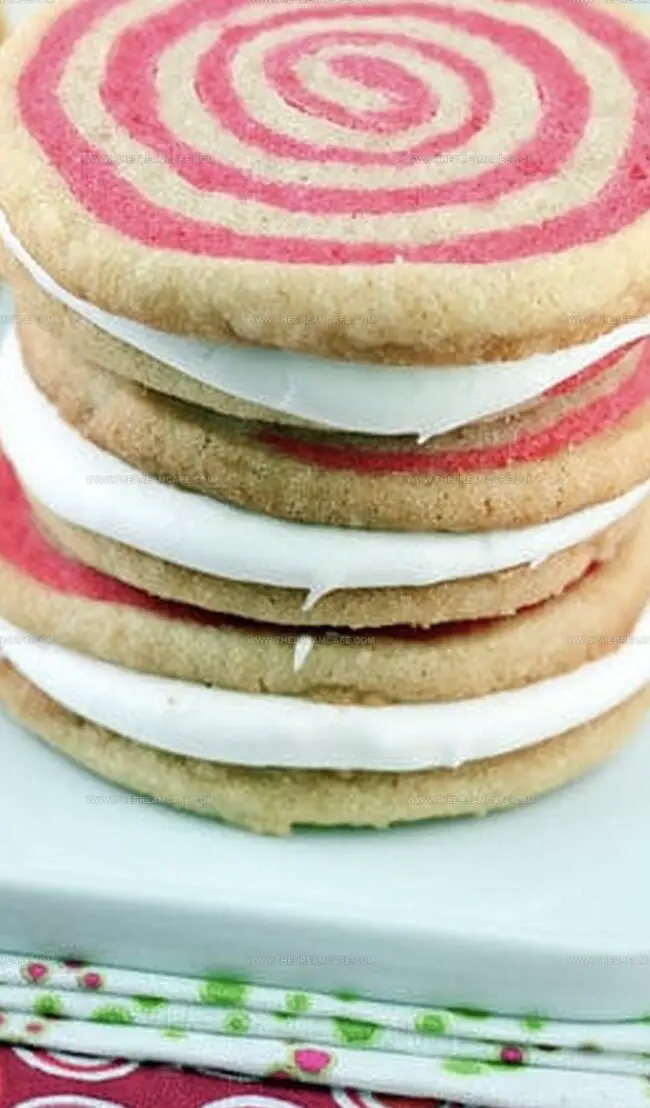
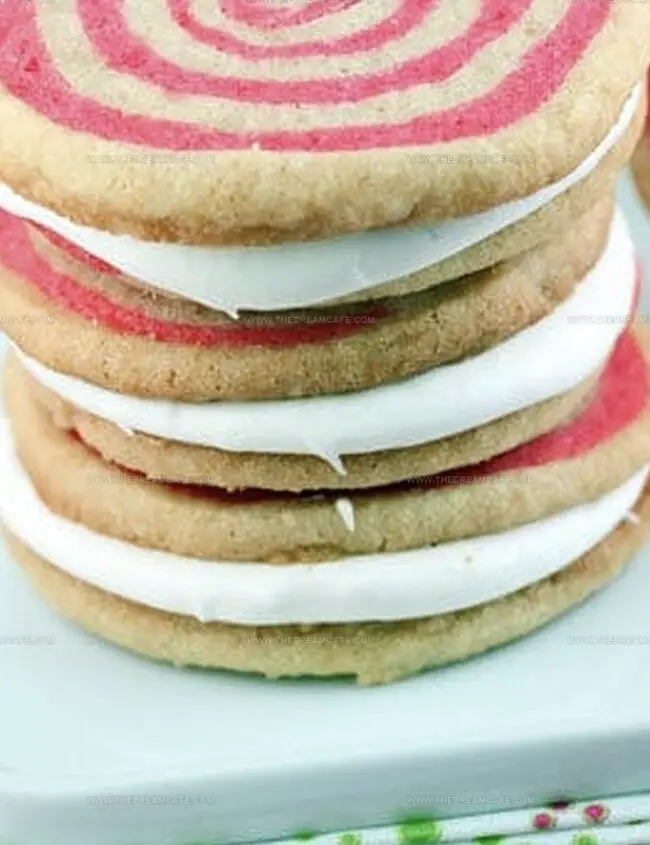
Spiraling red and white dough creates mesmerizing visual patterns that capture winter’s playful essence.
Sweet cream cheese mingles with delicate mint undertones, converting ordinary cookies into magical treats.
Soft textures and delicate swirls require gentle handling and a light touch during preparation.
Skilled bakers understand that slight imperfections only enhance the rustic appeal of these delightful confections.
Intricate swirling techniques might challenge novice pastry enthusiasts, but practice builds confident technique.
Delectable results reward careful craftsmanship with a treat that sparkles with seasonal magic.
Why Peppermint Pinwheel Cookie Pies Are a Festive Favorite
Ingredients That Bring Peppermint Pinwheel Cookie Pies to Life
Main Ingredients:
Butter, Flour, Sugar: Primary structure and sweetness of the cookie with rich, smooth texture and essential baking foundation.
Egg: Provides binding and moisture to help hold the cookie dough together.
Vanilla Extract: Adds warm, sweet background flavor to enhance overall taste.
Color and Flavor Ingredients:
Food Coloring: Creates distinctive reddish-pink color for visual appeal.
Peppermint Extract: Delivers classic cool, refreshing mint flavor to the cookie.
Frosting and Finishing Ingredients:
Cream Cheese, Powdered Sugar: Creates smooth, creamy, sweet filling for sandwich cookies.
Butter: Adds richness and helps create creamy frosting texture.
Milk: Adjusts frosting consistency and helps blend ingredients.
Salt: Balances sweetness and enhances overall flavor profile.
How to Roll and Bake Peppermint Pinwheel Cookie Pies Like a Pro
Step 1: Prepare Butter Base
Cream butter in a large bowl using medium speed until smooth. Gradually add sugar, beating until light and fluffy. Mix in egg and vanilla, scraping bowl sides as needed.
Step 2: Create Dry Mixture
In a separate bowl, whisk together:Slowly add dry ingredients to butter mixture, beating at low speed until blended smoothly.
Step 3: Divide Cookie Dough
Split dough into 2 equal portions on separate surfaces.
Step 4: Color One Dough Portion
Put on food-safe gloves. Add food coloring to one dough portion. Knead until reddish-pink color develops evenly.
Step 5: Roll Out Dough Layers
Roll uncolored dough into 12×8-inch rectangle on floured parchment paper. Roll colored dough into matching 12×8-inch rectangle on separate parchment paper.
Step 6: Layer and Roll Dough
Place uncolored dough directly on top of colored dough. Carefully peel off top parchment paper.
Step 7: Create Pinwheel Rolls
Slice layered dough lengthwise into 2 rectangles (12×4 inches). Tightly roll each rectangle from long side, using parchment as rolling guide.
Step 8: Chill Dough Rolls
Wrap each roll in plastic wrap. Freeze for 4 hours or up to 1 month.
Step 9: Prepare for Baking
Preheat oven to 350°F. Line baking sheets with parchment paper.
Step 10: Slice and Arrange Cookies
Remove frozen dough. Slice into 1/4-inch thick rounds. Place cookies 2 inches apart on prepared baking sheets.
Step 11: Bake Pinwheel Cookies
Bake 6-7 minutes until cookies are puffed and center is set. Cool on baking sheets for 5 minutes, then transfer to wire racks.
Step 12: Create Peppermint Frosting
Beat butter and cream cheese until creamy. Gradually mix in:Beat until smooth and fluffy.
Step 13: Assemble Cookie Sandwiches
Transfer frosting to piping bag. Pipe frosting onto half the cookies. Top with remaining cookies to create sandwiches.
Step 14: Serve and Store
Serve at room temperature or chill for 30 minutes. Store in cool, dry place.
Tips to Nail the Swirl in Peppermint Pinwheel Cookie Pies
How to Store Peppermint Pinwheel Cookie Pies Without Losing the Crunch
Perfect Pairings for Peppermint Pinwheel Cookie Pies
Fun Flavor Ideas for Peppermint Pinwheel Cookie Pies
Print
Peppermint Pinwheel Cookie Pies Recipe
- Total Time: 41 minutes
- Yield: 24 1x
Description
Peppermint pinwheel cookie pies blend festive swirls of red and white with delightful minty charm. Candy cane-inspired spirals create sweet holiday magic that will charm guests and bring cheer to winter celebrations.
Ingredients
Main Ingredients:
- 1 ¼ cups (157 grams) all-purpose flour
- 1 large egg
- ¼ cup (57 grams) softened butter
- 1 cup (200 grams) granulated sugar
Flavoring and Coloring Ingredients:
- ¼ teaspoon vanilla extract
- 1 dash (or about 1/8 teaspoon) peppermint extract
- Red food coloring
Supplementary Ingredients:
- ¼ teaspoon baking soda
- ¼ teaspoon salt
- 3 ounces (85 grams) softened cream cheese
- ¼ cup (57 grams) softened butter
- 2 cups (226 grams) powdered sugar (confectioners’ sugar)
- 1 tablespoon (15 milliliters) milk
- Parchment paper
Instructions
- Use an electric mixer to thoroughly cream butter in a large mixing bowl until smooth and silky. Gradually incorporate sugar, continuing to beat until the mixture becomes light and voluminous. Introduce egg and vanilla extract, meticulously scraping down the bowl’s interior to ensure complete integration.
- In a separate vessel, thoroughly combine flour, baking soda, and salt using a whisk. Gradually incorporate this dry mixture into the butter blend, mixing at low speed until a uniform dough forms.
- Divide the dough precisely into two equal portions. Using a rolling pin, carefully stretch one portion into a 12 x 8-inch (30.5 x 20.3 centimeters) rectangle on a lightly floured parchment paper surface.
- While wearing protective gloves, work red food coloring into the second dough portion. Knead thoroughly until a vibrant reddish-pink hue emerges uniformly throughout the dough. Roll this colored section into an identical 12 x 8-inch rectangle on separate parchment paper.
- Carefully invert the uncolored dough onto the colored layer, gently removing the top parchment paper to create a two-toned sheet.
- Slice the layered dough lengthwise, creating two 12 x 4-inch (30.5 x 10.2 centimeters) rectangles. Tightly roll each rectangle from the long side, utilizing the parchment paper as a precise rolling guide.
- Encase each dough roll completely in plastic wrap. Freeze for a minimum of 4 hours or up to one month for optimal texture and slicing.
- Heat the oven to 350°F (175°C). Line baking sheets with fresh parchment paper. Extract frozen dough and slice into ¼-inch (0.6 centimeters) thick rounds. Position cookies 2 inches (5.1 centimeters) apart on prepared sheets.
- Bake for 6-7 minutes until cookies appear slightly puffed and centers seem just set. Allow cookies to rest on baking sheets for 5 minutes before transferring to wire cooling racks.
- Prepare the frosting by beating butter and cream cheese until achieving a smooth, creamy consistency. Incrementally blend powdered sugar at low speed. Introduce milk and peppermint extract, mixing at medium speed until the frosting becomes light and fluffy.
- Transfer frosting to a piping bag or zip-top bag with a small corner snipped. Pipe approximately of frosting onto half the cookies, then delicately sandwich with remaining cookies.
- Serve cookies at ambient room temperature or chill for 30 minutes to enhance flavor. Store in a cool, dry environment to maintain optimal texture and freshness.
Notes
- Experiment with holiday-inspired colors by adjusting food coloring to match seasonal themes like Christmas red and white or pastel spring tones.
- Freezing the dough logs allows for precise, uniform slicing and helps maintain the intricate pinwheel design during baking.
- Creating these cookies requires patience and a gentle touch, especially when rolling and transferring delicate dough layers.
- Peppermint extract delivers a cool, refreshing burst that transforms ordinary sandwich cookies into a festive treat.
- Proper chilling and wrapping of dough logs prevents cracking and ensures smooth, clean pinwheel patterns when sliced.
- Prep Time: 35 minutes
- Cook Time: 6 minutes
- Category: Desserts, Snacks
- Method: Baking
- Cuisine: American
Nutrition
- Serving Size: 24
- Calories: 194 kcal
- Sugar: 16g
- Sodium: 95mg
- Fat: 7g
- Saturated Fat: 4g
- Unsaturated Fat: 2.5g
- Trans Fat: 0g
- Carbohydrates: 28g
- Fiber: <1g
- Protein: <1g
- Cholesterol: 20mg
Julian Park
Co-Founder, Cuisine Researcher & Food Culture Writer
Expertise
Education
The Institute of Culinary Education (ICE), Los Angeles, CA
Julian Park is a natural storyteller at The Dream Café who blends hands-on culinary experience with a passion for exploring global food traditions. A graduate of The Institute of Culinary Education in Los Angeles, Julian combines professional technique with a love for cultural discovery, diving into how dishes reflect heritage, migration, and identity.
His work spans everything from in-depth cuisine guides to reflections on everyday meals around the world. With a curious palate and a journal always close by, Julian helps readers connect with food in a way that feels so insightful and personal.