Rustic Bread Recipe

Crafted with Love: Rustic Artisan Bread Recipe for Beginners

Warm, crusty artisan bread recipe wafts through kitchens like a comforting embrace from an Italian grandmother.

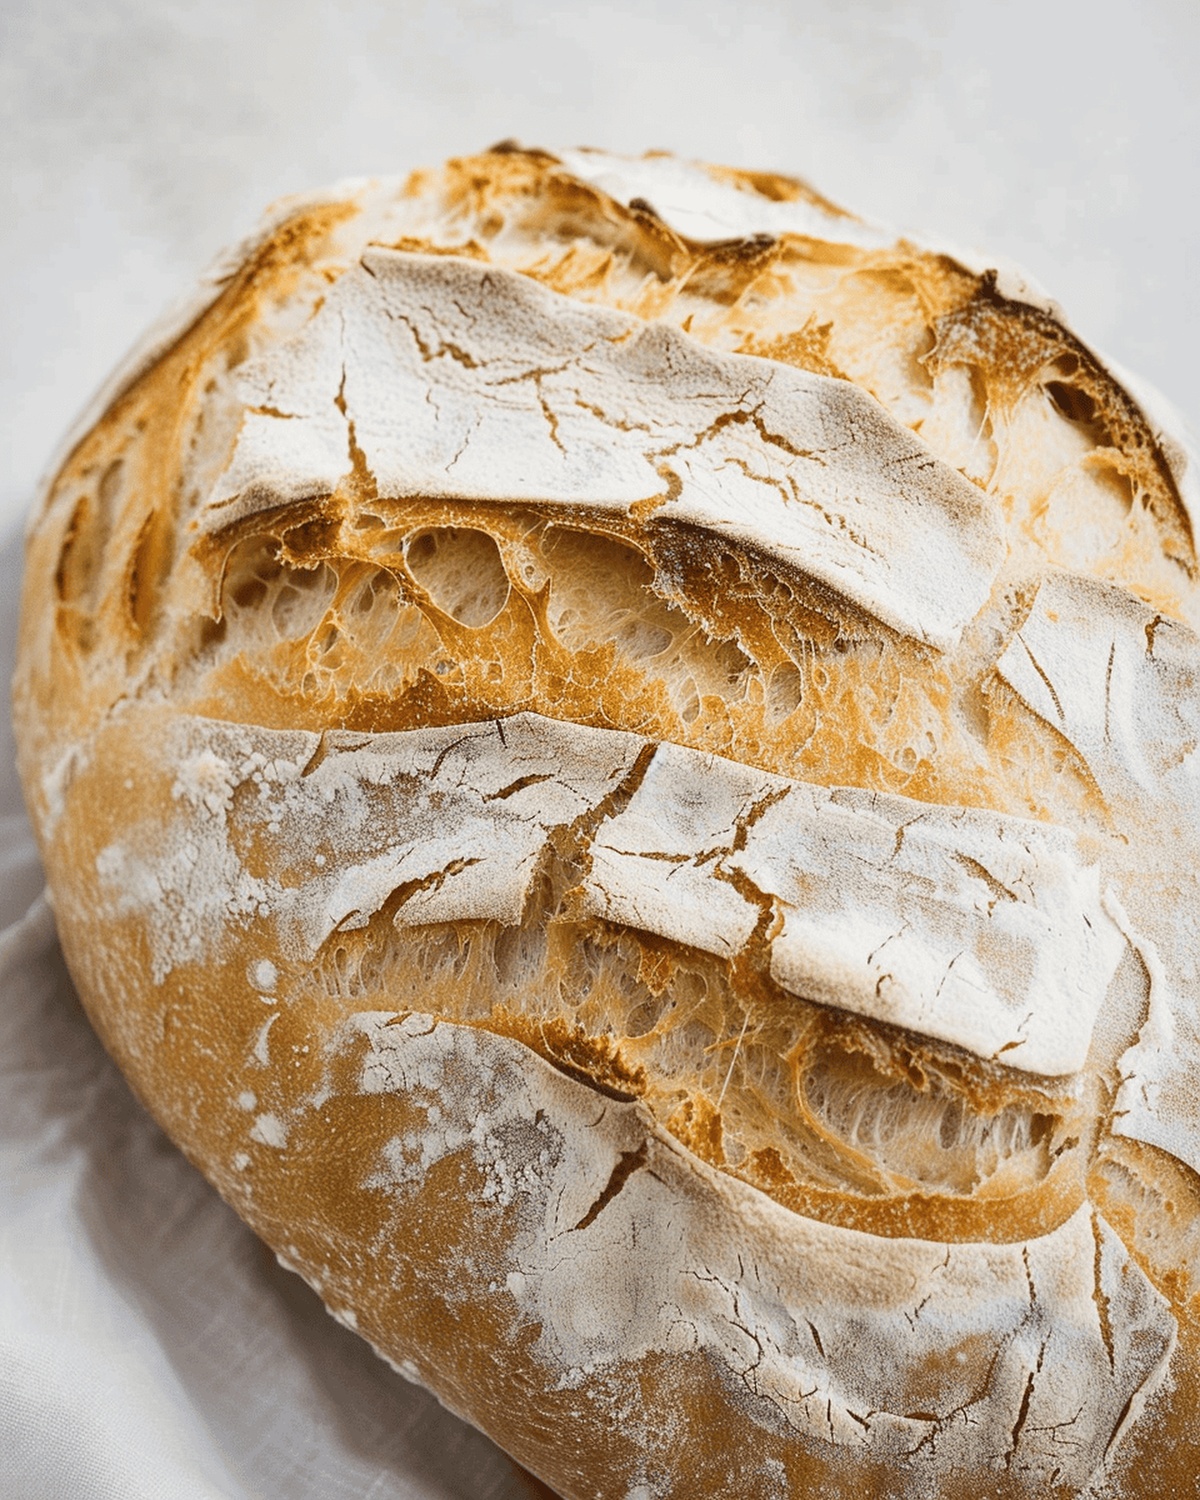
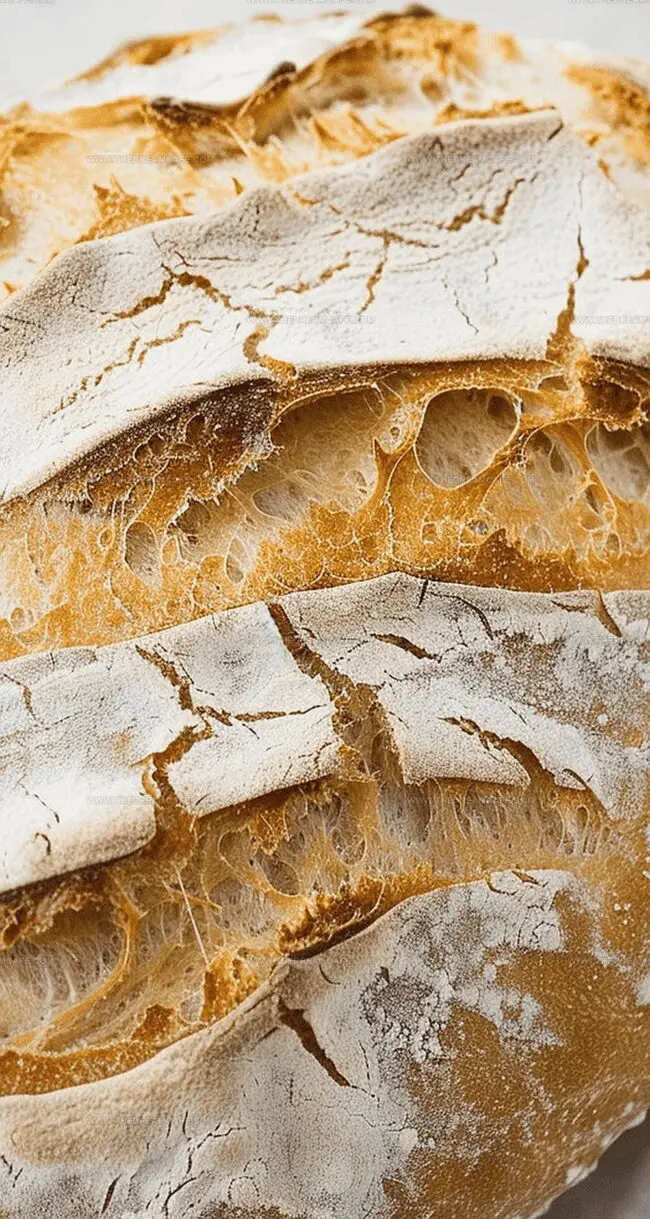
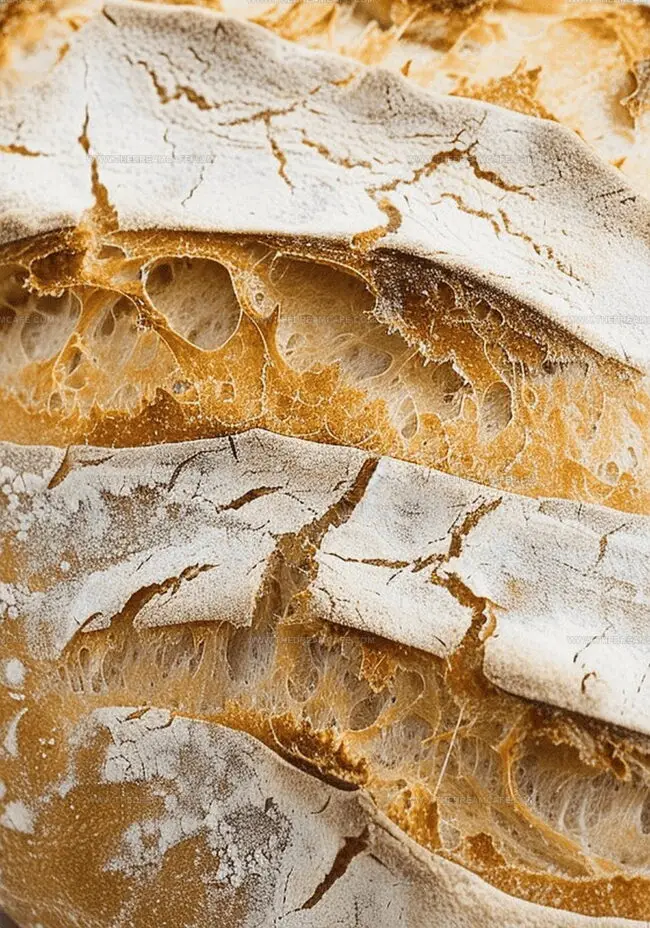
Golden loaves with perfectly crackling crusts emerge from home ovens, challenging bakery-made versions.

Rustic and simple, this bread speaks to centuries of traditional baking techniques.

Each slice promises a delectable journey of texture and flavor, inviting you to savor every morsel.

Professional bakers have long guarded these secrets, but now home cooks can recreate bakery-quality bread with minimal ingredients.

The magic lies in understanding basic techniques and allowing natural fermentation to work its charm.

Bake this bread and transform an ordinary meal into an extraordinary culinary experience.

Quick Recipe Overview

Prep Time: 10 minutes

Cook Time: 10 minutes

Total Time: 20 minutes

Calories: 97 kcal

Servings: 13

What’s Inside Artisan Bread Dough

For Dry Base:
  • All-Purpose Flour or Bread Flour: Provides the sturdy foundation for your bread, creating a classic texture and structure with its protein-rich composition; choose unbleached flour for deeper flavor.
  • Kosher Salt: Enhances flavor and controls yeast growth, adding essential taste balance to the bread; look for coarse, clean-tasting salt without additives.
For Fermentation Activation:
  • Instant Yeast or Active Dry Yeast: Magical microorganism that makes bread rise and develop complex flavors; fresh yeast ensures reliable fermentation and soft, airy texture.
For Liquid Binding:
  • Warm Water: Awakens yeast and hydrates flour, creating the perfect environment for dough development; water temperature around 105°F activates yeast without killing it.

Tools for Baking Artisan Bread at Home

  • Large mixing bowl: Essential for combining ingredients and allowing dough to rise.
  • Dough whisk or wooden spoon: Perfect for mixing ingredients without overworking the dough.
  • Measuring cups and spoons: Crucial for accurate ingredient proportions.
  • Parchment paper: Helps transfer dough and prevents sticking during baking.
  • Bread knife: Ideal for scoring beautiful patterns on bread surface.
  • Baking stone or Dutch oven: Creates crispy crust and even heat distribution.
  • Kitchen towel or plastic wrap: Covers dough during rising process.
  • Cooling rack: Allows bread to cool evenly and maintain crisp texture.

Directions for Artisan Bread Success

  • Flour Mixture

Combine dry ingredients in a spacious mixing vessel, creating a foundation for your artisan bread adventure.

  • Water Integration

Gently introduce warm liquid to the flour blend, stirring until a soft, slightly messy dough emerges.

  • Fermentation Magic

Let the dough rest and transform, allowing natural processes to develop rich flavors and texture. Cover loosely and wait patiently.

  • Shaping Ritual

Transfer the puffy mixture onto a lightly dusted surface, carefully pulling edges toward the center to create a beautiful rounded form.

  • Resting Period

Allow the shaped loaf to relax and rise again, preparing for its journey into the oven.

  • Oven Preparation

Heat your cooking chamber to intense temperatures, placing a sturdy baking surface inside to create the perfect environment.

  • Steam and Bake

Slide the bread carefully into the hot oven, creating a steamy atmosphere to develop a crisp, golden crust.

  • Cooling Transformation

Once golden and aromatic, remove the bread and let it cool completely, allowing flavors to settle and texture to perfect.

How to Add Flavor to Artisan Bread

  • Pro Tips & Twists
  • Warm water between 100-110°F activates yeast perfectly without killing its rising potential. Cold water slows fermentation while hot water destroys delicate yeast cultures.
  • Experiment with whole wheat, rye, or bread flour to create unique flavor profiles. Each grain type introduces distinctive textures and nutritional variations that transform basic bread into artisan masterpieces.
  • Adding moisture during baking creates professional bakery-style crusts. Professional bakers use spray bottles, ice cubes, or small water pans to generate beautiful golden-brown exteriors with crispy, crackling surfaces.
  • Longer rising times develop deeper, more complex flavor profiles. Letting dough rest 8-12 hours develops rich sourdough-like characteristics without requiring starter cultures.
  • Store freshly baked bread in paper bags at room temperature for maximum crispness. Avoid plastic which traps moisture and makes crusts soggy, reducing that delightful artisan texture you've worked hard to achieve.

Ways to Serve Artisan Bread with Flair

  • Rustic Breakfast Companion: Slice this artisan bread and pair with creamy butter, homemade jam, or soft scrambled eggs for a delightful morning meal that feels like a cozy countryside experience.
  • Gourmet Sandwich Canvas: Transform your bread into incredible sandwiches by layering fresh roasted vegetables, premium deli meats, or creamy spreads that highlight its beautiful texture and hearty flavor profile.
  • Wine and Cheese Evening Delight: Create an elegant appetizer platter by cutting thin slices and serving alongside aged cheeses, olives, cured meats, and a glass of robust red wine for a sophisticated gathering that celebrates simple, delicious ingredients.
  • Soup's Perfect Partner: Tear chunks of this crusty bread to dunk into rich tomato bisque, hearty vegetable stew, or creamy potato soup, allowing its rustic texture to soak up every delicious drop of warming comfort.

Storing Artisan Bread the Right Way

  • Fresh Bread Storage Sanctuary: Keep your artisan bread in a brown paper bag at room temperature, allowing air circulation that maintains its crispy crust and soft interior for 2-3 days.
  • Freezer Bread Rescue: Wrap individual slices or whole loaves in plastic wrap, then aluminum foil, storing in freezer for up to 3 months without losing flavor or texture.
  • Revive Stale Slices: Sprinkle water lightly on older bread, then warm in oven at 300°F for 5-7 minutes to restore initial softness and recreate that fresh-baked feeling.
  • Counter vs. Refrigerator Strategy: Never refrigerate homemade bread as cold temperatures accelerate staleness; instead, store at room temperature away from direct sunlight and heat sources for optimal freshness.
Print
clock clock iconcutlery cutlery iconflag flag iconfolder folder iconinstagram instagram iconpinterest pinterest iconfacebook facebook iconprint print iconsquares squares iconheart heart iconheart solid heart solid icon
Rustic Bread Recipe

Rustic Bread Recipe


5 Stars 4 Stars 3 Stars 2 Stars 1 Star

4.7 from 34 reviews

  • Total Time: 20 minutes
  • Yield: 13 1x

Description

Mastering this artisan bread recipe brings rustic charm from European bakeries to home kitchens. Crusty exterior, tender crumb, and simple ingredients create a delightful loaf you’ll savor with every warm slice.


Ingredients

Scale
  • 1.5 cups (355 ml) warm water at a temperature of 105°F
  • 3 cups (395 g) all-purpose flour or bread flour
  • ¼ oz (2 ¼ tsps) instant or active dry yeast packet
  • ½ tbsp kosher salt

Instructions

  1. Preparation: Mix organic wheat flour, sea salt, and active dry yeast in a spacious mixing vessel, ensuring uniform ingredient distribution.
  2. Hydration: Pour lukewarm water (105°F) into dry mixture, creating a cohesive and soft dough that develops complex flavors during fermentation.
  3. Fermentation: Cover the bowl with a breathable towel, allowing dough to rest and expand at room temperature for 2-10 hours, developing rich flavor profiles.
  4. Shaping: Moisten hands and transfer dough to a floured surface, gently folding edges to create a rounded loaf with elegant diagonal surface incisions.
  5. Proofing: Let shaped dough rest on parchment paper for 25-35 minutes, enabling additional volume expansion and structural refinement.
  6. Preheating: Activate oven to 450°F, positioning a ceramic baking stone or cast-iron Dutch oven to generate an intense thermal environment.
  7. Baking: Transfer parchment-laden dough into preheated vessel, introducing moisture by dispersing ice cubes or hot water to enhance crust development.
  8. Monitoring: Rotate baking vessel midway to ensure uniform golden-brown coloration, baking for 25-30 minutes until bread produces a resonant hollow sound when tapped.
  9. Cooling: Remove bread and place on a cooling rack for 45 minutes, allowing complete temperature equilibration before slicing.
  10. Storage: Preserve remaining bread in a breathable paper container to maintain textural integrity and prevent premature staleness.

Notes

  • Yeast Activation Tip: Ensure water temperature is precisely between 100-110°F to prevent yeast death or sluggish fermentation.
  • Dough Hydration Secret: Slightly sticky dough indicates perfect moisture balance, crucial for developing complex bread texture.
  • Proofing Precision: Room temperature around 70-75°F creates optimal fermentation conditions for maximum flavor development.
  • Crust Enhancement Technique: Steam injection during first 10 minutes of baking guarantees crispy, professional-grade exterior with beautiful golden-brown coloration.
  • Prep Time: 10 minutes
  • Cook Time: 10 minutes
  • Category: Lunch, Dinner, Snacks
  • Method: Baking
  • Cuisine: European

Nutrition

  • Serving Size: 13
  • Calories: 97
  • Sugar: 0.2 g
  • Sodium: 145 mg
  • Fat: 0.4 g
  • Saturated Fat: 0.1 g
  • Unsaturated Fat: 0.3 g
  • Trans Fat: 0 g
  • Carbohydrates: 20 g
  • Fiber: 0.8 g
  • Protein: 3 g
  • Cholesterol: 0 mg
Sophie Reynolds

Sophie Reynolds

Co-Founder, Recipe Curator & Culinary Educator

Expertise

  • Home Cooking Innovation & Comfort Recipes
  • Flavor Development & Ingredient Pairing
  • Seasonal Produce Integration
  • Recipe Testing & Instructional Clarity
  • Culinary Education & Community Workshops

Education

Auguste Escoffier School of Culinary Arts, Boulder, CO

  • Degree: Diploma in Culinary Arts
  • Focus: Hands-on training in classic and modern culinary techniques, emphasizing sustainable cooking practices, kitchen professionalism, and real-world restaurant experience through externships.

Oregon State University

  • Degree: B.S. in Nutrition and Food Management
  • Focus: In-depth study of human nutrition, food safety, meal planning, and food-service operations, with a strong foundation in public health, dietetics, and community-based nutrition programs.

Sophie Reynolds is the recipe developer and culinary voice behind many of the approachable, flavor-focused creations at The Dream Café. 

Sophie’s style leans into comfort food made simple: wholesome, satisfying meals anyone can make with confidence. Her passion lies in helping home cooks feel at ease in the kitchen while finding joy in the everyday act of cooking.

Leave a Reply

Your email address will not be published. Required fields are marked *

Recipe rating 5 Stars 4 Stars 3 Stars 2 Stars 1 Star