Zesty Olive-Cheese Bread with Capers and Thyme Recipe
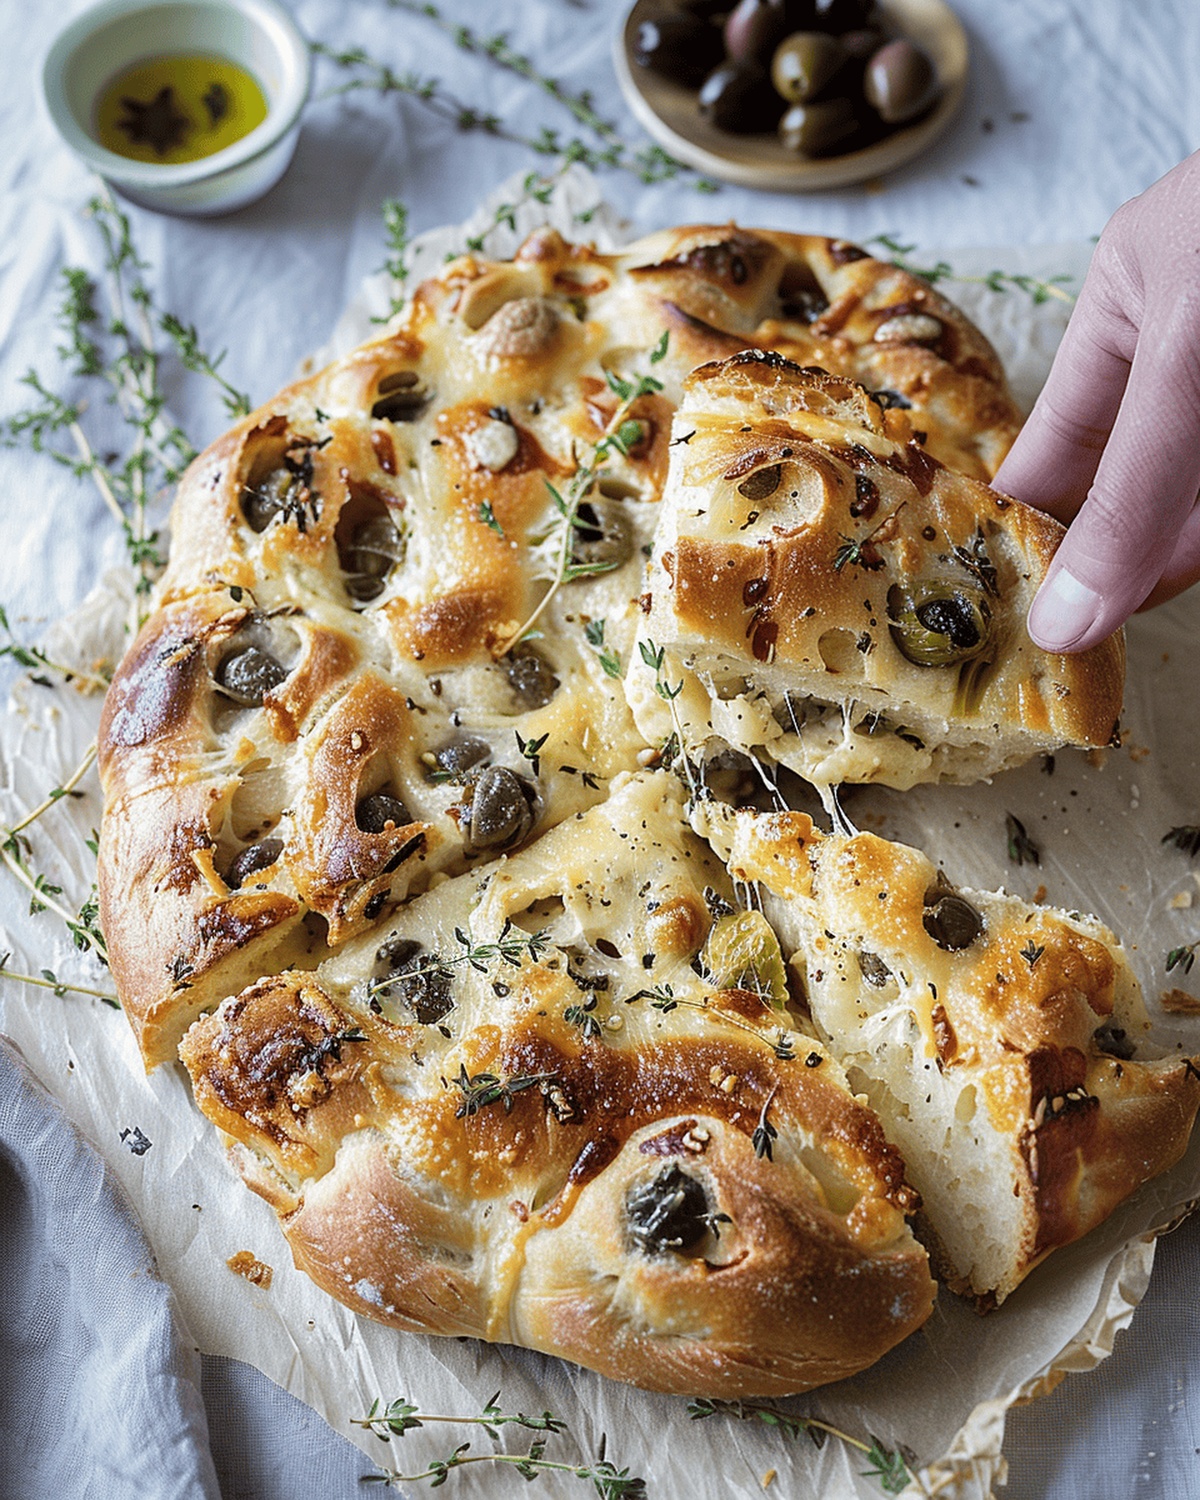
Bread lovers unite over this irresistible olive and cheese bread with capers and thyme that promises an explosion of Mediterranean flavors.
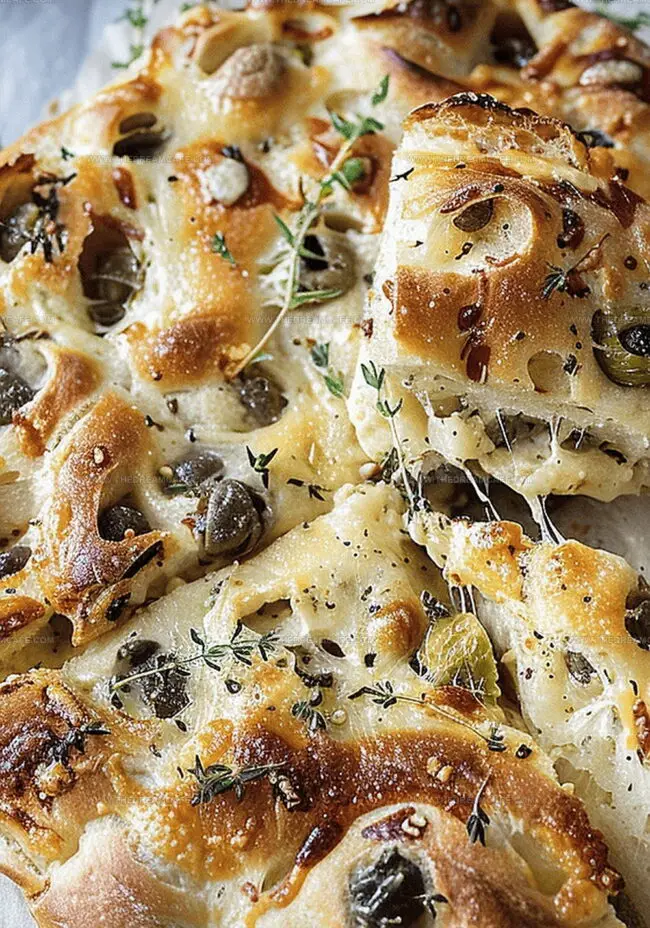
Salty olives and sharp cheese create a perfect harmony in every single bite.
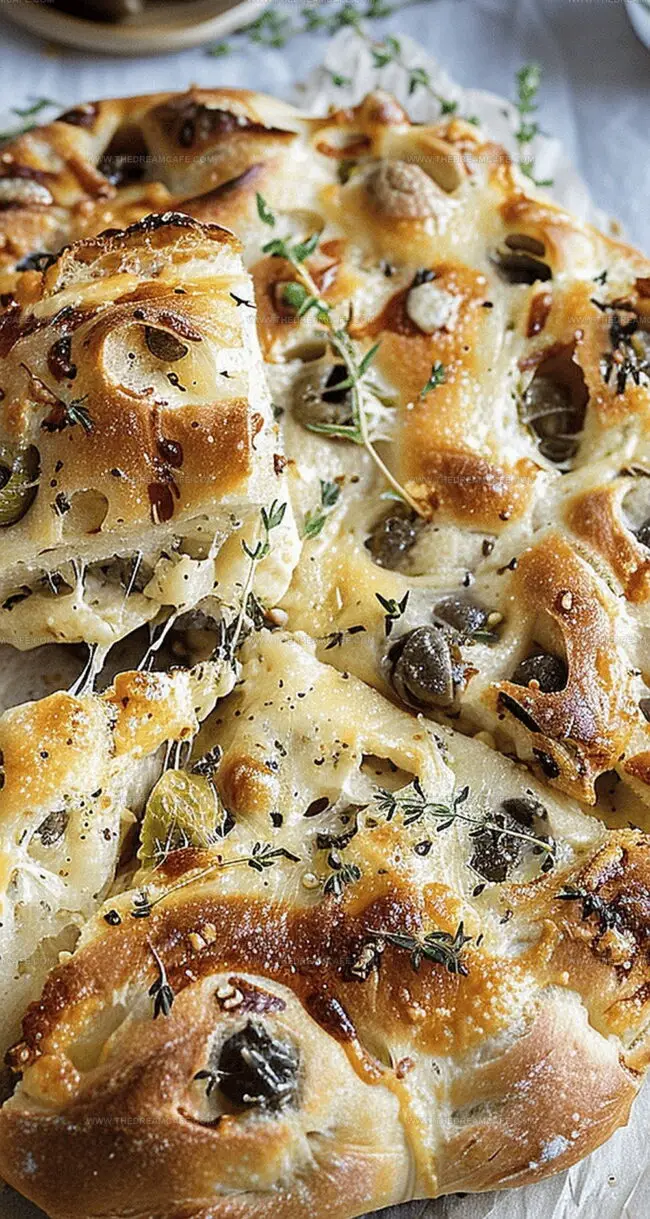
The golden-brown crust beckons with its aromatic herbs and tantalizing texture.
Fresh thyme leaves add a delicate earthiness that complements the robust cheese and briny capers.
Each slice carries the warmth of rustic Italian kitchens and the richness of carefully selected ingredients.
Simple yet sophisticated, this bread elevates any meal from ordinary to extraordinary.
You’ll want to savor every crumb of this delectable creation that brings gourmet taste right to your table.
Quick Recipe Overview
Olive and Cheese Bread with Capers – Ingredient Essentials
For Cheese Base:For Flavor Enhancers:For Finishing and Seasoning:Tools and Bakeware for Olive and Cheese Bread
Instructions for Baking Olive and Cheese Bread with Capers
Mix flour, yeast, and salt in a mixing bowl. Gradually add water and olive oil while blending until a soft dough forms.
Work the dough using a mixer with a dough hook or hand-knead until smooth and elastic, developing gluten structure for better texture.
Transfer dough to an oiled bowl, cover with plastic wrap, and let it rest in a warm spot until it doubles in size, creating those wonderful bread bubbles.
Roll out the risen dough into a rectangular shape, spreading a delicious mixture of cheeses, briny olives, tangy capers, and fragrant thyme leaves across the surface.
Carefully roll the dough into a log, creating beautiful spiral patterns of herbs and cheese within the bread.
Slice the log into rounds and arrange them in a baking dish, allowing a final short resting period to enhance texture and flavor.
Slide the dish into a hot oven, baking until the bread turns a gorgeous golden brown with crispy edges.
Let the bread cool briefly, then finish with a drizzle of olive oil, a sprinkle of fresh thyme, and a dash of salt and pepper for an irresistible aroma.
Helpful Tips and Variations for Olive and Cheese Bread
How to Slice and Serve Olive and Cheese Bread
How to Store Olive and Cheese Bread After Baking
Print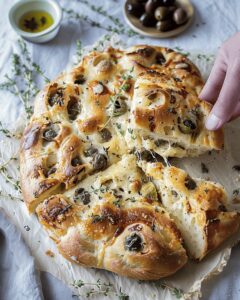
Savory Olive and Cheese Bread Recipe
- Total Time: 36 minutes
- Yield: 9 1x
Description
Mediterranean-inspired olive and cheese bread delivers rich, tangy flavors from Greece’s culinary landscape. Rustic ingredients blend seamlessly, creating a perfect accompaniment for salads, soups, or enjoying warm with friends.
Ingredients
- 300 g (10.5 oz) mozzarella cheese, roughly grated
- 1 cup kalamata olives, pitted and halved
- 0.5 cup (40 g) Parmesan cheese, finely grated
- 4–5 sprigs thyme, leaves only (woody stalks discarded), plus extra
- 2–3 tbsps baby capers (in brine, drained)
- Salt and pepper
- 0.25 cup extra virgin olive oil, for drizzling, plus extra
Instructions
- Dough Preparation: Blend flour, yeast, and salt in a stand mixer using the paddle attachment, gradually introducing lukewarm water and olive oil until a unified mixture forms.
- Kneading Process: Switch to dough hook and knead for 7-10 minutes, developing a smooth, elastic texture with robust gluten structure.
- First Proofing: Transfer dough to an oiled bowl, cover with plastic wrap, and allow to rise in a warm environment until volume doubles, approximately 45 minutes.
- Dough Shaping: Dust work surface with flour, roll dough into a rectangular shape, then evenly distribute mozzarella, Parmesan, Kalamata olives, capers, and thyme leaves across the surface.
- Rolling and Cutting: Drizzle olive oil over toppings, carefully roll the dough into a tight log, and slice into uniform rounds about 2.5 centimeters thick.
- Second Proofing: Arrange rounds cut-side up in a parchment-lined baking dish, leaving slight spaces between them, and rest under a kitchen towel for 15-20 minutes.
- Baking: Preheat oven to 200°C, bake rounds for 30-35 minutes until golden-brown and aromatic.
- Finishing Touches: Cool for 10-15 minutes, then garnish with additional olive oil, fresh thyme, sea salt, and freshly ground black pepper before serving warm.
Notes
- Activate Yeast Perfectly: Ensure lukewarm water (around 110°F) to help yeast bloom without killing it, creating a soft, airy bread texture.
- Knead with Precision: Develop gluten structure through consistent kneading, which creates the bread’s signature elasticity and prevents dense, heavy results.
- Temperature Matters: Use a warm, draft-free spot for dough rising to help yeast work effectively and promote optimal bread volume.
- Slice Strategically: Cut bread rounds with a sharp knife in one smooth motion to maintain their shape and prevent squishing the delicate dough layers.
- Prep Time: 1 hour and 20 minutes
- Cook Time: 35 minutes
- Category: Snacks, Appetizer, Lunch
- Method: Baking
- Cuisine: Mediterranean
Nutrition
- Serving Size: 9
- Calories: 280
- Sugar: 1 g
- Sodium: 560 mg
- Fat: 22 g
- Saturated Fat: 6 g
- Unsaturated Fat: 16 g
- Trans Fat: 0 g
- Carbohydrates: 10 g
- Fiber: 1 g
- Protein: 8 g
- Cholesterol: 30 mg
Julian Park
Co-Founder, Cuisine Researcher & Food Culture Writer
Expertise
Education
The Institute of Culinary Education (ICE), Los Angeles, CA
Julian Park is a natural storyteller at The Dream Café who blends hands-on culinary experience with a passion for exploring global food traditions. A graduate of The Institute of Culinary Education in Los Angeles, Julian combines professional technique with a love for cultural discovery, diving into how dishes reflect heritage, migration, and identity.
His work spans everything from in-depth cuisine guides to reflections on everyday meals around the world. With a curious palate and a journal always close by, Julian helps readers connect with food in a way that feels so insightful and personal.