Sinfully Sweet Chocolate Crack Pie Recipe for Dessert Lovers
Dessert lovers swoon over this legendary chocolate crack pie recipe that promises pure indulgence with every rich, silky bite.
Layers of decadent chocolate and buttery crust combine to create an irresistible treat that melts in your mouth.
Some say this pie is so addictive, you simply can’t stop at one slice.
The secret lies in its perfect balance of intense chocolate flavor and delicate, flaky texture.
Each forkful delivers a luxurious experience that turns an ordinary moment into something extraordinary.
chocolate enthusiasts and dessert adventurers will find themselves completely captivated by this showstopping recipe.
Get ready to impress and delight with a pie that guarantees culinary magic.
Quick Recipe Overview
Chocolate Crack Pie Ingredient Guide
For Crust Base:For Chocolate Filling Base:For Binding and Texture:Notes:Tools for Making Chocolate Crack Pie Easily
How to Prepare Chocolate Crack Pie Right
Grab a pie plate and gently line it with a soft, buttery crust, making sure it’s snug and smooth across the bottom and sides.
In a small pan, slowly transform butter and chocolate into a silky, glossy river, stirring tenderly until they blend into a luxurious pool. Stir in sweet granules until everything looks perfectly harmonious.
Whisk eggs into a light, airy cloud. Slowly pour the warm chocolate mixture into the eggs, blending them into a smooth, glossy dance of flavors.
Carefully pour the chocolate mixture into your prepared crust. Slide the pie into a warm oven, starting at the bottom rack for half an hour, then moving to the top rack for a final golden touch.
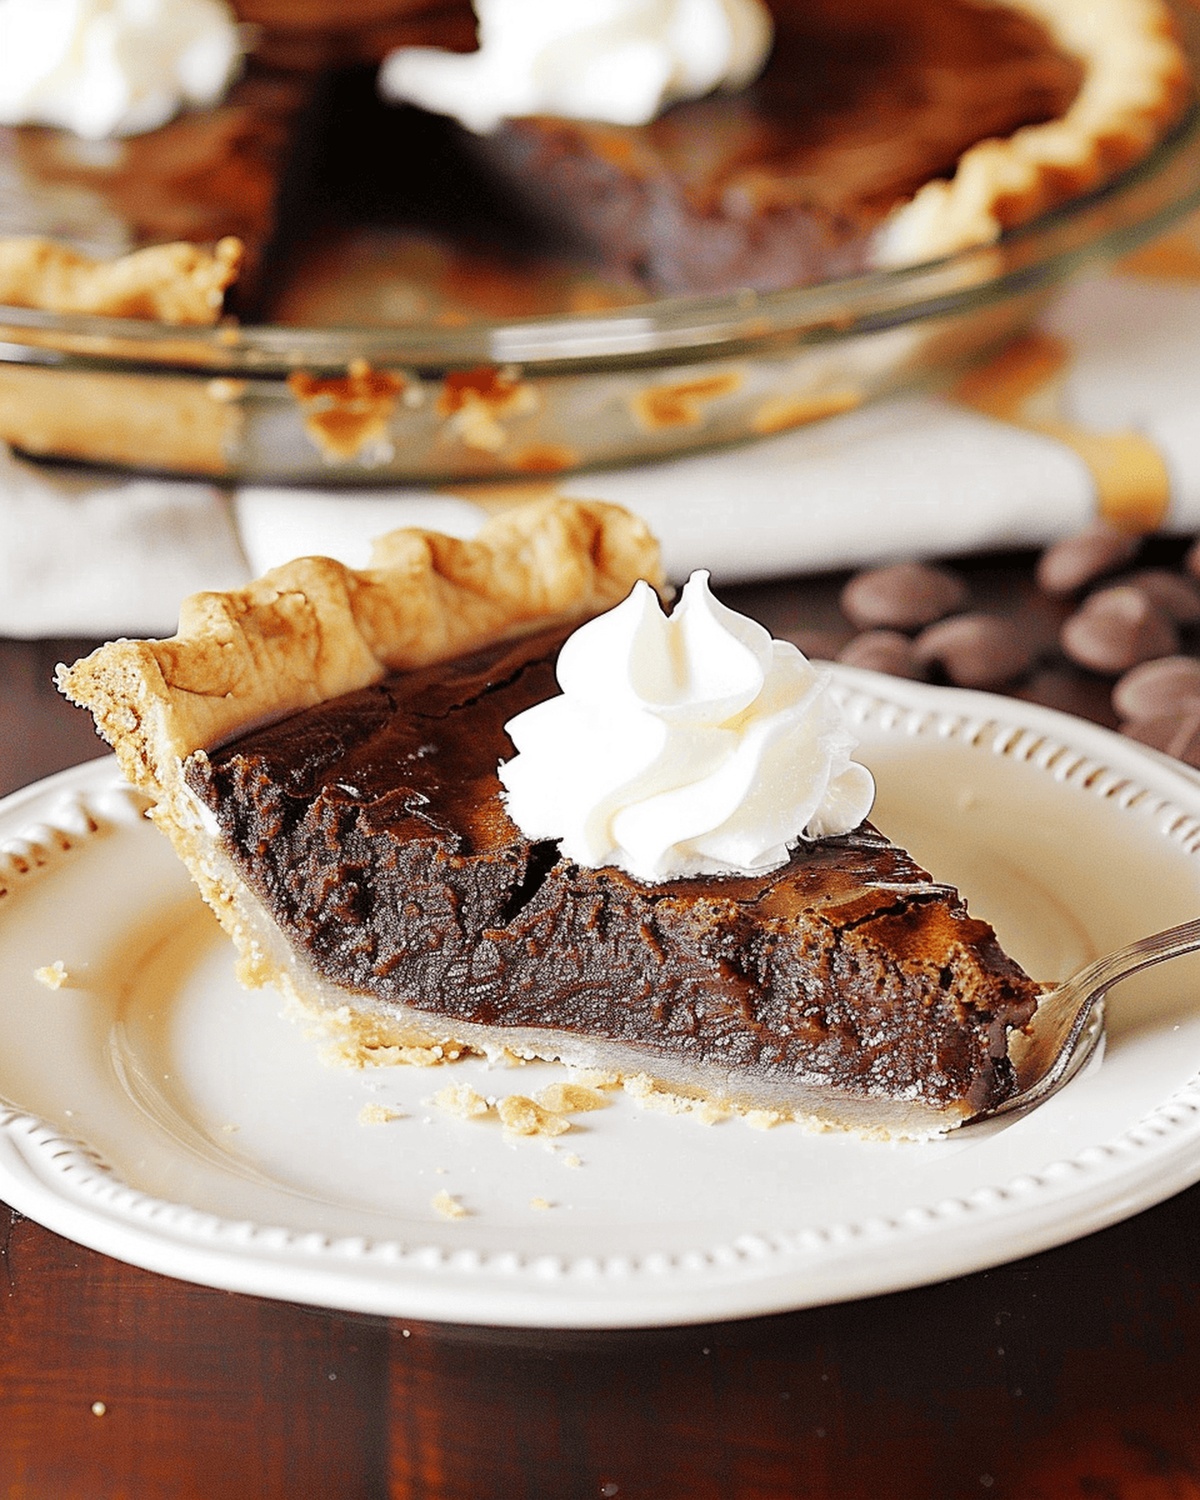
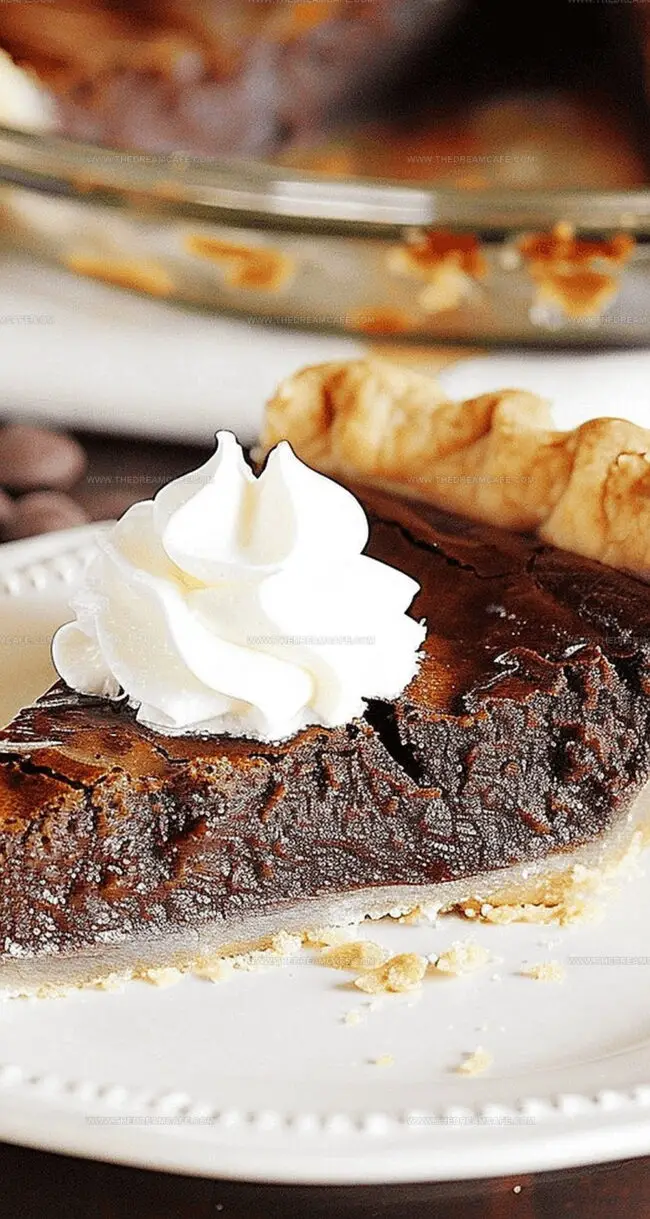
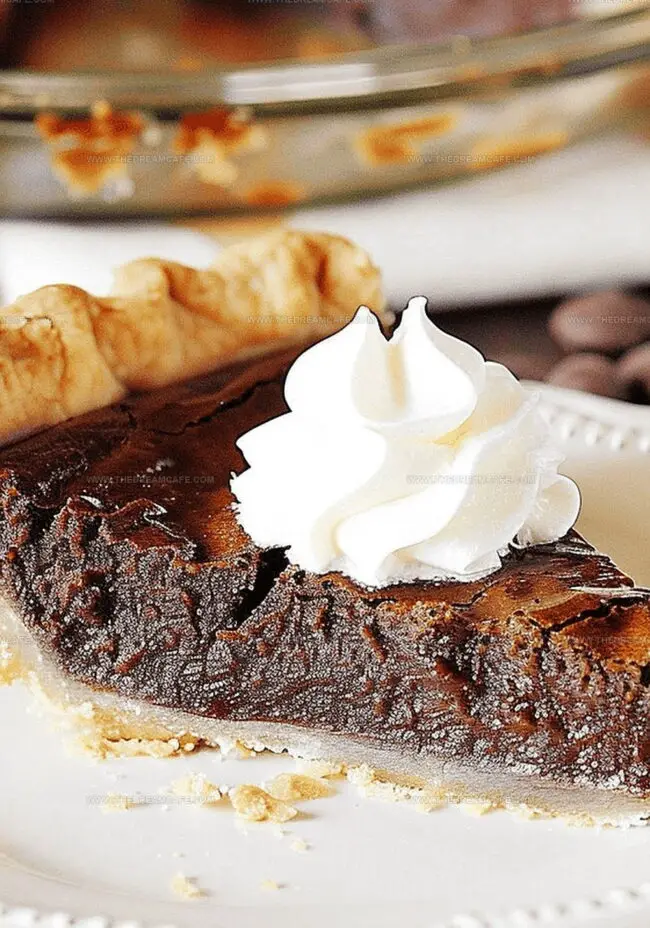
Let the pie rest and cool completely, allowing its flavors to settle and deepen. When ready, crown it with a fluffy cloud of whipped cream for an extra touch of decadence.
Tweaks That Work for Chocolate Crack Pie
Plating Chocolate Crack Pie Like a Dessert Star
How to Store Chocolate Crack Pie for Later
Print
Sinful Chocolate Crack Pie Recipe
- Total Time: 50 minutes
- Yield: 9 1x
Description
Sweet chocolate crack pie reveals an irresistible dessert that promises pure indulgence. Creamy chocolate layers meld with a buttery crust, offering a rich experience you’ll crave again and again.
Ingredients
- 1 cup (200 grams) granulated sugar
- ½ cup (113 grams) unsalted butter
- 2 large eggs
- 1 bar (4 ounces / 113 grams) semi-sweet baking chocolate
- 1 pie crust (for a bottom-crust-only pie)
- whipped cream (optional)
Instructions
- Pie Crust Preparation: Generously coat an 8-inch pie plate with non-stick spray. Carefully nestle the pie crust into the plate, gently molding it to conform to the bottom and sides.
- Chocolate Melting: Construct a double boiler. Merge unsalted butter and semi-sweet chocolate, gently liquefying over minimal heat. Stir continuously to achieve a silky, uniform blend without scorching.
- Sugar Integration: Withdraw chocolate mixture from heat. Fold in granulated sugar, stirring until completely dissolved. Allow the mixture to rest and temper for a brief moment.
- Custard Formation: Vigorously whisk eggs until light and aerated. Gradually introduce the warm chocolate mixture, whisking persistently to prevent curdling and create a luxurious, glossy chocolate custard.
- Baking Process: Distribute chocolate custard evenly across the prepared crust. Position the pie on the bottom oven rack, preheated to 350°F (175°C). Bake for 30 minutes, then transition to the top rack for an additional 10 minutes to achieve a perfectly set, glistening surface.
- Cooling and Serving: Extract pie from the oven and allow to cool completely at room temperature. The filling will continue to solidify during this time. Optionally, embellish with a delicate swirl of freshly whipped cream before presenting.
Notes
- Prevent Chocolate Scorching: Use extremely low heat and constant stirring when melting chocolate and butter to avoid burning, ensuring a smooth, glossy texture.
- Temper Eggs Carefully: Stream warm chocolate mixture slowly into eggs while whisking constantly to prevent scrambling and create a silky, uniform custard.
- Rack Placement Matters: Start baking on bottom rack for even heat distribution, then move to top rack for final 10 minutes to achieve a perfect set and slight surface sheen.
- Cooling is Crucial: Allow pie to cool completely at room temperature, as the filling continues to set and develop its signature texture after removing from oven.
- Prep Time: 10 minutes
- Cook Time: 40 minutes
- Category: Desserts
- Method: Baking
- Cuisine: American
Nutrition
- Serving Size: 9
- Calories: 380
- Sugar: 22 g
- Sodium: 150 mg
- Fat: 24 g
- Saturated Fat: 14 g
- Unsaturated Fat: 10 g
- Trans Fat: 0 g
- Carbohydrates: 40 g
- Fiber: 1 g
- Protein: 4 g
- Cholesterol: 70 mg
Sophie Reynolds
Co-Founder, Recipe Curator & Culinary Educator
Expertise
Education
Auguste Escoffier School of Culinary Arts, Boulder, CO
Oregon State University
Sophie Reynolds is the recipe developer and culinary voice behind many of the approachable, flavor-focused creations at The Dream Café.
Sophie’s style leans into comfort food made simple: wholesome, satisfying meals anyone can make with confidence. Her passion lies in helping home cooks feel at ease in the kitchen while finding joy in the everyday act of cooking.