Irresistible Butterfinger Caramel Bars Recipe for Sweet Tooths
Sweet caramel and chocolate lovers go wild for this butterfinger caramel bars recipe that combines silky smooth layers of decadence.
Homemade desserts rarely get more indulgent than these incredible bars.
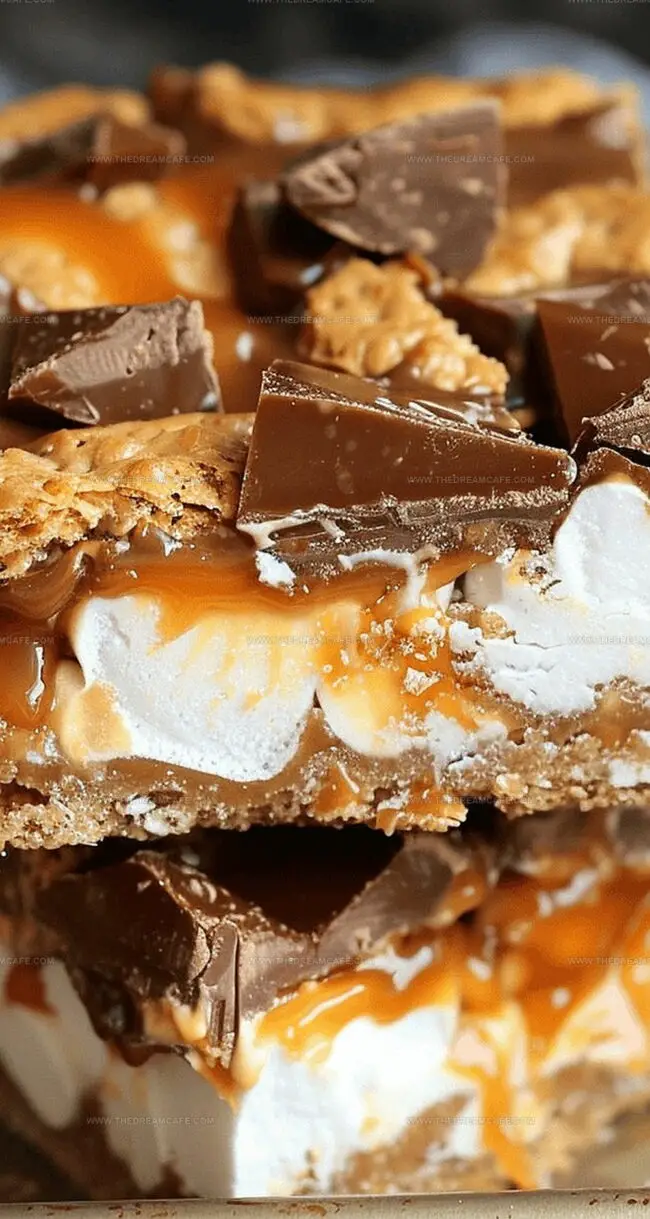
Crunchy peanut butter candy chunks meld perfectly with rich, gooey caramel and chocolate coating.
Each bite delivers an explosion of textures that dance across your taste buds.
The combination of sweet and salty creates an irresistible treat that everyone will request again and again.
Crafting these bars takes minimal effort but delivers maximum satisfaction.
Get ready to become the dessert hero at your next gathering with this seriously addictive recipe.
Quick Recipe Overview
What’s Inside Butterfinger Caramel Bars
For Base Layer:For Caramel and Candy Layer:For Topping Layer:Tools That Help Make Butterfinger Caramel Bars
Building Layers of Butterfinger Caramel Bars
Create a smooth foundation by lining a 9×9 pan with foil that extends over the edges, allowing for effortless removal of the finished treat.
Cover the entire bottom of the pan with graham crackers, carefully breaking pieces to create a uniform layer that fills every corner.
Generously scatter mini marshmallows across the graham cracker foundation, creating a puffy white landscape.
Combine caramel bits and milk in a microwave-safe bowl, heating until transformed into a silky golden river that flows smoothly when stirred.
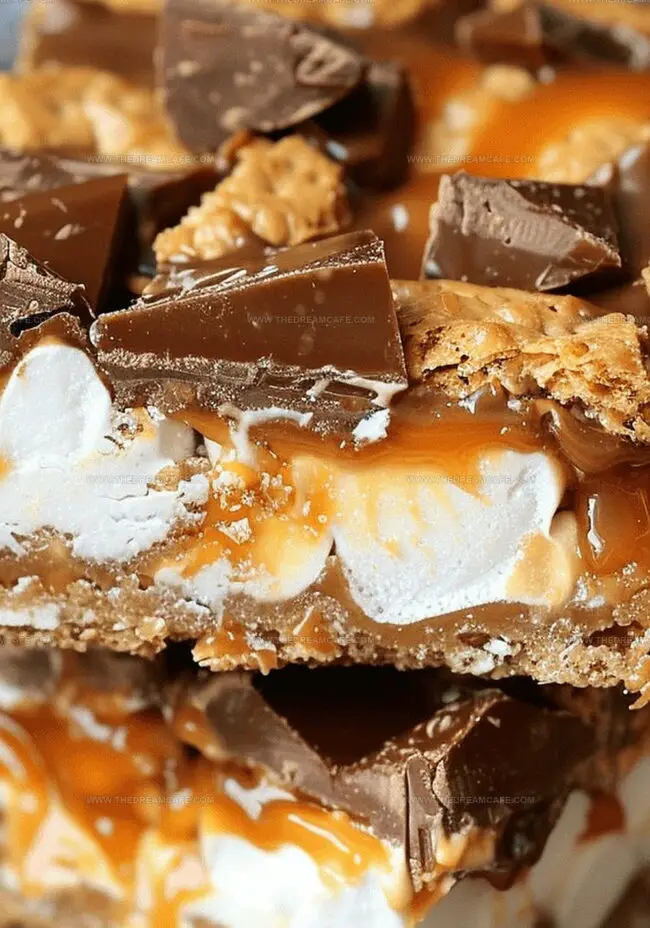
Pour the molten caramel over the marshmallow layer, ensuring every inch receives a luxurious coating that slightly melts the marshmallows and bonds with the graham crackers.
Shower chopped Butterfinger Bites across the caramel surface, gently pressing the candy pieces to create a crunchy, colorful topping.
Melt semi-sweet chocolate until glossy and smooth, then drizzle elegantly over the Butterfinger layer, creating beautiful chocolate streams.
Refrigerate the creation for one hour, allowing all layers to set and blend into a decadent, cool dessert.
Slice into irresistible bars and serve, revealing the stunning layers of sweet indulgence.
Tips for Making Butterfinger Caramel Bars Extra Rich
Presenting Butterfinger Caramel Bars to Impress
Keeping Butterfinger Caramel Bars Fresh and Chewy
Print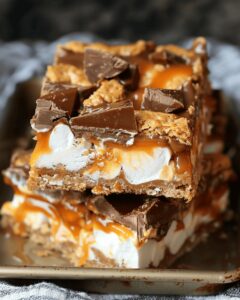
Sweet Butterfinger Caramel Bars Recipe
- Total Time: 20 minutes
- Yield: 13 1x
Description
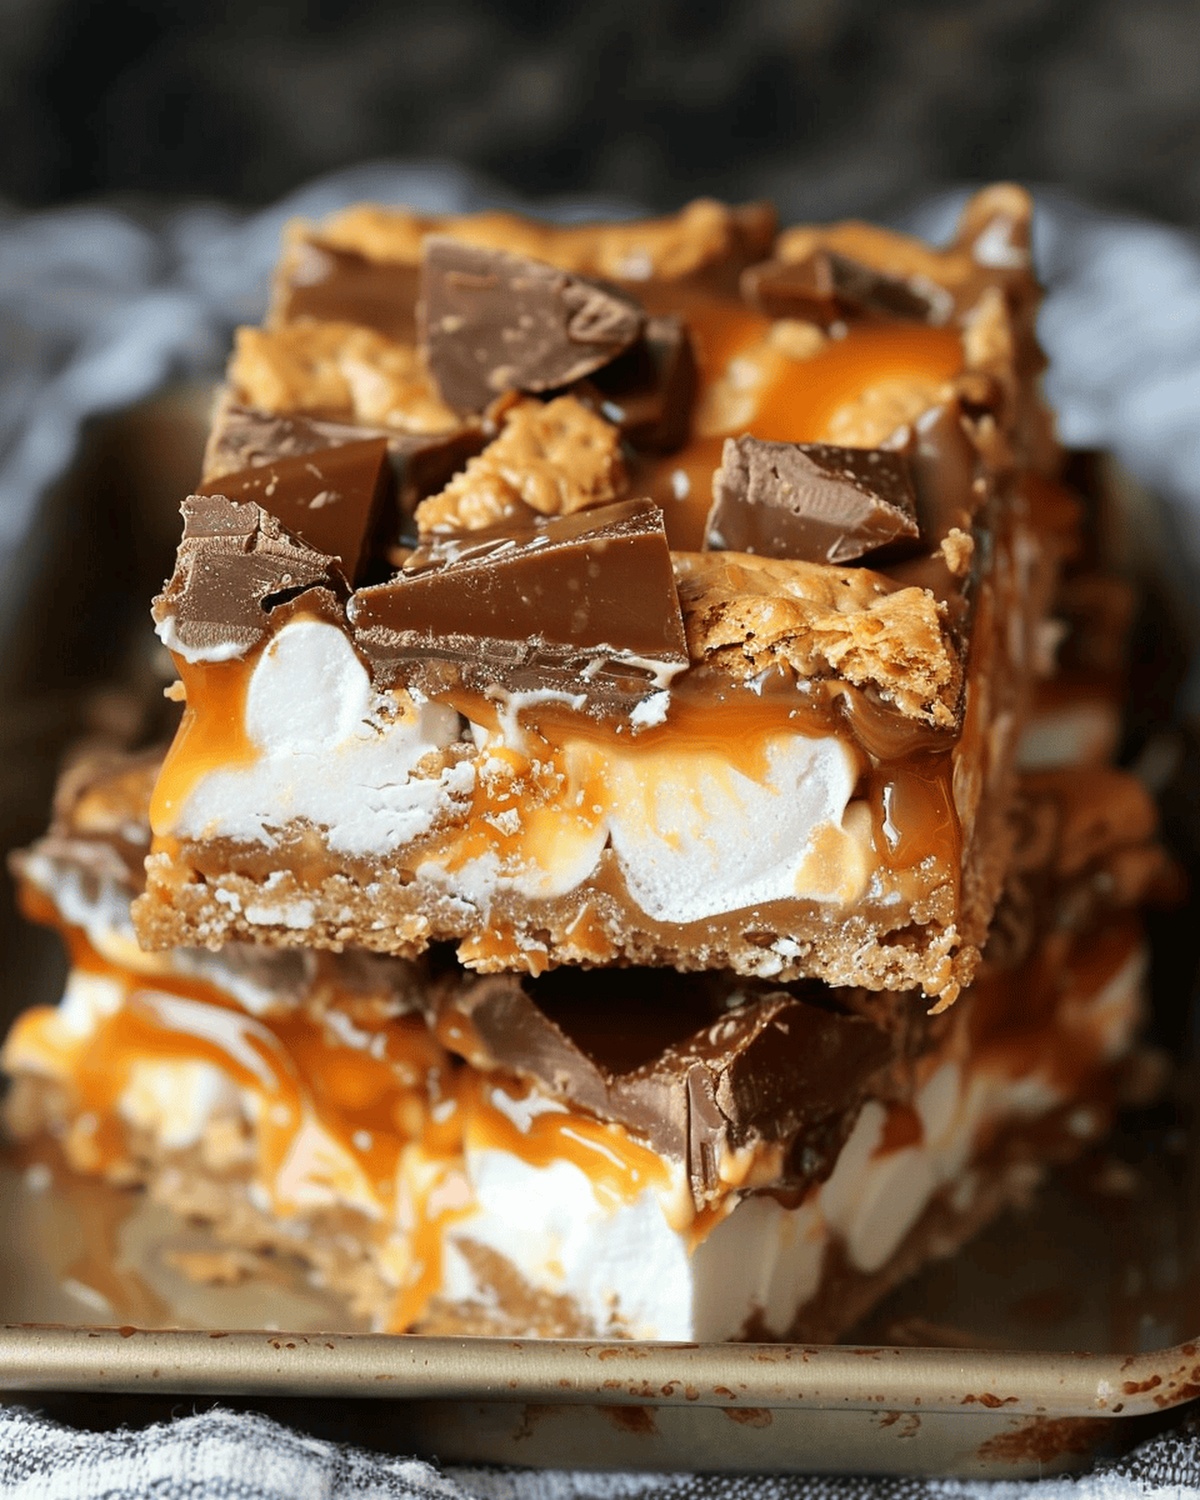
Butterfinger caramel bars combine rich chocolate, crunchy peanut butter candy, and smooth caramel in a delightful dessert. Sweet layers meld together, creating an irresistible treat you will savor with each indulgent bite.
Ingredients
- 1 (10 oz / 283 g) bag Butterfinger Bites, coarsely chopped
- 1 (11 oz / 312 g) bag caramel bits
- 2 cups mini marshmallows
- 6 ½ graham crackers
- 2 tbsps milk
- 2 oz / 57 g semi-sweet chocolate (for drizzle)
Instructions
- Preparation: Line a 9×9 inch baking pan with aluminum foil, allowing overhang for easy extraction. Lightly spray the foil with non-stick cooking spray to prevent sticking.
- Base Layering: Construct a solid graham cracker foundation by meticulously fitting and breaking crackers to create a complete, gap-free bottom layer. Distribute mini marshmallows uniformly across the graham cracker base.
- Caramel Infusion: Microwave caramel bits and milk in 30-second intervals, stirring between each cycle until achieving a perfectly smooth, liquid consistency. Pour the molten caramel over the marshmallow layer, allowing slight marshmallow melting for enhanced texture.
- Candy Incorporation: Generously scatter chopped Butterfinger Bites across the caramel surface, gently pressing the candy fragments to anchor them into the sticky landscape.
- Chocolate Finishing: Melt semi-sweet chocolate chips using microwave intervals, stirring until completely liquefied. Artfully drizzle the chocolate over the Butterfinger-embedded layer, creating an elegant design.
- Setting and Serving: Refrigerate for one hour until layers solidify completely. Extract from refrigerator, lift bars using foil edges, and slice into individual servings.
Notes
- Prep Pan Perfectly: Line with foil and non-stick spray to ensure easy bar removal and prevent sticking.
- Arrange Base Carefully: Break graham crackers to create a solid, gap-free foundation for layering ingredients.
- Melt with Patience: Heat caramel and chocolate slowly in short intervals, stirring between each to achieve smooth, lump-free consistency.
- Chill for Setting: Refrigerate bars for exactly one hour to allow layers to solidify and chocolate to set completely before cutting.
- Prep Time: 20 minutes
- Cook Time: 0 minutes
- Category: Desserts, Snacks
- Method: None
- Cuisine: American
Nutrition
- Serving Size: 13
- Calories: 180
- Sugar: 18 g
- Sodium: 90 mg
- Fat: 7 g
- Saturated Fat: 4 g
- Unsaturated Fat: 2 g
- Trans Fat: 0 g
- Carbohydrates: 27 g
- Fiber: 1 g
- Protein: 2 g
- Cholesterol: 10 mg
Sophie Reynolds
Co-Founder, Recipe Curator & Culinary Educator
Expertise
Education
Auguste Escoffier School of Culinary Arts, Boulder, CO
Oregon State University
Sophie Reynolds is the recipe developer and culinary voice behind many of the approachable, flavor-focused creations at The Dream Café.
Sophie’s style leans into comfort food made simple: wholesome, satisfying meals anyone can make with confidence. Her passion lies in helping home cooks feel at ease in the kitchen while finding joy in the everyday act of cooking.