Fresh Strawberry Oatmeal Crumble Bars Recipe: Sweet Joy in Squares
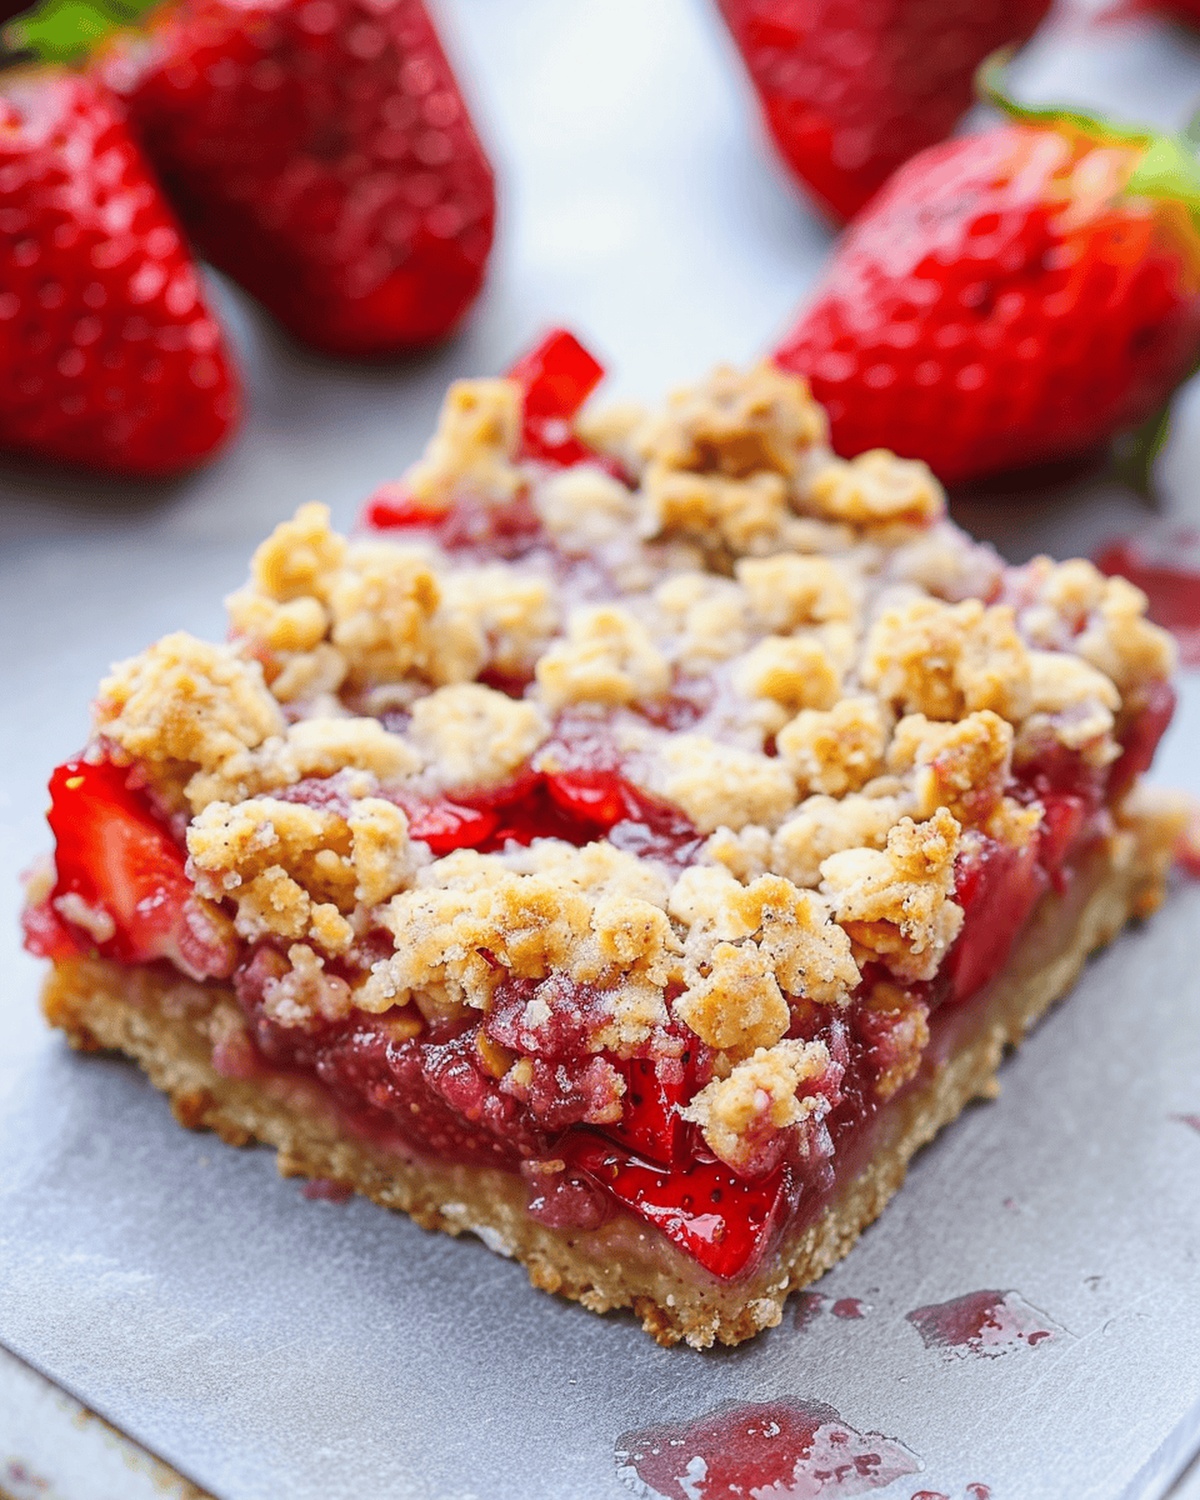
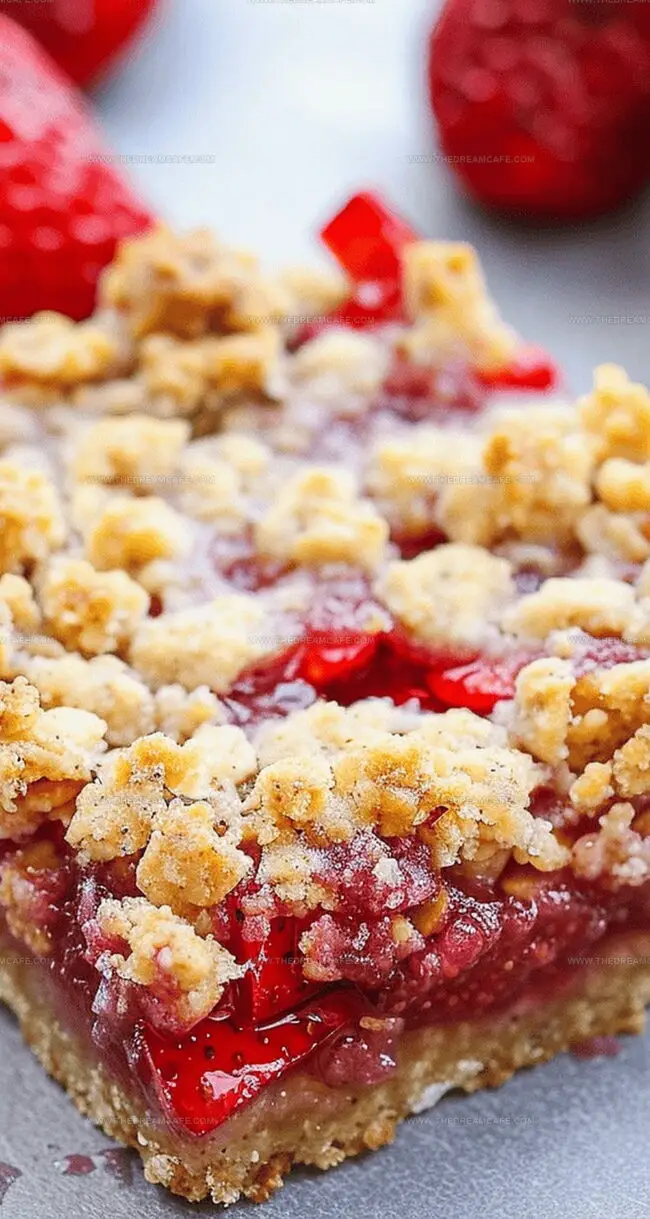
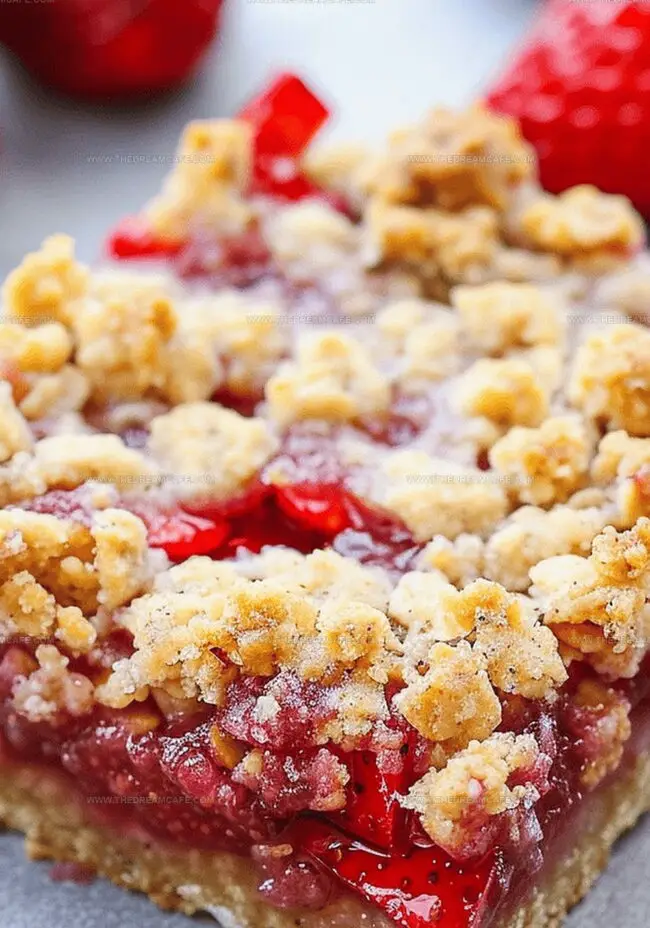
Sweet summer strawberries burst with color in this delectable strawberry oatmeal crumble bars recipe that promises pure comfort.
Layers of buttery oats and jammy fruit create a mouthwatering dessert everyone adores.
Ripe, juicy berries nestle between golden, crisp crumble layers that melt in your mouth.
The simple ingredients come together effortlessly, making this treat perfect for lazy weekend afternoons or unexpected sweet cravings.
Each bite delivers a delightful balance of tender fruit and crunchy oat topping.
Serve these bars warm with a scoop of vanilla ice cream for an irresistible summer treat that will have everyone asking for seconds.
Get ready to fall in love with the most delicious dessert you’ll make this season.
Quick Recipe Overview
Strawberry Oatmeal Crumble Bar Ingredients
For The Crust And Crumble:For The Strawberry Filling:For Preparation:What Tools You’ll Use for Oatmeal Crumble Bars
Equipment & Tools:How to Bake Strawberry Oatmeal Crumble Bars
Combine melted butter with dry ingredients to create a crumbly base that will form the foundation of the dessert. Mix until the texture resembles coarse sand with some larger chunks scattered throughout.
Prepare an 8-inch square baking dish by lining it with foil and creating a light spray coating to ensure easy removal of the bars after baking.
Toss fresh strawberries with a touch of sweetness and a hint of citrus, creating a vibrant filling that will burst with flavor when baked.
Carefully press the crust mixture into the pan, forming a solid base. Reserve some crumble for the topping, squeezing it to create delightful textured pieces.
Spread the strawberry mixture evenly over the crust, then sprinkle the reserved crumble on top, ensuring a beautiful rustic appearance.
Slide the pan into a preheated oven, watching for golden edges and a bubbling filling. Patience is key – allow the bars to transform into a gorgeous dessert with a perfectly set center.
Let the bars rest for at least an hour, allowing them to set completely. This waiting period ensures clean, beautiful slices that hold their shape when cut.
Custom Mix-Ins for Strawberry Bars
Serving Ideas for Crumbly Strawberry Bars
Keeping Crumble Bars in Good Shape
Print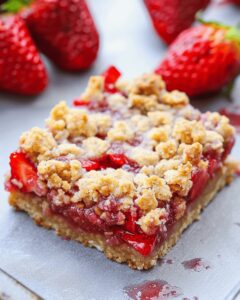
Velvety Strawberry Oatmeal Crumble Bars Recipe
- Total Time: 1 hour 5 minutes
- Yield: 10 1x
Description
Homemade strawberry oatmeal crumble bars combine sweet summer berries with buttery oat layers. Delightful dessert bars offer perfect balance between fruity filling and crisp crumbly topping for dessert enthusiasts.
Ingredients
- 2 cups fresh strawberries, coarsely chopped
- 1 cup all-purpose flour
- ¾ cup old-fashioned oats
- ½ cup unsalted butter, melted (118 ml / 4 fl oz)
- ½ cup granulated sugar
- ¼ cup light brown sugar, packed
- ⅓ cup granulated sugar
- 2 tbsps lemon juice
- 2 tsp cornstarch
- ½ tsp salt (or to taste)
Instructions
- Preparation: Preheat oven to 350°F (175°C). Line an 8-inch square baking pan with foil and lightly coat with cooking spray for easy removal.
- Crust Formation: Melt butter in a microwave-safe bowl. Combine flour, rolled oats, granulated sugar, brown sugar, and salt with melted butter until a crumbly texture forms. Separate 1 cup of mixture for topping.
- Base Setting: Press remaining mixture firmly into the prepared pan, creating an even, compact foundation.
- Fruit Layer: Mix chopped strawberries, sugar, lemon juice, and cornstarch in the same bowl, ensuring thorough coating and even distribution.
- Layer Assembly: Spread strawberry mixture uniformly over the crust. Create rustic crumble fragments by squeezing reserved mixture between palms and sprinkle across the fruit layer.
- Baking Process: Place pan in preheated oven. Bake 50-55 minutes until edges are set, center is slightly firm, crumble turns pale golden, and strawberry filling bubbles at edges.
- Cooling and Serving: Remove from oven and transfer to a wire rack. Allow bars to cool completely for at least 1 hour before slicing to maintain structural integrity and achieve clean cuts.
Notes
- Precise Oven Temperature: Maintain exact 350°F for consistent baking and perfect crumble texture.
- Crumble Consistency Tip: Use fingertips to create varied crumble sizes, ensuring a rustic, textured appearance.
- Strawberry Mixture Technique: Toss fruits with cornstarch to prevent excess liquid and achieve a thickened, jammy filling.
- Cooling Crucial Step: Allow bars to cool completely for at least one hour to set properly and enable clean, sharp cuts.
- Prep Time: 15 minutes
- Cook Time: 50 minutes
- Category: Breakfast, Snacks, Desserts
- Method: Baking
- Cuisine: American
Nutrition
- Serving Size: 10
- Calories: 180
- Sugar: 14 g
- Sodium: 50 mg
- Fat: 8 g
- Saturated Fat: 5 g
- Unsaturated Fat: 3 g
- Trans Fat: 0 g
- Carbohydrates: 26 g
- Fiber: 1 g
- Protein: 2 g
- Cholesterol: 20 mg
Sophie Reynolds
Co-Founder, Recipe Curator & Culinary Educator
Expertise
Education
Auguste Escoffier School of Culinary Arts, Boulder, CO
Oregon State University
Sophie Reynolds is the recipe developer and culinary voice behind many of the approachable, flavor-focused creations at The Dream Café.
Sophie’s style leans into comfort food made simple: wholesome, satisfying meals anyone can make with confidence. Her passion lies in helping home cooks feel at ease in the kitchen while finding joy in the everyday act of cooking.