White Chocolate Peanut Butter Cups Recipe

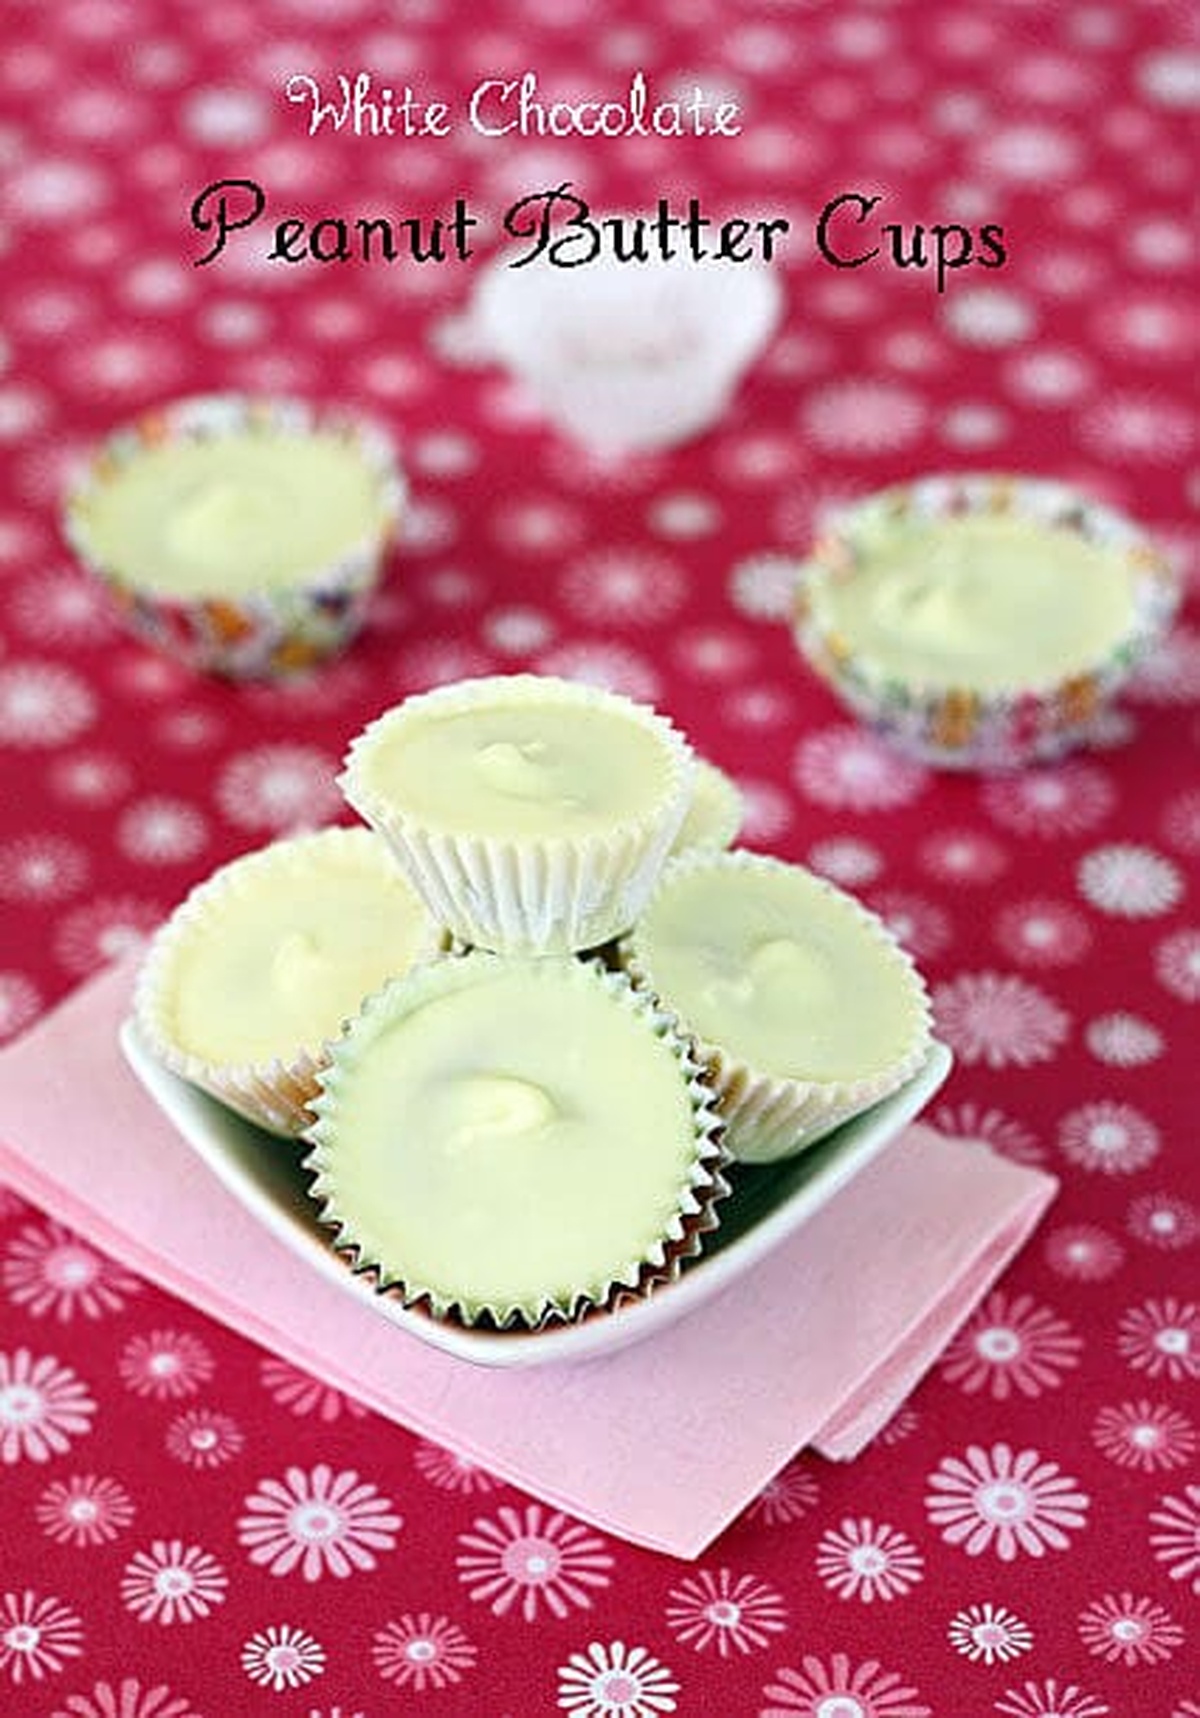
The Perfect White Chocolate Peanut Butter Cups Recipe for Bliss

White chocolate peanut butter cups represent a luxurious fusion of smooth, silky chocolate and rich, velvety peanut butter that dance together in perfect harmony.

Sweet indulgence meets nostalgic comfort in these delectable morsels that elevate casual snacking to a gourmet experience.

Each carefully crafted cup promises a sensational blend of contrasting flavors and textures that tantalize the palate.

The delicate white chocolate exterior gives way to a creamy, nutty center that melts effortlessly on your tongue.

Homemade confections like these refine ordinary ingredients into extraordinary moments of pure culinary bliss.

Crafting these cups requires minimal effort but delivers maximum satisfaction for chocolate and peanut butter enthusiasts.

Prepare to embark on a delightful culinary adventure that will awaken your taste buds.

Why White Chocolate Peanut Butter Cups Hit the Sweet Spot

  • Craft Delightful Homemade Treats: These white chocolate peanut butter cups transform simple ingredients into gourmet candies you can make right in your kitchen, giving you the satisfaction of creating something deliciously special.
  • Enjoy Customizable Sweet Perfection: Control the sweetness and texture by adjusting honey or sugar levels, adding optional peanuts, and creating perfectly balanced bites that match your exact taste preferences.
  • Master Simple Layering Technique: The step-by-step process of coating chocolate, adding peanut butter filling, and topping with more chocolate creates professional-looking candies that look like they came from a fancy chocolate shop, without requiring advanced culinary skills.
  • Quick Dessert for Every Occasion: With just 26 servings and minimal preparation time, these bite-sized treats work wonderfully for casual gatherings, movie nights, afternoon snacks, or elegant dessert tables, making them an incredibly versatile homemade confection.

Ingredients That Make These Cups Rich and Creamy

Base Ingredients:
  • White Chocolate: Smooth and creamy base for creating delectable cups, best when high-quality chocolate with good melting properties.
  • Peanut Butter: Rich and nutty spread that provides the main filling, smooth variety works best for consistent texture.
Sweetening Ingredients:
  • Honey, Sugar: Natural sweeteners to balance peanut butters richness, honey adds subtle floral notes while sugar provides clean sweetness.
Flavor Enhancers:
  • Vanilla Extract: Adds warm, complex background flavor that complements chocolate and peanut butter.
  • Salt: Optional ingredient to boost overall flavor depth and balance sweetness.
Optional Add-Ins:
  • Peanuts: Provides extra crunch and texture to the peanut butter filling, roasted variety recommended for deeper flavor.
Preparation Support Ingredients:
  • Aluminum Candy Cups, Small Baking Liners: Essential for easy cup formation and clean removal of finished chocolates, non-stick surfaces preferred.

How to Mold and Chill the Perfect Peanut Butter Cup

Step 1: Prepare Peanut Butter Mixture

In a medium bowl, combine the following ingredients:
  • Peanut butter
  • Honey or sugar
  • Vanilla extract
  • Salt (optional)
  • Chopped peanuts (optional)

Mix thoroughly with a fork until smooth. Taste and adjust sweetness or saltiness as desired. Refrigerate the mixture briefly to firm up.

Step 2: Set Up Baking Workspace

Prepare mini muffin tins or baking sheets with:
  • Aluminum candy cups
  • Small baking liners

Ensure the liners are evenly placed and ready for filling.

Step 3: Melt White Chocolate

Choose your melting method:

Option 1: Double Boiler Method

  • Place chocolate in a heat-safe bowl
  • Set over simmering water
  • Stir constantly

Option 2: Microwave Method

  • Use chocolate melting setting
  • Heat in 15-second intervals
  • Stir between each interval

Ensure chocolate is completely smooth and free of lumps.

Step 4: Create Chocolate Base

Spoon about of melted chocolate into each liner.

Use the back of a spoon or a pastry brush to:
  • Coat the bottom
  • Slightly coat the sides

Chill for 20 minutes until firm.

Step 5: Add Peanut Butter Layer

Remove peanut butter mixture from refrigerator.

Take small portions and:
  • Flatten gently
  • Place inside chocolate-coated cups
  • Leave a small space at the top for final chocolate layer

Step 6: Seal with Chocolate Topping

Remelt remaining chocolate.

Pour approximately over peanut butter layer in each cup.

Smooth the surface carefully.

Return to refrigerator until completely set.

Tips to Get That Snap and Smooth Finish

  • Perfectly Temper Chocolate: Melt chocolate slowly and carefully to prevent burning or seizing, using low heat and stirring frequently for smooth, glossy results.
  • Create Uniform Cups: Use a small cookie scoop or melon baller to portion peanut butter and chocolate evenly, ensuring consistent size and professional appearance.
  • Prevent Sticky Situation: Line muffin tins with paper liners or lightly spray with non-stick cooking spray for easy removal and clean release of chocolate cups.
  • Enhance Flavor Depth: Experiment with different types of honey or add a pinch of sea salt to elevate the sweet-salty balance of the peanut butter filling.
  • Achieve Perfect Texture: Chill cups completely between layers to create distinct, clean separation between chocolate and peanut butter, resulting in a professional-looking treat.

How to Keep These Homemade Treats Fresh and Tasty

  • Refrigeration: Store your homemade white chocolate peanut butter cups in an airtight container with parchment paper between layers. Keep them chilled in the refrigerator for up to 2 weeks, maintaining their delightful texture and preventing flavor absorption from other foods.
  • Room Temperature: Remove candies from the fridge about 10-15 minutes before serving to allow slight softening, which enhances their creamy texture and brings out the rich flavors of chocolate and peanut butter.
  • Freezing Option: Wrap individual cups tightly in plastic wrap, then place them in a freezer-safe container. These treats can be frozen for up to 3 months. Thaw in the refrigerator overnight before enjoying, ensuring they retain their original smooth consistency and delectable taste.

What Pairs with White Chocolate Like a Dream

  • Creamy Milk Indulgence: Pair these white chocolate peanut butter cups with a cold glass of whole milk to balance the rich, sweet flavors and create a nostalgic dessert experience.
  • Espresso Contrast: Serve alongside a shot of strong espresso or cappuccino, where the bitter coffee notes will beautifully cut through the sweetness and complement the nutty undertones.
  • Berry Refresh: Accompany the treats with fresh raspberries or strawberries to add a tart, juicy element that cleanses the palate between bites of the decadent chocolate cups.
  • Dessert Wine Elegance: Match with a sweet dessert wine like Moscato or Port, which will enhance the chocolate's smoothness and provide a sophisticated drinking companion to these delightful homemade candies.

Peanut Butter Cup Twists You’ll Want to Try

  • Almond Butter Bliss: Swap peanut butter with creamy almond butter for a nutty alternative that adds a sophisticated flavor profile and introduces a different nutritional balance.
  • Dark Chocolate Decadence: Replace white chocolate with rich dark chocolate to create a more intense, less sweet version that appeals to serious chocolate lovers seeking deeper cocoa notes.
  • Honey Crunch Special: Incorporate chopped roasted almonds or pecans into the peanut butter mixture for extra texture and a delightful crunch that elevates the overall sensory experience.
  • Salted Caramel Fusion: Drizzle a thin layer of homemade caramel sauce between the chocolate layers before final chilling, which introduces a luxurious ribboning effect and complex sweetness.
Print
clock clock iconcutlery cutlery iconflag flag iconfolder folder iconinstagram instagram iconpinterest pinterest iconfacebook facebook iconprint print iconsquares squares iconheart heart iconheart solid heart solid icon
White Chocolate Peanut Butter Cups Recipe

White Chocolate Peanut Butter Cups Recipe


5 Stars 4 Stars 3 Stars 2 Stars 1 Star

4.7 from 16 reviews

  • Total Time: 30 minutes
  • Yield: 26 1x

Description

White chocolate peanut butter cups blend luxurious sweetness with creamy nutty richness. Swiss white chocolate and smooth American peanut butter create an irresistible treat you cannot resist.


Ingredients

Scale

Main Ingredients:

  • 18 ounces (510 grams) white chocolate (like Callebaut)
  • 1 cup (255 grams) peanut butter (not natural or reduced fat)

Sweeteners and Binding Ingredients:

  • 1 cup (120 grams) confectioners’ sugar
  • 3 tablespoons (45 milliliters) honey

Flavor Enhancers and Optional Toppings:

  • ½ teaspoon (2.5 milliliters) vanilla extract
  • ½ cup (75 grams) chopped salted peanuts (optional)
  • ½ to 1 teaspoon (2.5 to 5 grams) coarse salt (optional)

Instructions

  1. Mix peanut butter, honey or sugar, vanilla extract, salt, and optional chopped peanuts in a medium bowl using a fork until the mixture is uniformly blended. Taste and adjust sweetness or saltiness according to preference, then refrigerate for 15 minutes to firm up slightly.
  2. Line a mini muffin tin with paper or aluminum candy cups, ensuring each cup is evenly placed and ready for filling.
  3. Create a double boiler by placing a heat-safe bowl over a pot of simmering water, or use a microwave-safe bowl. Melt white chocolate in 15-second intervals, stirring thoroughly between each interval to prevent burning and ensure smooth consistency.
  4. Carefully spoon approximately of melted white chocolate into the bottom of each liner. Use the back of a spoon to gently coat the sides, creating a thin chocolate base. Refrigerate for 15-20 minutes until chocolate has completely hardened.
  5. Remove the peanut butter mixture from the refrigerator. Portion small amounts and gently press into each chocolate-lined cup, leaving a small gap at the top for additional chocolate.
  6. Reheat the remaining white chocolate if necessary, then carefully pour approximately over the peanut butter filling, ensuring complete coverage. Tap the tin gently to remove air bubbles and create a smooth surface.
  7. Return the filled cups to the refrigerator and allow them to set completely, approximately 30-45 minutes, until the chocolate is firm and the cups are ready to serve.

Notes

  • Chilling helps set the layers, creating a perfect texture contrast between creamy peanut butter and smooth white chocolate.
  • Customize sweetness by adjusting honey or sugar in the peanut butter mixture to match your taste preferences.
  • Silicone mini muffin liners work best for easy removal and creating uniformly shaped chocolate cups.
  • Microwave melting requires careful attention to prevent chocolate from burning or seizing.
  • Peanut additions like chopped nuts provide extra crunch and boost the overall flavor profile.
  • Room temperature ingredients ensure smoother blending and easier mixing of peanut butter components.
  • Prep Time: 25 minutes
  • Cook Time: 5 minutes
  • Category: Snacks, Desserts
  • Method: Melting
  • Cuisine: American

Nutrition

  • Serving Size: 26
  • Calories: 203 kcal
  • Sugar: 10g
  • Sodium: 50mg
  • Fat: 13g
  • Saturated Fat: 6g
  • Unsaturated Fat: 7g
  • Trans Fat: 0g
  • Carbohydrates: 20g
  • Fiber: <1g
  • Protein: 3g
  • Cholesterol: <5mg
Julian Park

Julian Park

Co-Founder, Cuisine Researcher & Food Culture Writer

Expertise

  • Global Food Cultures & Culinary History
  • Regional Flavor Profiles & Cooking Techniques
  • Food Anthropology & Cultural Identity
  • Culinary Research & Narrative Writing
  • Street Food Traditions & Heritage Dishes

Education

The Institute of Culinary Education (ICE), Los Angeles, CA

  • Degree: Certificate in Culinary Arts
  • Focus: Professional culinary techniques, global cuisine fundamentals, and real-world training in restaurant-style cooking and food presentation.

Julian Park is a natural storyteller at The Dream Café who blends hands-on culinary experience with a passion for exploring global food traditions. A graduate of The Institute of Culinary Education in Los Angeles, Julian combines professional technique with a love for cultural discovery, diving into how dishes reflect heritage, migration, and identity. 

His work spans everything from in-depth cuisine guides to reflections on everyday meals around the world. With a curious palate and a journal always close by, Julian helps readers connect with food in a way that feels so insightful and personal.

Leave a Reply

Your email address will not be published. Required fields are marked *

Recipe rating 5 Stars 4 Stars 3 Stars 2 Stars 1 Star