Tangy Lemon Cheesecake Rice Krispie Treats Recipe to Adore
Sweet, no-bake lemon cheesecake rice krispie treats burst with zesty flavor and creamy goodness.
This delightful dessert combines the classic marshmallow base with tangy cream cheese and bright citrus notes.
Crispy rice cereal provides the perfect textural contrast to the smooth, velvety filling.
Each bite delivers a refreshing twist on the traditional rice krispie treat.
The lemon adds a vibrant, sunny dimension that makes these treats irresistibly light and delectable.
Creamy, crunchy, and utterly addictive, these treats will become your new favorite summer dessert.
Let’s find out this simple yet spectacular recipe that promises to delight your taste buds.
Quick Recipe Overview
Lemon Cheesecake Rice Krispie Treats Ingredient Rundown
For Base and Binding:For Creamy Cheesecake Flavor:For Finishing and Decoration:Equipment for Making Lemon Cheesecake Rice Krispies
How to Make Lemon Cheesecake Rice Krispie Treats
Grab a 9×13″ baking dish and coat it with a light cooking spray layer to prevent any sticky situations.
Warm butter in a spacious microwave-safe bowl, using short bursts until it transforms into a smooth liquid.
Blend most of the marshmallows into the melted butter, stirring carefully until they create a dreamy, creamy mixture.
Fold Rice Krispies into the warm marshmallow blend, ensuring every crispy piece gets coated with sweet goodness.
Press the mixture evenly into the prepared pan, creating a sturdy foundation for your delightful treat.
Whip cream cheese with condensed milk, lemon juice, and vanilla until the mixture becomes silky and luxurious.
Spread the lemony cheesecake mixture over the cooled Rice Krispie base, creating a smooth and even surface.
Let the dessert rest in the refrigerator for several hours until the cheesecake layer sets perfectly.
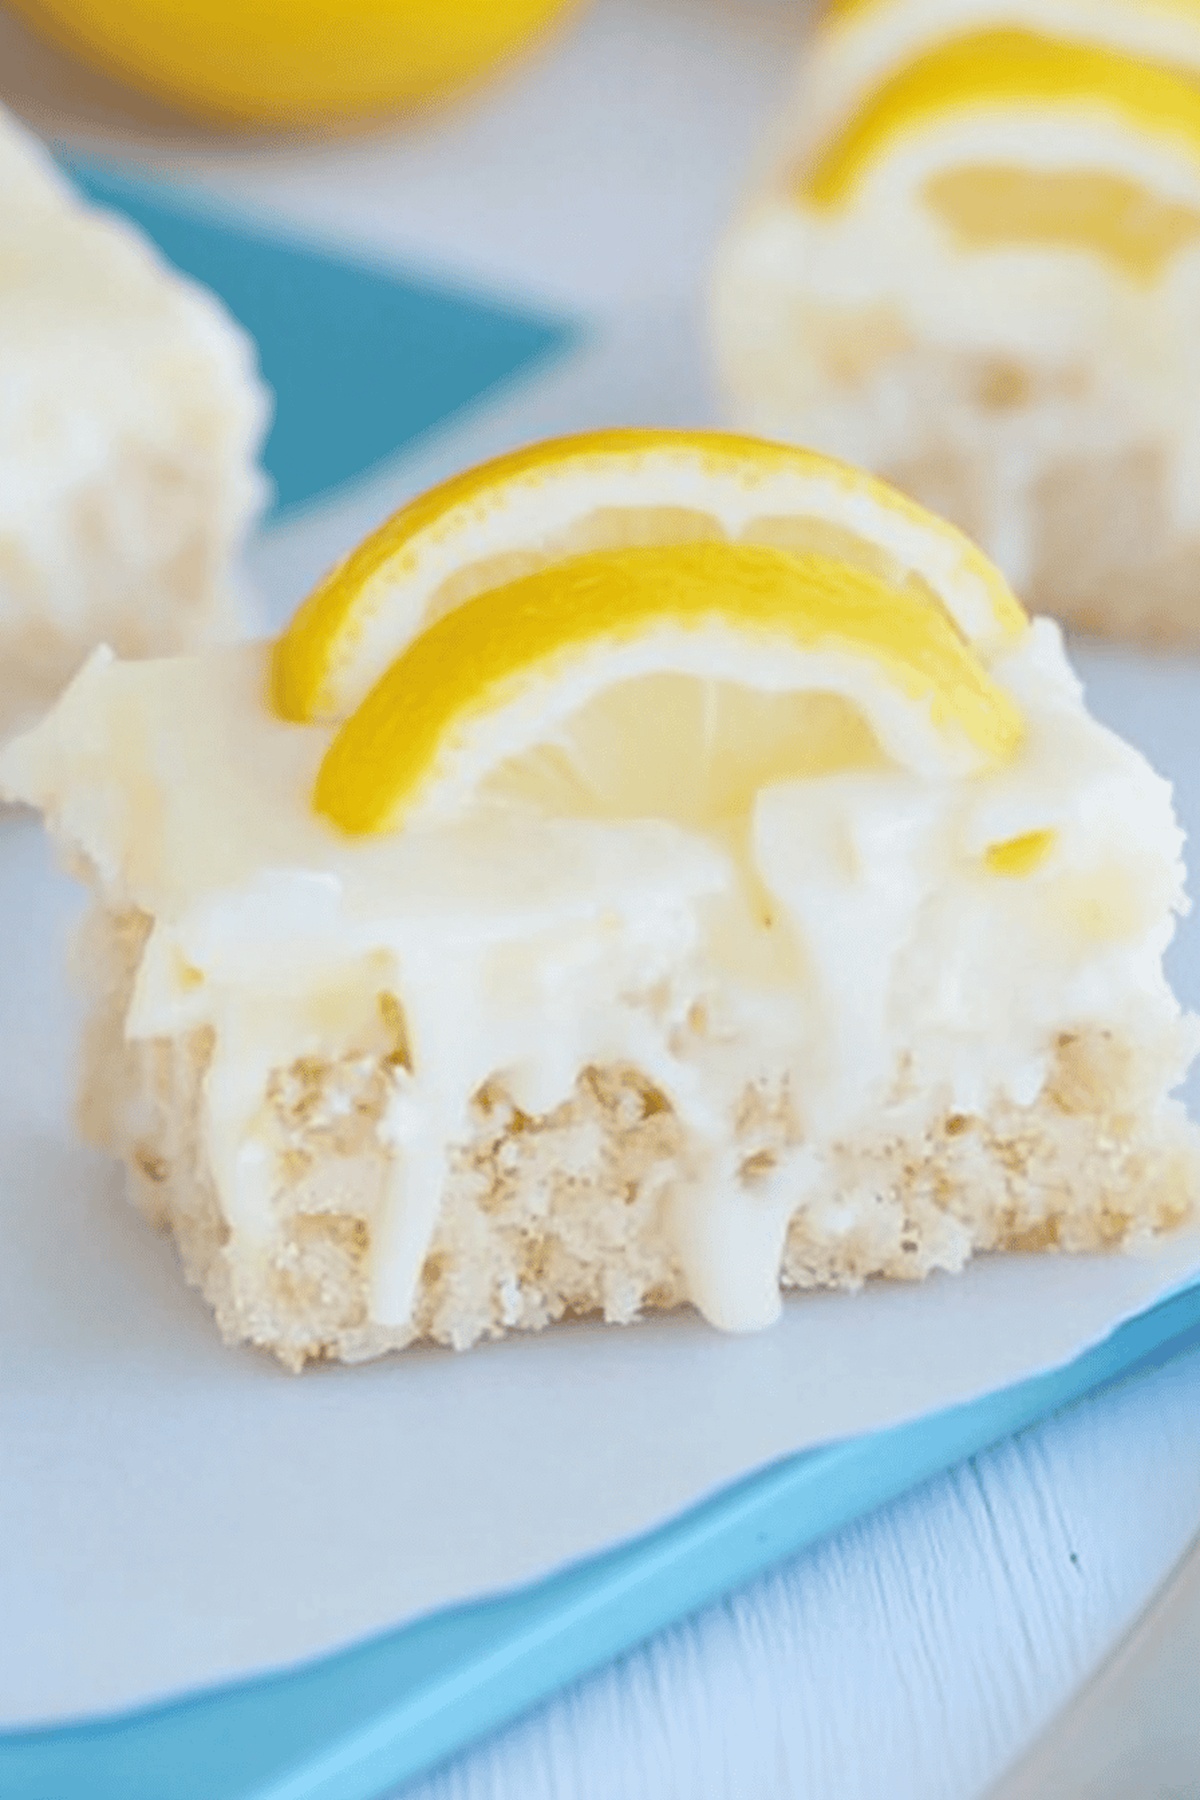
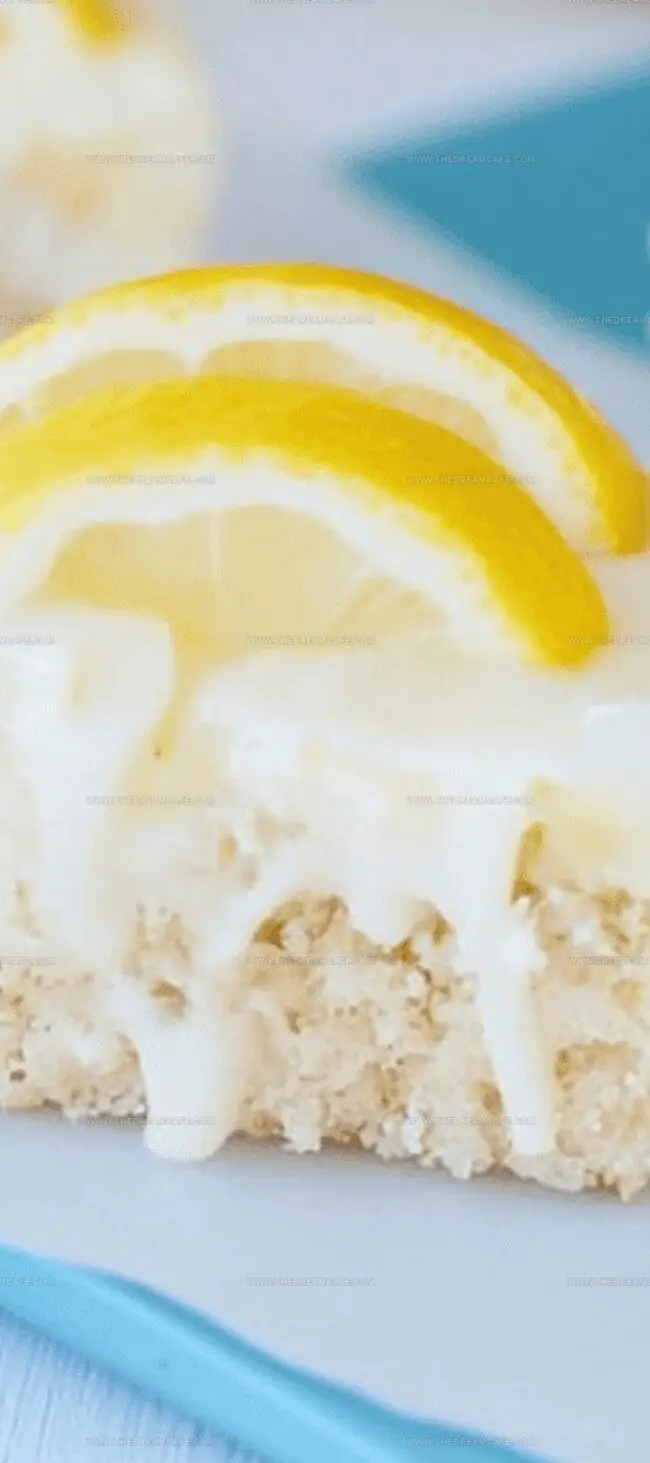
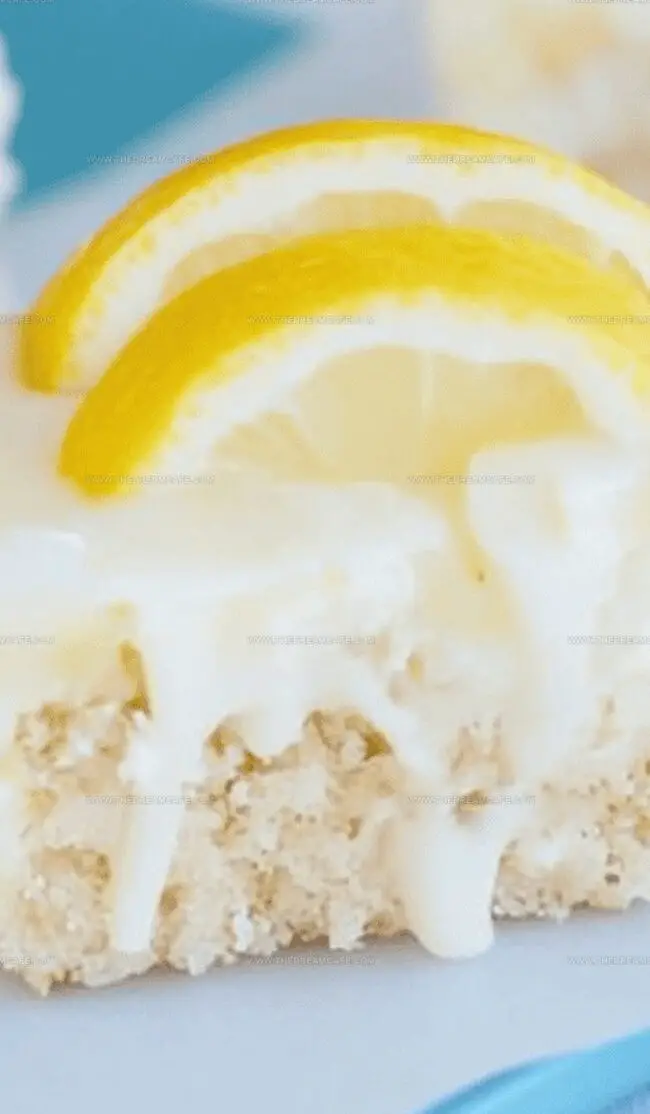
Slice into squares and drizzle with melted white chocolate, then sprinkle with fresh lemon zest for a burst of flavor.
Lemon Cheesecake Rice Krispie Tweaks and Tips
Serving Lemon Cheesecake Rice Krispies at Parties
Keep Lemon Cheesecake Rice Krispies Fresh Longer
Print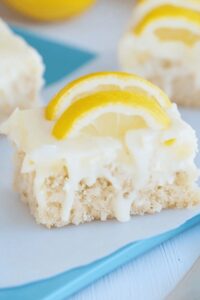
Zesty Lemon Cheesecake Rice Krispie Treats Recipe
- Total Time: 20 minutes
- Yield: 16 1x
Description
Zesty homemade lemon cheesecake rice krispie treats blend creamy cheesecake flavors with crispy marshmallow goodness. Classic dessert meets tangy citrus in this simple, delightful recipe you’ll crave again and again.
Ingredients
- 6 cups rice krispies cereal
- 6 cups mini marshmallows
- 8 oz (226 g) cream cheese, softened
- 14 oz (397 g) sweetened condensed milk
- 3 tbsps (45 mL) butter
- ⅓ cup (80 mL) lemon juice
- 1 tsp (5 mL) vanilla extract
- 1 drop yellow food dye (optional)
- ½ cup (85 g) white chocolate, for drizzling
- Lemon zest, for garnishing (optional)
Instructions
- Preparation: Spray a 9 × 13 inches baking pan thoroughly with cooking spray for effortless treat removal.
- Butter Marshmallow Base: Melt butter in a microwave-safe bowl, progressively adding marshmallows and heating until transformed into a luxurious, glossy mixture.
- Cereal Integration: Fold Rice Krispies into the warm marshmallow blend, ensuring comprehensive coating while preserving some marshmallow chunks for textural intrigue.
- Pan Layering: Gently press the cereal mixture into the prepared pan, creating an even foundation, and allow to cool completely at ambient temperature.
- Cheesecake Filling: Whip cream cheese, sweetened condensed milk, lemon juice, and vanilla extract into a velvety smooth concoction, optionally enhancing with a hint of yellow food coloring for visual appeal.
- Layering: Spread the cheesecake mixture uniformly over the cooled Rice Krispie base, ensuring a pristine, level surface.
- Chilling: Refrigerate for 3-4 hours until the cheesecake layer sets firmly and becomes thoroughly chilled.
- Finishing Touches: Slice into individual squares, drizzle with melted white chocolate, and garnish with fresh lemon zest for a vibrant, citrusy accent.
Notes
- Prevent Sticking: Thoroughly spray the entire pan with cooking spray to guarantee effortless treat removal and clean cutting.
- Master Marshmallow Melting: Heat butter and marshmallows slowly in short intervals to avoid burning, stirring consistently for a smooth, glossy texture.
- Preserve Textural Contrast: Fold in remaining marshmallows gently to create delightful pockets of marshmallow throughout the Rice Krispie base.
- Chill for Perfect Setting: Refrigerate for minimum 3-4 hours to ensure the cheesecake layer becomes completely firm and sliceable, allowing flavors to meld beautifully.
- Prep Time: 20 minutes
- Cook Time: 0 minutes
- Category: Desserts, Snacks
- Method: None
- Cuisine: American
Nutrition
- Serving Size: 16
- Calories: 218
- Sugar: 24 g
- Sodium: 72 mg
- Fat: 7 g
- Saturated Fat: 4 g
- Unsaturated Fat: 3 g
- Trans Fat: 0 g
- Carbohydrates: 36 g
- Fiber: 0.5 g
- Protein: 2 g
- Cholesterol: 18 mg
Sophie Reynolds
Co-Founder, Recipe Curator & Culinary Educator
Expertise
Education
Auguste Escoffier School of Culinary Arts, Boulder, CO
Oregon State University
Sophie Reynolds is the recipe developer and culinary voice behind many of the approachable, flavor-focused creations at The Dream Café.
Sophie’s style leans into comfort food made simple: wholesome, satisfying meals anyone can make with confidence. Her passion lies in helping home cooks feel at ease in the kitchen while finding joy in the everyday act of cooking.