
Homemade Zingy Pepper Jelly Recipe for Sweet-Spicy Spreads
Sticky, sweet, and bursting with tangy heat, this pepper jelly recipe delivers a condiment that dances between spicy and sublime.
Southern kitchens have long celebrated this vibrant spread as a versatile flavor bomb.
Homemade pepper jelly captures the essence of fresh peppers with remarkable depth and complexity.
Each spoonful brings a delightful balance of warmth and sweetness that instantly enhances any cheese board or charcuterie plate.
Green and red peppers mingle with sugar and vinegar to create a stunning preserve that sparkles like culinary jewels.
Serve this irresistible jelly alongside crackers, use it as a glaze, or gift jars to food-loving friends who appreciate small-batch delights.
This recipe promises a delectable journey into the world of homemade preserves that will have everyone asking for your secret.
Quick Recipe Overview
Building Blocks of a Great Pepper Jelly
For Creamy Base:For Flavor Enhancers:For Sweet-Spicy Topping:What You’ll Need to Make Pepper Jelly
Making Homemade Pepper Jelly Easily

Gather cream cheese, cheddar, garlic powder, onion flakes, and salt in a mixing bowl. Combine all ingredients until they form a smooth, creamy consistency.
Select an oven-safe dish or pie pan. Spread the cheese mixture evenly across the surface, ensuring a uniform layer.
Warm the oven to a cozy 350°F. Slide the cheese-filled dish into the heated space and let it transform for approximately 15 minutes until the cheese becomes bubbly and irresistibly golden.
While the cheese bakes, gently heat the pepper jelly in a microwave-safe container. Zap in short 30-second bursts, stirring between intervals until the jelly becomes silky and pourable.
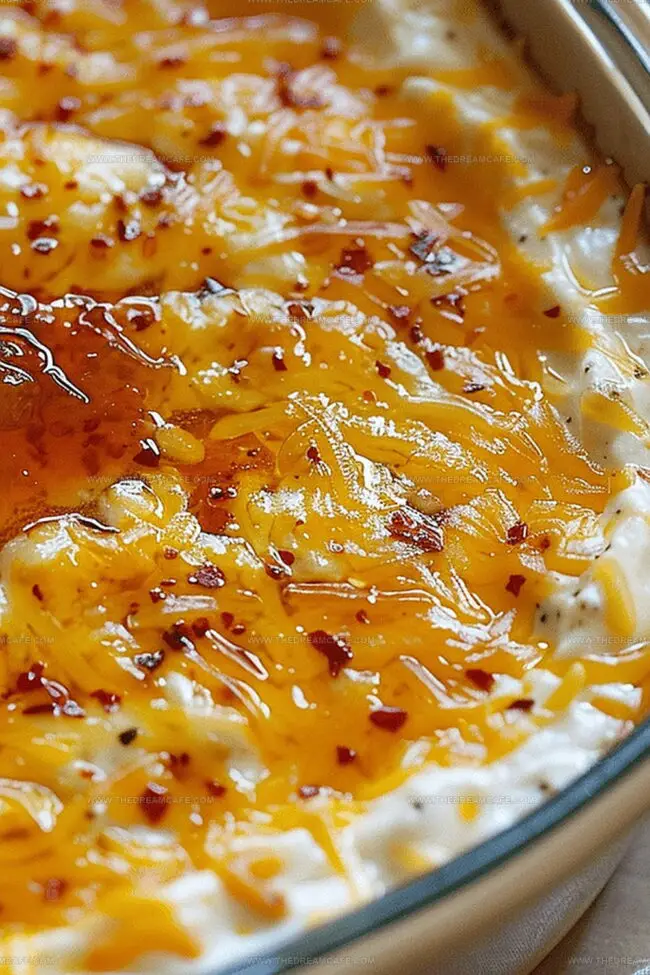
Once the cheese dip emerges hot and tempting, drizzle the melted pepper jelly across the surface. Use a spoon to spread the jelly evenly, creating a beautiful marbled effect that promises a burst of flavor in every bite.
Adjustments for Different Pepper Jelly Heat Levels
How to Pair Pepper Jelly on Your Table
Storage and Shelf Life for Pepper Jelly
Print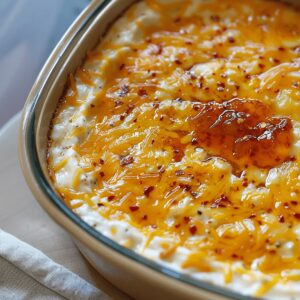
Zesty Pepper Jelly Recipe
- Total Time: 25 minutes
- Yield: 9 1x
Description
Homemade pepper jelly blends sweet and spicy flavors in a quick, delightful spread perfect for cheese platters or appetizers. Cooks can easily prepare this condiment with fresh peppers, sugar, and pectin for a zesty kitchen creation you’ll want to share with friends.
Ingredients
- 7 oz (198 g) pepper jelly
- 8 oz (226 g) cream cheese, softened
- 4 oz (113 g) sharp cheddar, shredded
- 1 tsp onion flakes
- ½ tsp garlic powder
- ½ tsp salt
Instructions
- Preparation: Preheat oven to 350°F (175°C) with rack centered for uniform heating, ensuring optimal cooking environment.
- Mixing: Blend cream cheese, cheddar cheese, garlic powder, onion flakes, and kosher salt in a medium bowl until ingredients form a smooth, homogeneous mixture.
- Assembling: Spread the cheese blend evenly into a ceramic or glass oven-safe dish, creating a uniform surface for consistent baking.
- Baking: Roast the cheese mixture for 12-15 minutes, monitoring until edges turn golden and cheese develops a luscious, bubbling texture.
- Jelly Preparation: Warm pepper jelly in microwave using 20-30 second intervals, stirring between each cycle to achieve a silky, pourable consistency.
- Finishing: Extract the baked cheese dip from oven, then drizzle melted pepper jelly across the surface, distributing it elegantly with a spoon or spatula.
- Serving: Rest the dip for 2-3 minutes, allowing flavors to harmonize and preventing potential mouth burns when enjoying this delectable appetizer.
Notes
- Cheese Selection Matters: Use high-quality, full-fat cream cheese and sharp cheddar for the richest, most flavorful dip experience.
- Prevent Overheating: Watch the cheese carefully during baking to avoid burning or separating, which can result in a grainy texture.
- Jelly Heating Technique: Microwave pepper jelly gently to maintain its vibrant color and prevent scorching or caramelization.
- Serving Temperature: Let the dip rest briefly after baking to allow flavors to develop and prevent potential mouth burns from extreme heat.
- Prep Time: 10 minutes
- Cook Time: 15 minutes
- Category: Breakfast, Snacks
- Method: Blending
- Cuisine: American
Nutrition
- Serving Size: 9
- Calories: 145
- Sugar: 7 g
- Sodium: 270 mg
- Fat: 10 g
- Saturated Fat: 6 g
- Unsaturated Fat: 4 g
- Trans Fat: 0 g
- Carbohydrates: 8 g
- Fiber: 0 g
- Protein: 5 g
- Cholesterol: 30 mg
Sophie Reynolds
Co-Founder, Recipe Curator & Culinary Educator
Expertise
Education
Auguste Escoffier School of Culinary Arts, Boulder, CO
Oregon State University
Sophie Reynolds is the recipe developer and culinary voice behind many of the approachable, flavor-focused creations at The Dream Café.
Sophie’s style leans into comfort food made simple: wholesome, satisfying meals anyone can make with confidence. Her passion lies in helping home cooks feel at ease in the kitchen while finding joy in the everyday act of cooking.