
Ina Garten’s Cheesy Baked Ziti Recipe for Cozy Dinners
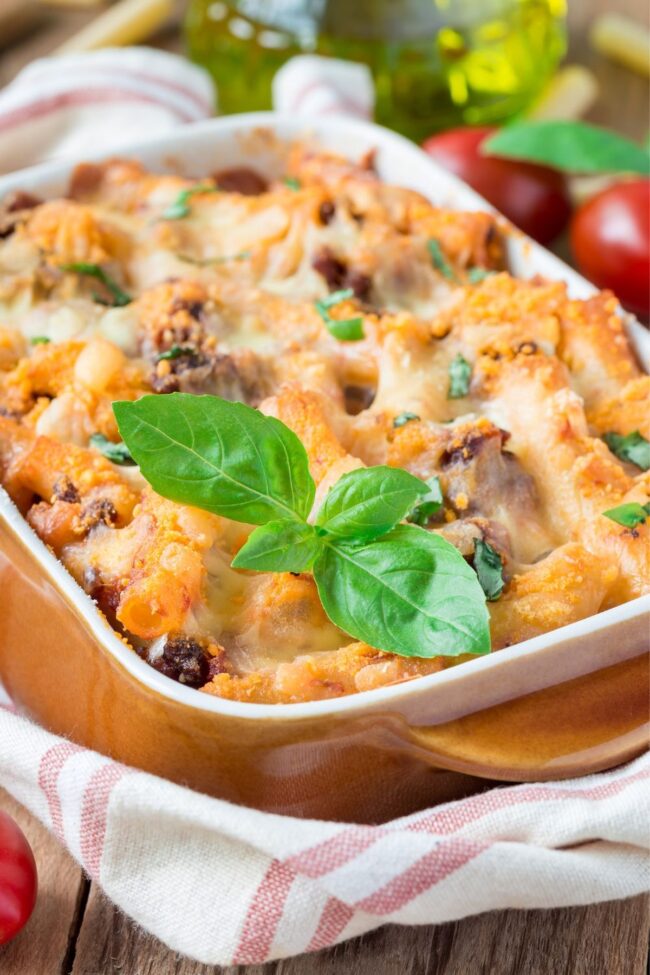
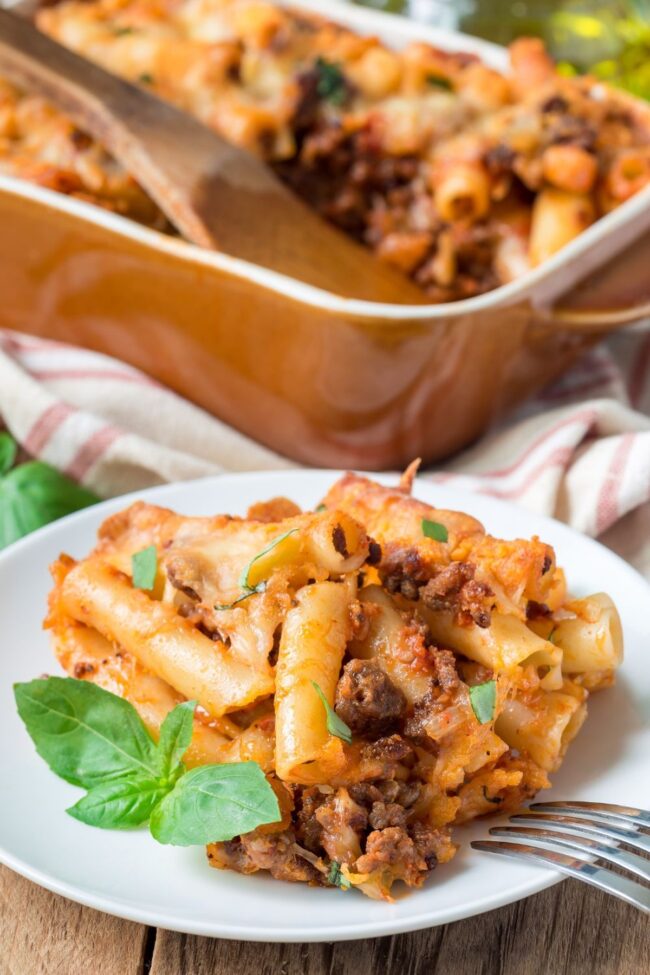
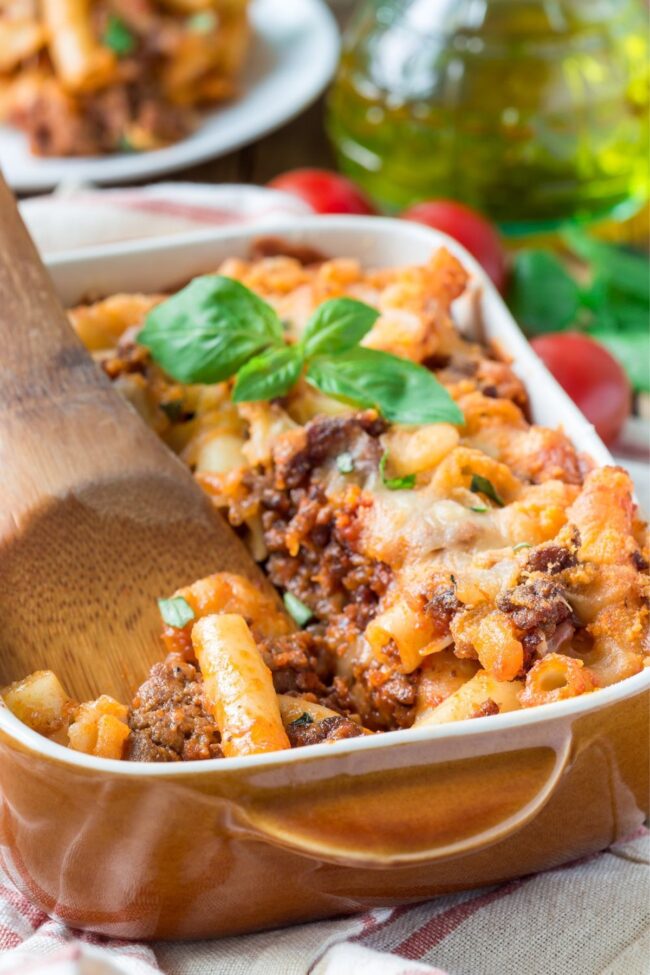
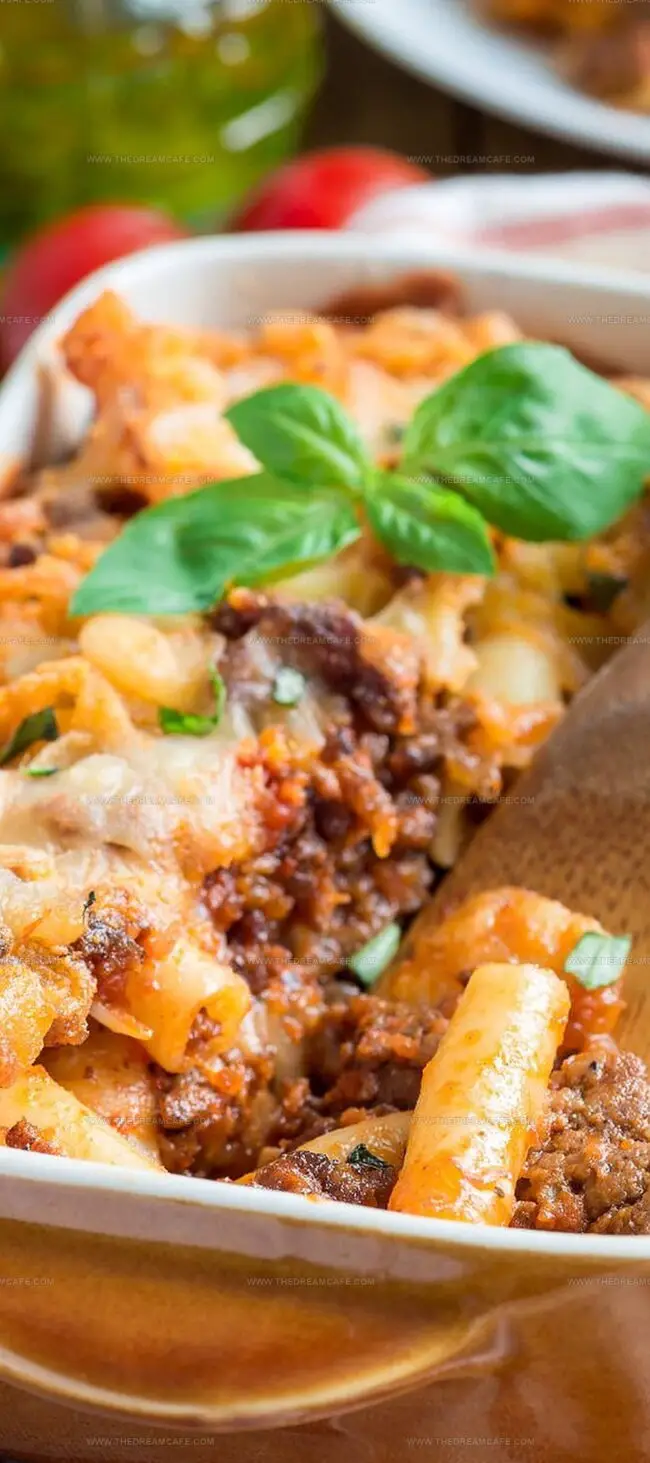
Baked ziti stands as a classic comfort food that warms hearts and satisfies hungry families with its rich, cheesy embrace.
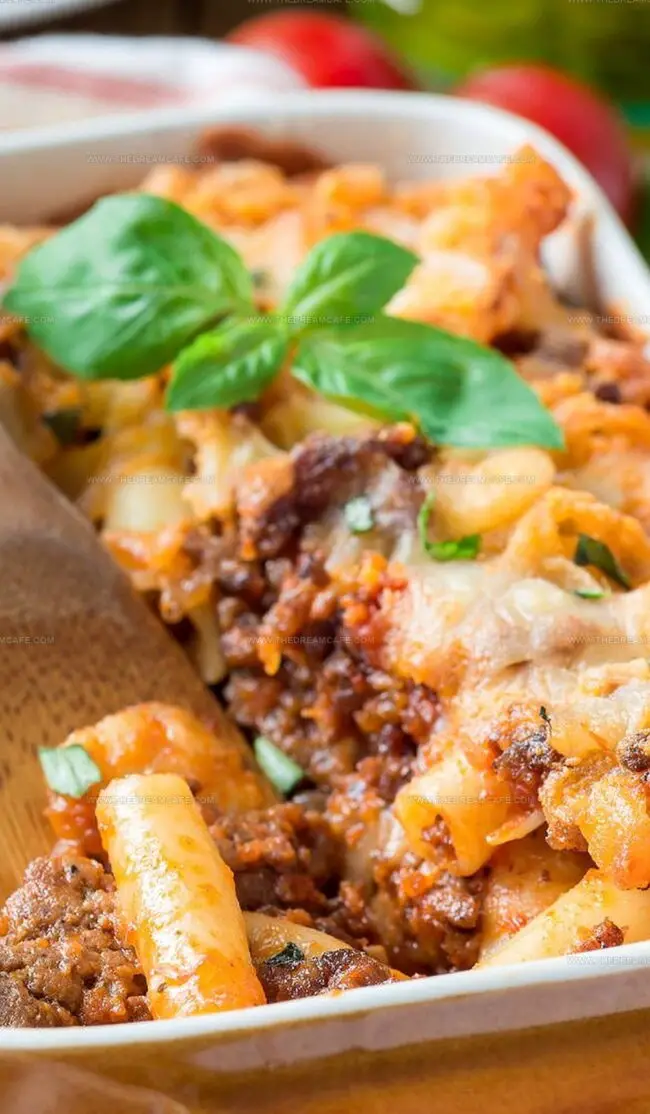
Hearty layers of pasta, robust sauce, and melted cheese create a symphony of flavors that dance across your palate.
Ina Garten’s signature approach transforms this traditional dish into a culinary masterpiece that feels both familiar and innovative.
Italian-inspired ingredients merge seamlessly to craft a meal that promises pure deliciousness.
Creamy ricotta, tangy tomatoes, and savory sausage blend together in perfect harmony.
Her method ensures each bite delivers maximum satisfaction and comfort.
Professional techniques elevate this simple casserole from ordinary to extraordinary: you’ll want to savor every mouthful.
Why Ina Garten Baked Ziti Brings Comfort Every Time
What You’ll Need for Ina Garten Baked Ziti
Meat and Protein:Dairy and Cheese:Pasta and Sauce:Herbs and Seasonings:Other Ingredients:Cooking Essentials:How to Layer and Bake the Ziti Like a Pro
Step 1: Prepare Oven Temperature
Warm up your oven to 375°F (190°C), creating the perfect cozy environment for baking.
Step 2: Brown Sausage And Onions
In a large skillet, sizzle Italian sausage with onions over medium heat until meat turns golden and crumbly. Drain away excess fat to keep the dish light.
Step 3: Create Robust Sauce
Add these ingredients to the skillet:Simmer the mixture for 10-15 minutes until sauce thickens and develops rich flavors.
Step 4: Cook Pasta Perfectly
Boil ziti pasta in salted water until al dente. Drain and set aside, ensuring pasta maintains a slight firmness.
Step 5: Prepare Cheese Mixture
Blend these ingredients in a bowl:Step 6: Layer First Casserole Base
Spread one cup of sauce across a buttered 9×13 inch baking pan. Layer half the cooked ziti, then spread the cheese mixture evenly. Top with remaining sauce.
Step 7: Add Final Cheese Layer
Arrange remaining ziti, pour remaining sauce, and sprinkle remaining mozzarella and Parmesan cheeses on top.
Step 8: Bake To Perfection
Slide the pan into the preheated oven. Bake for 25-30 minutes until cheese turns golden and bubbly.
Step 9: Rest And Serve
Allow the baked ziti to rest for 10 minutes, letting flavors marry and settle before serving.
Top Tips for Melty, Cheesy Perfection
Keeping Ina Garten Baked Ziti Fresh and Tasty
Ways to Switch Up the Classic Baked Ziti
Final Bite of Ina Garten Baked Ziti
Culinary magic unfolds with Ina Garten’s baked ziti, a symphony of Italian comfort that dances between rustic charm and gourmet elegance.
Layers of pasta, rich sauce, and melted cheeses create a memorable dining experience that connects family and friends around warm plates.
Complex flavors mingle seamlessly, telling stories of traditional Mediterranean cooking with modern finesse.
Hearty sausage adds depth, while creamy ricotta provides luxurious texture that elevates this classic dish.
Home kitchens transform into Italian trattorias with each bubbling, golden-crusted bite.
Passionate cooks and hungry souls alike will crave this recipe that promises connection, satisfaction, and pure deliciousness – so grab those ingredients, share this mouthwatering masterpiece, drop a comment below, and let culinary love spread like melted cheese!
Print
Low Carb Keto Avocado Chicken Salad Recipe
- Total Time: 40 minutes
- Yield: 4 1x
Description
Keto avocado chicken salad delivers creamy, protein-packed deliciousness without carb overload. Zesty herbs and rich avocado combine for a Mediterranean-inspired meal that satisfies keto dieters seeking flavorful, nutritious lunch options.
Ingredients
Main Ingredients:
- 2 medium avocados
- 2 cups (250 g) shredded cooked chicken
Vegetables and Herbs:
- ⅓ cup (50 g) red onion, diced
- ¼ cup (4 tablespoons) fresh cilantro, chopped
- ½ medium jalapeño, minced (optional)
Seasonings:
- 2 tablespoons (30 ml) lime juice
- ¼ teaspoon sea salt, or to taste
- ¼ teaspoon black pepper, or to taste
Instructions
- Place ripe avocados in a spacious mixing bowl, carefully slice and scoop out the flesh using a spoon. Drizzle freshly squeezed lime juice over the avocado to prevent browning and enhance flavor.
- Gently mash the avocado pieces using a fork or potato masher, creating a textured consistency with some small chunks remaining for added texture and visual appeal.
- Incorporate finely diced red onion, ensuring pieces are uniform and not too large to maintain a balanced bite in the salad.
- Add shredded chicken, preferably from a roasted or poached chicken breast, breaking it into small, tender pieces that will blend seamlessly with the creamy avocado base.
- Sprinkle chopped fresh cilantro (about) to introduce a bright, herbaceous note that complements the rich avocado and chicken.
- If desired, include finely minced jalapeño for a subtle heat, removing seeds to control spice level and ensure even distribution throughout the salad.
- Season with kosher salt (or 2.5 grams) and freshly ground black pepper (or 0.5 grams) to enhance the overall flavor profile.
- Gently fold all ingredients together, ensuring even coating and distribution of seasonings without overmixing and turning the salad into a paste.
- Taste and adjust seasoning as needed, adding more lime juice, salt, or pepper to achieve the perfect balance of flavors.
- Serve immediately at room temperature or chill for 15-30 minutes to allow flavors to meld and create a refreshing, cool salad experience.
Notes
- Prevent browning by adding lime juice immediately after cutting avocados to maintain their fresh green color and vibrant appearance.
- Shred chicken into ultra-fine pieces to ensure even distribution and create a more cohesive, smooth texture throughout the salad.
- Select perfectly ripe avocados that yield gently when pressed, guaranteeing a creamy and spreadable consistency for your dish.
- Mince herbs and vegetables into tiny, uniform pieces to balance flavors and ensure each bite delivers a harmonious blend of ingredients.
- Customize the salad’s seasoning by tasting and incrementally adjusting salt, pepper, and citrus levels to match your personal preference.
- Prep Time: 10 minutes
- Cook Time: 30 minutes
- Category: Lunch, Dinner, Snacks
- Method: Blending
- Cuisine: American
Nutrition
- Serving Size: 4
- Calories: 228
- Sugar: 1.1g
- Sodium: 240mg
- Fat: 15.6g
- Saturated Fat: 3.2g
- Carbohydrates: 8.5g
- Fiber: 5.7g
- Protein: 15.8g
- Cholesterol: 49mg
Julian Park
Co-Founder, Cuisine Researcher & Food Culture Writer
Expertise
Education
The Institute of Culinary Education (ICE), Los Angeles, CA
Julian Park is a natural storyteller at The Dream Café who blends hands-on culinary experience with a passion for exploring global food traditions. A graduate of The Institute of Culinary Education in Los Angeles, Julian combines professional technique with a love for cultural discovery, diving into how dishes reflect heritage, migration, and identity.
His work spans everything from in-depth cuisine guides to reflections on everyday meals around the world. With a curious palate and a journal always close by, Julian helps readers connect with food in a way that feels so insightful and personal.