Ina Garten’s Spiced Pumpkin Cheesecake Recipe for Fall
Pumpkin cheesecake represents pure autumn comfort in each decadent slice.
Rich, velvety textures meld with warm seasonal spices that dance across your palate.
The classic dessert transforms simple ingredients into an extraordinary sensory experience.
Creamy layers promise a luxurious encounter with traditional fall flavors.
Baking enthusiasts adore how this recipe balances sweetness and complexity with remarkable finesse.
Subtle nuances elevate this dessert from ordinary to extraordinary with minimal effort.
Complex yet approachable, this recipe welcomes bakers of every skill level: Get ready to impress everyone at your next gathering.
Why Ina Garten Pumpkin Cheesecake Is the Star of Fall
What You Need for Pumpkin Cheesecake
Crust Ingredients:Cheesecake Filling Ingredients:Spice and Flavoring Ingredients:How to Bake a Creamy Pumpkin Cheesecake
Step 1: Prepare the Oven
Preheat the oven to 325°F (163°C). Carefully wrap a 9-inch springform pan completely with aluminum foil, ensuring a tight seal to prevent water from seeping in during baking.
Step 2: Create the Crunchy Crust
Gather your crust ingredients:Mix the ingredients until well combined. Press the mixture firmly into the bottom of the prepared pan. Bake for 10 minutes until the crust turns a golden brown. Remove and let cool completely.
Step 3: Boil Water Preparation
Bring a kettle of water to a rolling boil. Set aside for the water bath method.
Step 4: Whip Up the Creamy Filling
In a large mixing bowl, use an electric mixer to beat cream cheese until silky smooth (about 2 minutes). Gradually add sugar and continue mixing until light and fluffy (approximately 3 minutes). Gently incorporate:Mix thoroughly. Add eggs one at a time, mixing gently and scraping the bottom of the bowl to ensure even distribution. Pour the filling over the prepared crust and tap the pan to release any air bubbles.
Step 5: Create the Perfect Water Bath
Place the cheesecake pan inside a large roasting pan. Carefully transfer to the preheated oven. Slowly pour the boiling water into the roasting pan, filling it about one-third up the sides of the cheesecake pan. Bake for approximately 1 1/2 hours, or until the edges are set but the center still has a slight jiggle.
After baking, turn off the oven, crack the door open, and let the cheesecake rest inside for 30-45 minutes. Remove and cool completely, then refrigerate for at least 8 hours or overnight.
Step 6: Serve and Enjoy
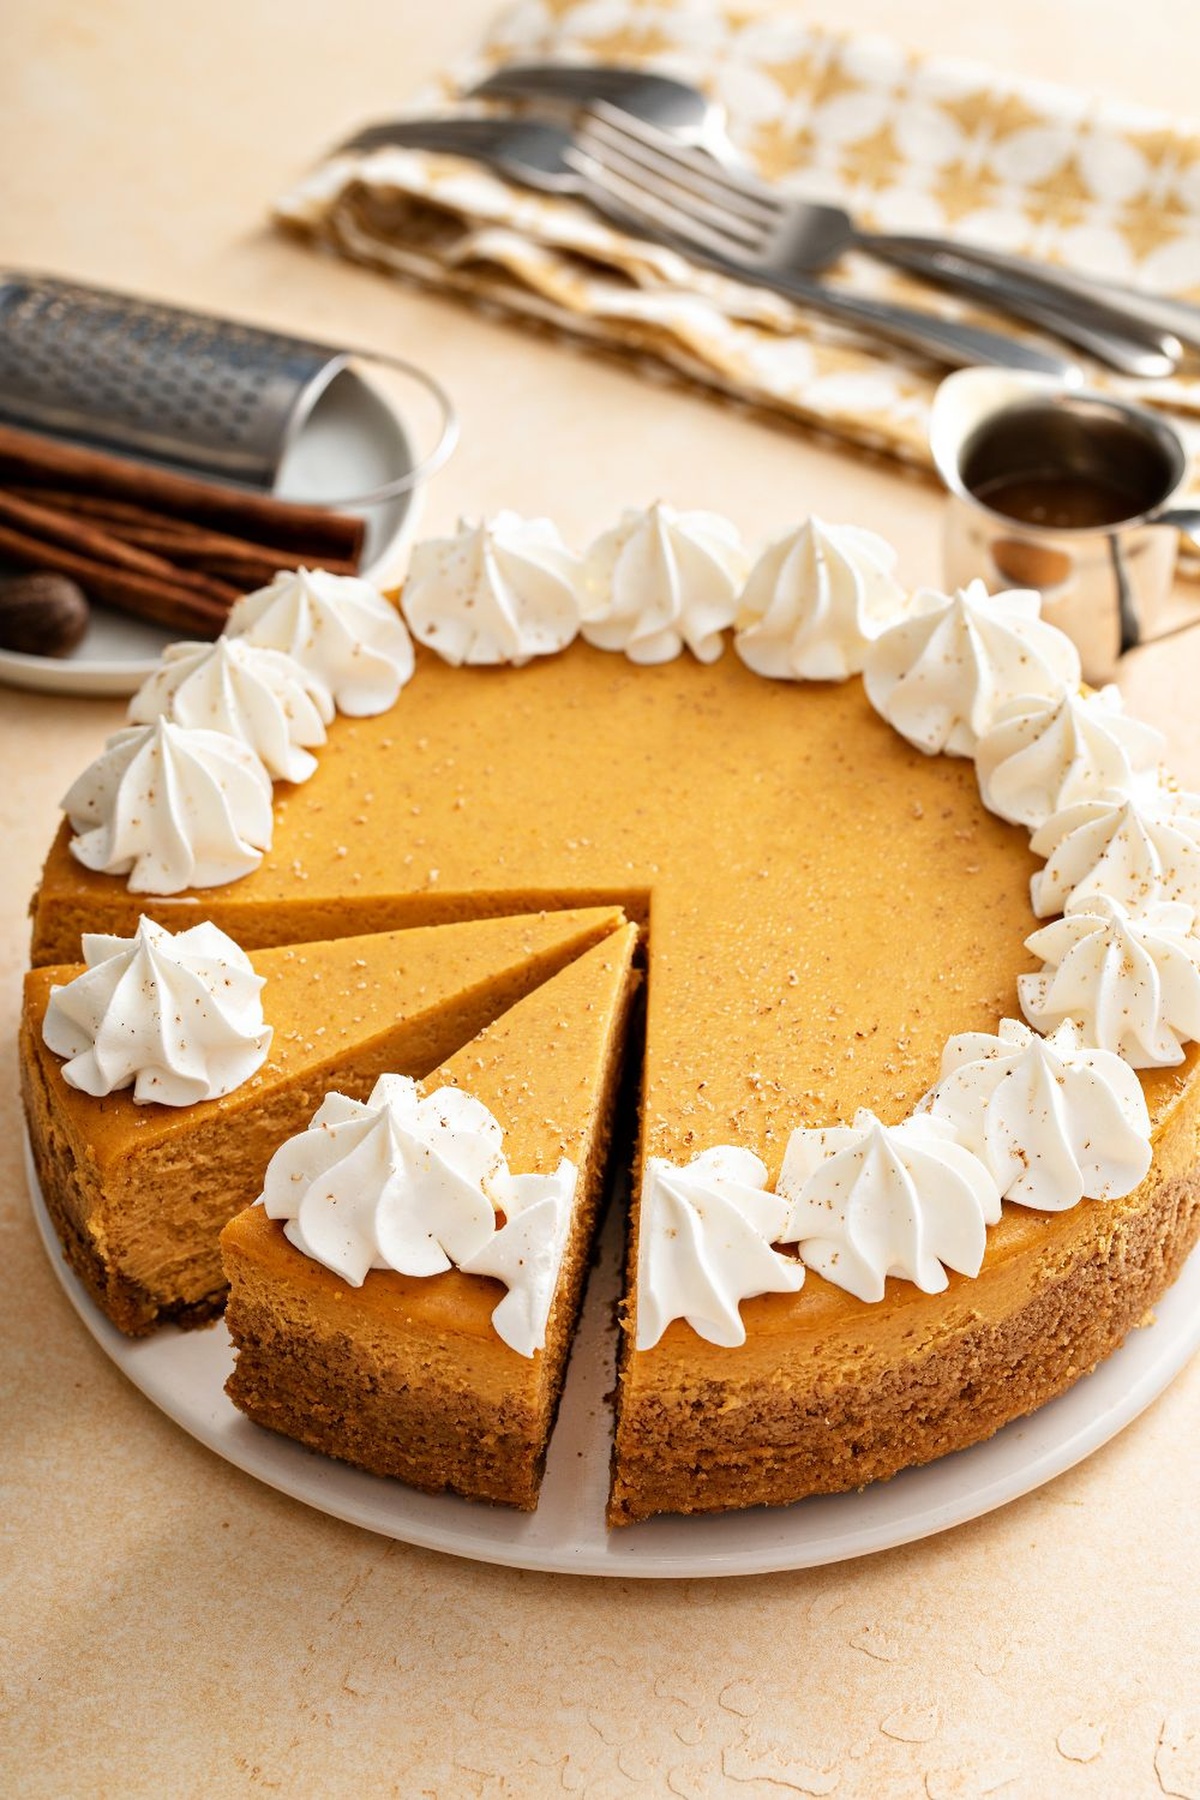
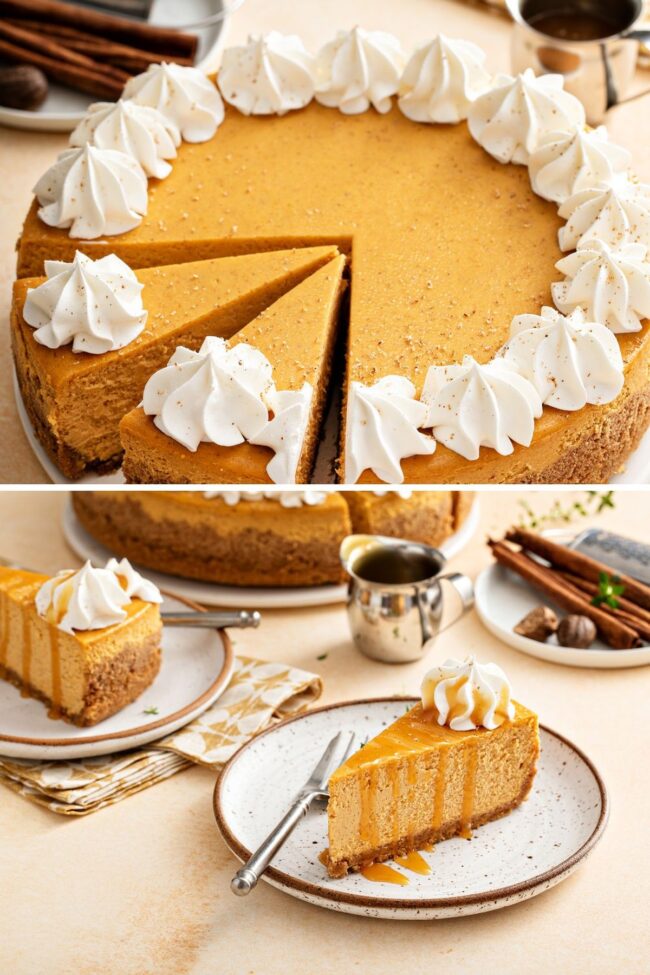
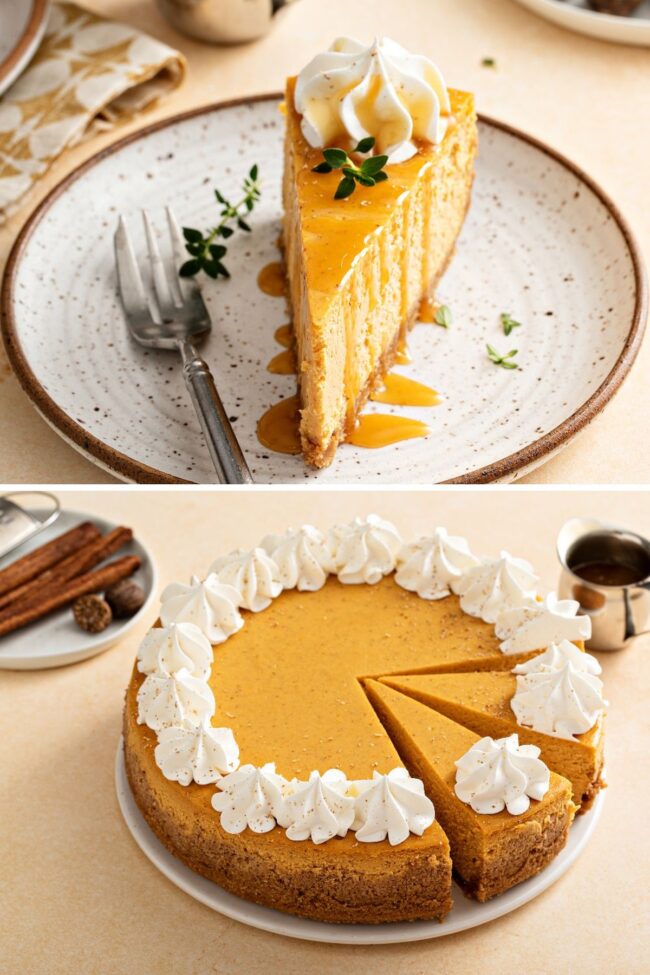
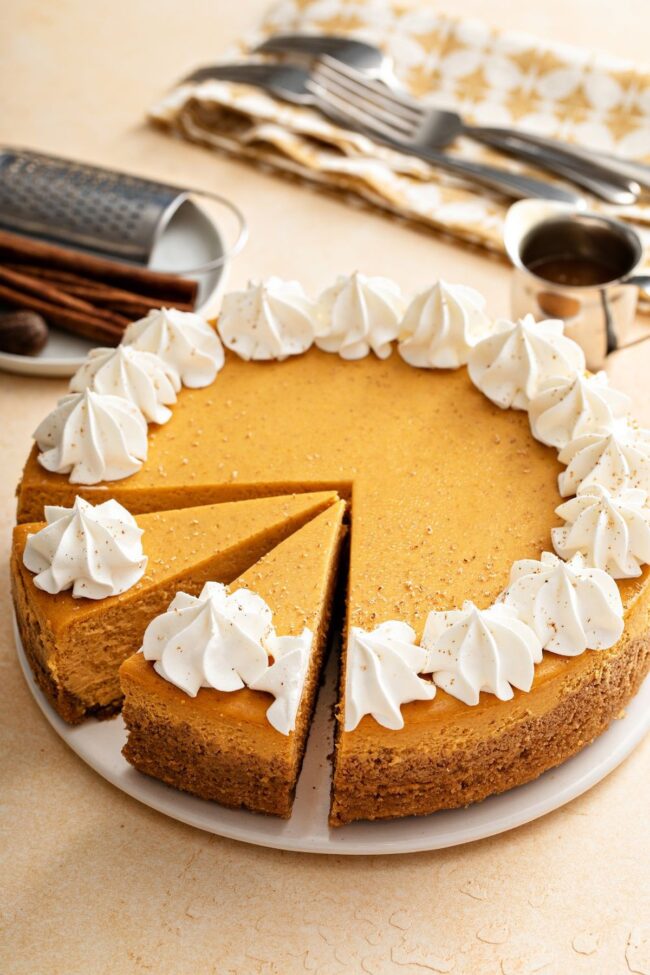
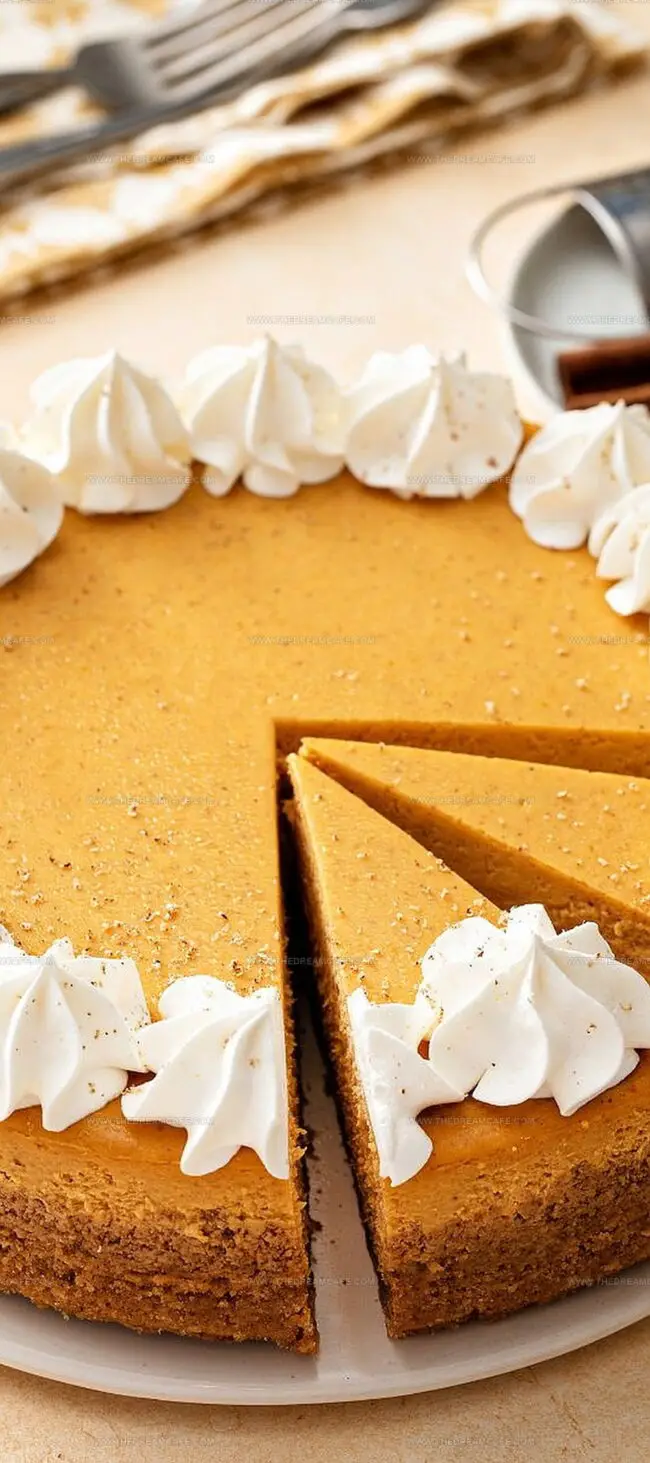
Remove the cheesecake from the refrigerator 30 minutes before serving. Carefully release the springform pan’s ring. Top with freshly whipped cream. Slice and savor every creamy, pumpkin-spiced bite!
Pro Tip: For clean slices, use a knife dipped in hot water and wiped dry between each cut.
Tips for a Crack-Free Top and Smooth Texture
Storage Suggestions for Cheesecake Slices
Autumn Variations for Pumpkin Cheesecake Fans
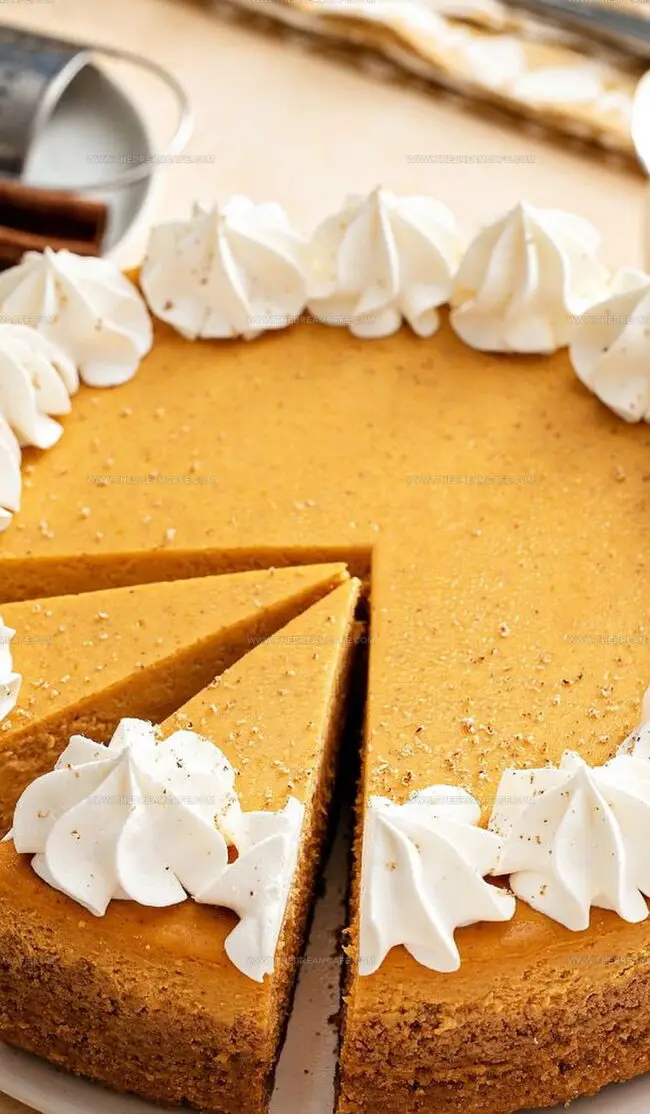
Final Slice of Ina Garten Pumpkin Cheesecake
Pumpkin cheesecake elevates autumn dessert experiences with Ina Garten’s masterful recipe.
Seasonal spices dance harmoniously through each luxurious slice.
Creamy textures meld sophisticated graham cracker foundations with rich cream cheese depths.
Complex flavors whisper nostalgic memories of harvest celebrations.
Professional bakers and home kitchen enthusiasts alike can craft this elegant dessert.
Readers should dive into baking, share their delicious results, spark conversations, and inspire culinary adventures among friends and family.
Print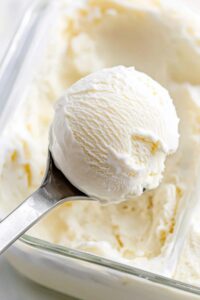
Low Carb Keto Ice Cream Recipe
- Total Time: 35 minutes
- Yield: 6 1x
Description
Silky Italian-inspired keto ice cream delivers rich, creamy indulgence without sugar guilt. Smooth Madagascar vanilla and heavy cream combine in a luxurious dessert that satisfies keto dieters and classic ice cream enthusiasts alike.
Ingredients
Main Ingredients:
- 3 tablespoons (42 grams/1.5 ounces) Unsalted butter
- 3 cups (720 milliliters/24 fluid ounces) Heavy cream, divided (2 cups/480 milliliters + 1 cup/240 milliliters)
- 1 cup (240 milliliters/8 fluid ounces) Unsweetened almond milk (or unsweetened coconut milk for a nut-free option)
Sweeteners:
- ⅓ cup (50 grams/1.8 ounces) Powdered monk fruit allulose blend
Flavor Enhancers:
- 2 teaspoons Vanilla extract
Instructions
- In a spacious sauté pan or skillet, melt the butter over medium heat. Incorporate the powdered sweetener and of heavy cream, allowing the mixture to reach a boiling point. Reduce the temperature and let it gently simmer for 30-45 minutes, periodically stirring to prevent scorching. The sauce should thicken to a condensed milk consistency, coating the back of a spoon and reducing by half. When tilted, the mixture should pull away from the pan’s edges. Transfer the reduced cream to a large mixing bowl and allow it to cool to room temperature before introducing the vanilla extract.
- Thoroughly whisk the almond milk and remaining of heavy cream into the cooled mixture until completely smooth and homogeneous. Refrigerate the liquid base for a minimum of 4 hours or ideally overnight to enhance its texture and flavor development.
- For traditional churned ice cream, pour the chilled mixture into an ice cream maker and process according to the manufacturer’s guidelines until it reaches a soft-serve consistency, typically requiring 20-25 minutes. If desired, incorporate mix-ins during the final moments of churning. Immediately transfer the freshly churned ice cream to a freezer-safe container and allow it to firm up for 2-4 hours.
- For the no-churn method, carefully pour the liquid base into a freezer-safe container, such as a 9×5 inch (23×13 centimeter) loaf pan. Smooth the surface to ensure even freezing. Cover the top with parchment or wax paper to prevent ice crystal formation. Freeze the mixture, stirring vigorously every 30 minutes during the initial 2 hours, then every 60-90 minutes for the subsequent 2-3 hours. Once the ice cream reaches a firm consistency, scoop and serve immediately.
Notes
- Use a wide pan for faster thickening to help the cream reduce quicker, giving you a perfect thick, condensed texture without waiting ages.
- Chill the mixture overnight in the fridge for an incredibly smooth and creamy final ice cream that melts perfectly on your tongue.
- Stirring no-churn ice cream every 30-90 minutes prevents annoying ice crystals and ensures a dreamy, soft texture everyone will love.
- Powdered sweeteners like monk fruit or allulose create silky-smooth results, avoiding the graininess that comes from using granulated options.
- Let your frozen dessert sit at room temperature for 10-15 minutes before serving, transforming it from rock-hard to scoop-ready deliciousness.
- Prep Time: 5 minutes
- Cook Time: 30 minutes
- Category: Desserts, Snacks, Drinks
- Method: Simmering
- Cuisine: American
Nutrition
- Serving Size: 6
- Calories: 467
- Sugar: 3.7g
- Sodium: 63mg
- Fat: 49.3g
- Saturated Fat: 30.3g
- Carbohydrates: 3.5g
- Fiber: 0.2g
- Protein: 3.4g
- Cholesterol: 150mg
Julian Park
Co-Founder, Cuisine Researcher & Food Culture Writer
Expertise
Education
The Institute of Culinary Education (ICE), Los Angeles, CA
Julian Park is a natural storyteller at The Dream Café who blends hands-on culinary experience with a passion for exploring global food traditions. A graduate of The Institute of Culinary Education in Los Angeles, Julian combines professional technique with a love for cultural discovery, diving into how dishes reflect heritage, migration, and identity.
His work spans everything from in-depth cuisine guides to reflections on everyday meals around the world. With a curious palate and a journal always close by, Julian helps readers connect with food in a way that feels so insightful and personal.