Dreamy No Bake Banana Pudding Cheesecake Recipe for Sweet Fans
Creamy, dreamy no bake banana pudding cheesecake has become the ultimate dessert sensation for those seeking a delightful sweet escape.
This luscious treat combines the classic comfort of banana pudding with the rich, smooth texture of a classic cheesecake.
Summer gatherings and potlucks will never be the same once you serve this incredible no-bake masterpiece.
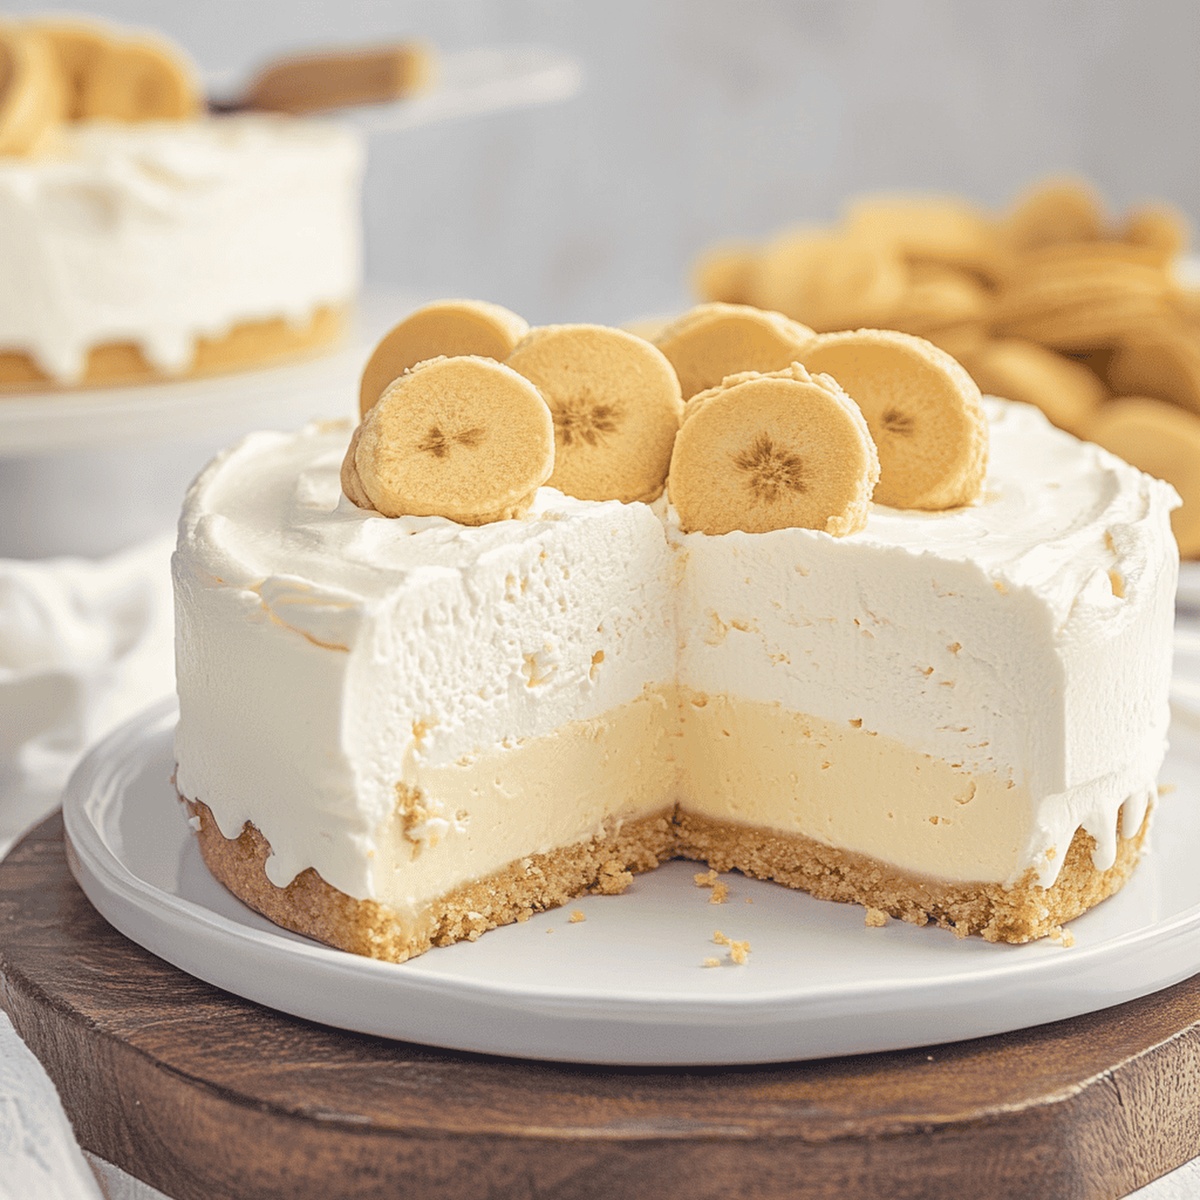
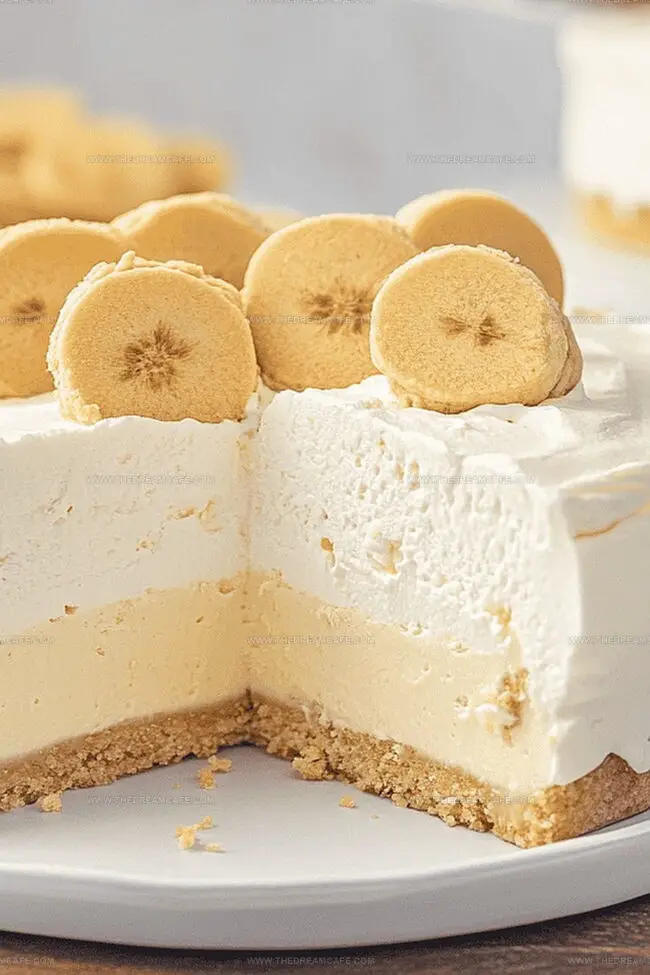
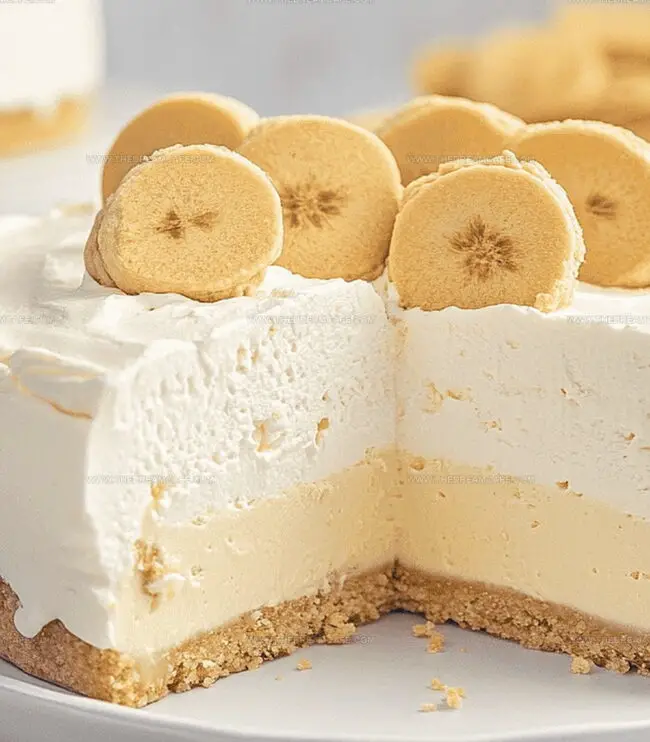
The layers of silky cream, fresh bananas, and buttery graham cracker crust create a symphony of flavors that dance on your palate.
Each spoonful promises a heavenly blend of nostalgic pudding notes and tangy cheesecake goodness.
Minimal effort and maximum flavor make this dessert a winner for anyone looking to impress without spending hours in the kitchen.
Let’s find out this delectable recipe and watch as your dessert becomes the star of any meal.
Quick Recipe Overview
What’s Inside a No Bake Banana Pudding Cheesecake
For Base and Binding:For Flavor and Texture Enhancement:For Volume and Lightness:Tools That Help Make No Bake Banana Cheesecake
Directions for No Bake Banana Pudding Cheesecake
Grab your favorite food processor and transform vanilla wafers into sandy crumbs. Mix in a touch of brown sugar for extra warmth and depth. Drizzle melted butter throughout, creating a texture that holds together like delicate beach sand.
Press the buttery crumb mixture firmly into your springform pan, creating a smooth, compact foundation. Pop this into the freezer for a quick 20-minute chill session to set the stage for deliciousness.
Whip softened cream cheese until it becomes silky smooth, incorporating pudding mix and yogurt. Gently fold in fluffy whipped topping, creating a cloud-like mixture that promises incredible texture and flavor.
Arrange delicate banana slices across the chilled crust, creating a sweet surprise beneath the creamy filling. Pour the luscious cheesecake mixture over the bananas, spreading it evenly with tender care.
Crown your creation with a generous layer of whipped topping. Seal the pan and let it rest in the refrigerator for several hours, allowing flavors to dance and mingle.
Carefully release the springform pan’s edges. Garnish with extra banana slices, crushed wafers, or a swirl of whipped cream. Slice and savor each dreamy, no-bake bite of pure dessert bliss.
Topping Tips for No Bake Banana Cheesecake
How to Present No Bake Banana Cheesecake Beautifully
Storing No Bake Banana Cheesecake for Freshness
Print
Creamy Banana Pudding Cheesecake Recipe
- Total Time: 20 minutes
- Yield: 9 1x
Description
Creamy no bake banana pudding cheesecake blends Southern comfort with rich, silky textures. Cool dessert layers combine classic pudding flavors and smooth cheesecake for a delightful summer treat you’ll crave.
Ingredients
- 24 oz (680 g) cream cheese, softened
- 2 bananas, sliced
- 1 box (3.4 oz/96 g) instant banana cream pudding mix
- 16 oz (454 g) whipped topping, thawed and divided in half
- ½ cup (120 g) powdered sugar
- ¼ cup (60 g) plain Greek yogurt
Instructions
- Crust Preparation: Pulverize vanilla wafers and brown sugar in a food processor, then drizzle melted butter and process until the mixture forms a cohesive, sandy texture.
- Crust Setting: Press the crumb mixture evenly into the bottom of a buttered springform pan, then refrigerate for 20 minutes to solidify the base.
- Filling Creation: Whip cream cheese and powdered sugar until silky smooth, then incorporate instant vanilla pudding mix and yogurt, blending until uniformly combined.
- Layering Foundation: Arrange fresh banana slices in an overlapping pattern directly on the chilled crust, creating a vibrant fruity base.
- Filling Distribution: Gently fold whipped topping into the cream cheese mixture, then carefully spread the filling over the banana layer, ensuring a smooth, even surface.
- Topping Finale: Crown the cheesecake with a generous layer of whipped topping, covering the entire surface with an elegant finish.
- Chilling and Setting: Loosely cover with plastic wrap and refrigerate for a minimum of 4 hours, allowing flavors to meld and texture to stabilize.
- Serving Presentation: Carefully release the springform pan, garnish with additional whipped cream, crumbled vanilla wafers, or fresh banana slices to elevate the dessert’s visual and flavor profile.
Notes
- Crust Consistency Check: Press crumbs firmly to create a compact, sturdy base that won’t crumble when slicing the cheesecake.
- Banana Browning Prevention: Toss fresh banana slices with a splash of lemon juice to maintain their bright color and prevent oxidation.
- Whipping Technique: Fold whipped topping gently to preserve air bubbles, ensuring a light and creamy texture throughout the dessert.
- Chilling Importance: Allow sufficient refrigeration time to let flavors develop and achieve the perfect set, avoiding a runny or soft filling.
- Prep Time: 20 minutes
- Cook Time: 0 minutes
- Category: Desserts
- Method: None
- Cuisine: American
Nutrition
- Serving Size: 9
- Calories: 300
- Sugar: 22g
- Sodium: 250mg
- Fat: 18g
- Saturated Fat: 11g
- Unsaturated Fat: 5g
- Trans Fat: 0g
- Carbohydrates: 32g
- Fiber: 1g
- Protein: 4g
- Cholesterol: 50mg
Sophie Reynolds
Co-Founder, Recipe Curator & Culinary Educator
Expertise
Education
Auguste Escoffier School of Culinary Arts, Boulder, CO
Oregon State University
Sophie Reynolds is the recipe developer and culinary voice behind many of the approachable, flavor-focused creations at The Dream Café.
Sophie’s style leans into comfort food made simple: wholesome, satisfying meals anyone can make with confidence. Her passion lies in helping home cooks feel at ease in the kitchen while finding joy in the everyday act of cooking.