
Dreamy Peanut Butter Delight Cream Pie Recipe for Sweet Fans
Dessert lovers swoon over this creamy, dreamy peanut butter delight cream pie that promises pure indulgence in every single bite.
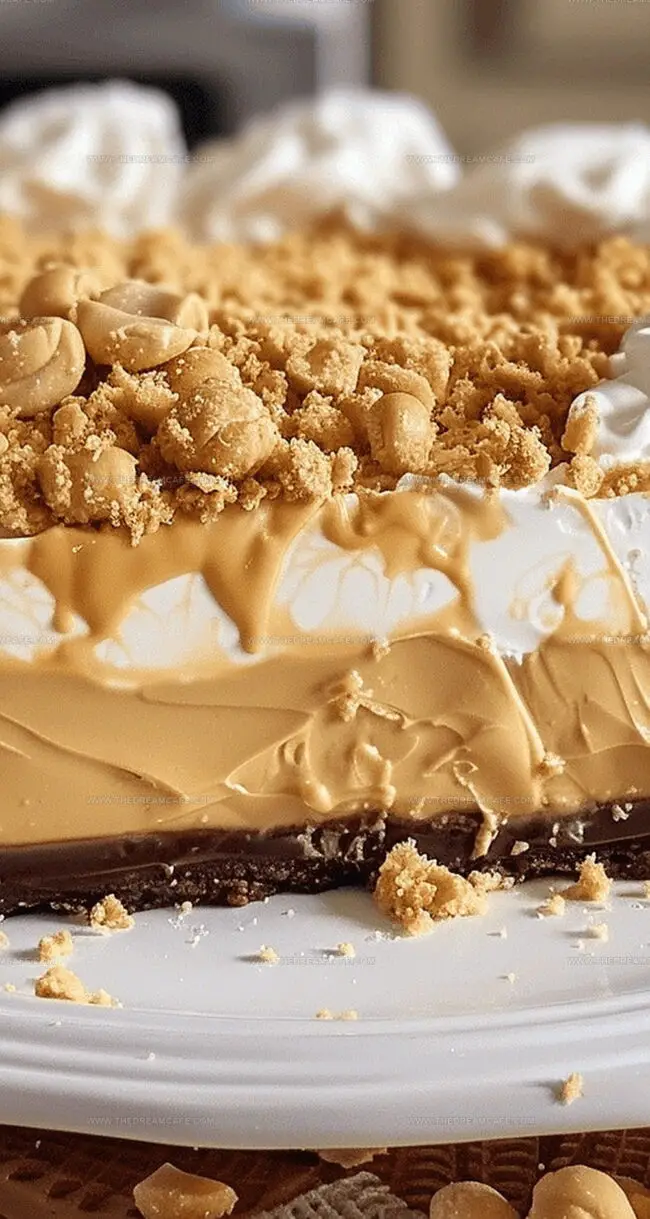
Smooth peanut butter blends seamlessly with rich, velvety filling to create a decadent treat.
The silky texture melts on your tongue, delivering waves of nutty sweetness.
Chocolate lovers will appreciate the subtle crunch of the graham cracker crust that perfectly complements the luscious filling.
Each slice promises a delightful balance of flavors that dance across your palate.
A no-bake wonder that comes together in minutes, this pie delivers maximum pleasure with minimal effort.
One forkful and you’ll understand why this dessert becomes an instant classic at any gathering.
Quick Recipe Overview
Gather Ingredients for Peanut Butter Cream Pie
For Pie Crust Base:For Crumble Topping:For Filling Mixture:For Garnish:Tools You’ll Use for Peanut Butter Cream Pie
Your How-To Guide for Peanut Butter Cream Pie

Blend powdered sugar and creamy peanut butter in a small bowl, creating a delightful sandy texture. Set aside half of this magical mixture for the final touch.
Whisk vanilla pudding mix, milk, and peanut butter in a medium bowl until the mixture transforms into a silky, smooth concoction with zero lumps.
Gently incorporate whipped cream into the pudding base, creating a light and airy filling that whispers of deliciousness.
Scatter half of the crumble mixture across the pie crust foundation. Pour the creamy filling over the crumbles, creating a mesmerizing landscape of flavor.
Refrigerate the pie for a couple of hours until it sets perfectly. Just before serving, sprinkle the remaining crumbles on top for a crunchy, sweet finish that will make taste buds dance.
Pro Suggestions for Peanut Butter Cream Pie
Plating Peanut Butter Cream Pie
Smart Storage for Peanut Butter Cream Pie
Print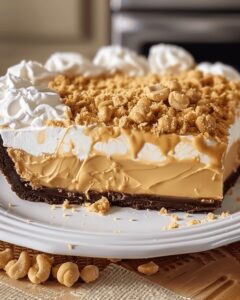
Velvety Peanut Butter Cream Pie Recipe
- Total Time: 15 minutes
- Yield: 9 1x
Description
Delightful peanut butter delight cream pie balances creamy richness with nutty complexity. Silky layers and graham cracker crust provide irresistible indulgence for dessert enthusiasts who crave luxurious sweet experiences.
Ingredients
- 1 pre-baked 9-inch pie crust (homemade or store-bought)
- 1.5 cups (360 mL) milk
- 2 cups or 8 oz (226 g) whipped cream or Cool Whip
- ½ cup (120 mL) creamy peanut butter
- ¼ cup (60 mL) creamy peanut butter
- ½ cup (60 g) powdered sugar
- 1 (3.4 oz) (96 g) box instant vanilla pudding mix
Instructions
- Crumble Creation: Blend powdered sugar and peanut butter in a small bowl, using a fork to develop a delicate, crumbly texture. Divide the mixture, reserving half for final garnishing.
- Pudding Preparation: Whisk instant vanilla pudding mix, milk, and peanut butter in a medium bowl for 2 minutes until achieving a luxurious, velvety consistency without any lumps.
- Cream Integration: Gently fold whipped cream into the peanut butter pudding, maintaining a light and airy structure while ensuring thorough incorporation.
- Pie Assembly: Distribute half of the reserved peanut butter crumbles across the pie crust base. Spread the peanut butter pudding filling evenly, creating a smooth foundation.
- Decorative Topping: Adorn the pie with a lavish layer of whipped cream, either spreading smoothly or crafting elegant piped designs using a pastry bag.
- Chilling and Setting: Refrigerate the pie for at least 2 hours, allowing the filling to solidify and develop a rich, decadent texture.
- Final Flourish: Immediately before serving, scatter the remaining peanut butter crumbles over the top, introducing a delightful crisp contrast to the creamy surface.
Notes
- Crumble Consistency: Aim for a sandy, streusel-like texture when mixing powdered sugar and peanut butter, which ensures the perfect garnish and base layer crunch.
- Whisking Technique: Beat pudding mixture thoroughly for exactly 2 minutes to eliminate lumps and create a silky-smooth filling that holds its shape beautifully.
- Folding Method: Use gentle, circular motions when incorporating whipped cream to preserve its airy volume and prevent deflating the delicate mixture.
- Chilling Crucial: Allow minimum 2-hour refrigeration to set filling completely, developing rich flavor and allowing ingredients to meld together seamlessly.
- Prep Time: 15 minutes
- Cook Time: 0 minutes
- Category: Desserts
- Method: Blending
- Cuisine: American
Nutrition
- Serving Size: 9
- Calories: 322
- Sugar: 18 g
- Sodium: 155 mg
- Fat: 19 g
- Saturated Fat: 6 g
- Unsaturated Fat: 13 g
- Trans Fat: 0 g
- Carbohydrates: 32 g
- Fiber: 1 g
- Protein: 7 g
- Cholesterol: 15 mg
Sophie Reynolds
Co-Founder, Recipe Curator & Culinary Educator
Expertise
Education
Auguste Escoffier School of Culinary Arts, Boulder, CO
Oregon State University
Sophie Reynolds is the recipe developer and culinary voice behind many of the approachable, flavor-focused creations at The Dream Café.
Sophie’s style leans into comfort food made simple: wholesome, satisfying meals anyone can make with confidence. Her passion lies in helping home cooks feel at ease in the kitchen while finding joy in the everyday act of cooking.